Hi there friends!
Today I sharing the first card in a series using this cute set (link below) by White Spruce Studio. Throughout the month I will share more cards using this set.

Instruction:
- Bring in the rainbow, cloud, and sun into your cutting machine software. I am using Silhouette Studio and cutting with a Cameo but this will work with other brands.
- Draw a rectangle to be 4x5.25 inches. This represents the cut down background card panel or the gray piece in my picture.
- Size the rainbow to fit inside the rectangle in the landscape orientation. Bring in the sun and the cloud and size those too.
- Remove the rectangle, unless you want the machine to cut one for you. If not, cut a light gray piece of cardstock to 4x5.25 inches.
- Using the Print & Cut feature print the elements and have your machine cut them out.
- Save the negative part of the sun. Since the individual sun rays cut separately we will use this as a placement guide.

- Using a dark gray ink than the gray rectangle, add some ink here and there just do it isn't a flat gray color.

- Using the same gray ink, add some gray to the bottom of the cloud so it gives it a more stormy appearance.

- Adhere the sun to the top right corner of the card panel by lighting taping the negative sun piece in place and glue the rays in place. They are not all the same size and shape. I just made sure they went through the holes in the template.

- Glue the rainbow to the panel.
- Adhere the cloud using adhesive foam to give it some dimension.
- Add splatter drops. You can use watercolor or any other ink to give the look of rain. Sparkly is even better!

- Use a sentiment stamp and stamp a sentiment with black ink.
- Adhere the finished card panel to an A2 size card base.


I would love to see your version of this card!
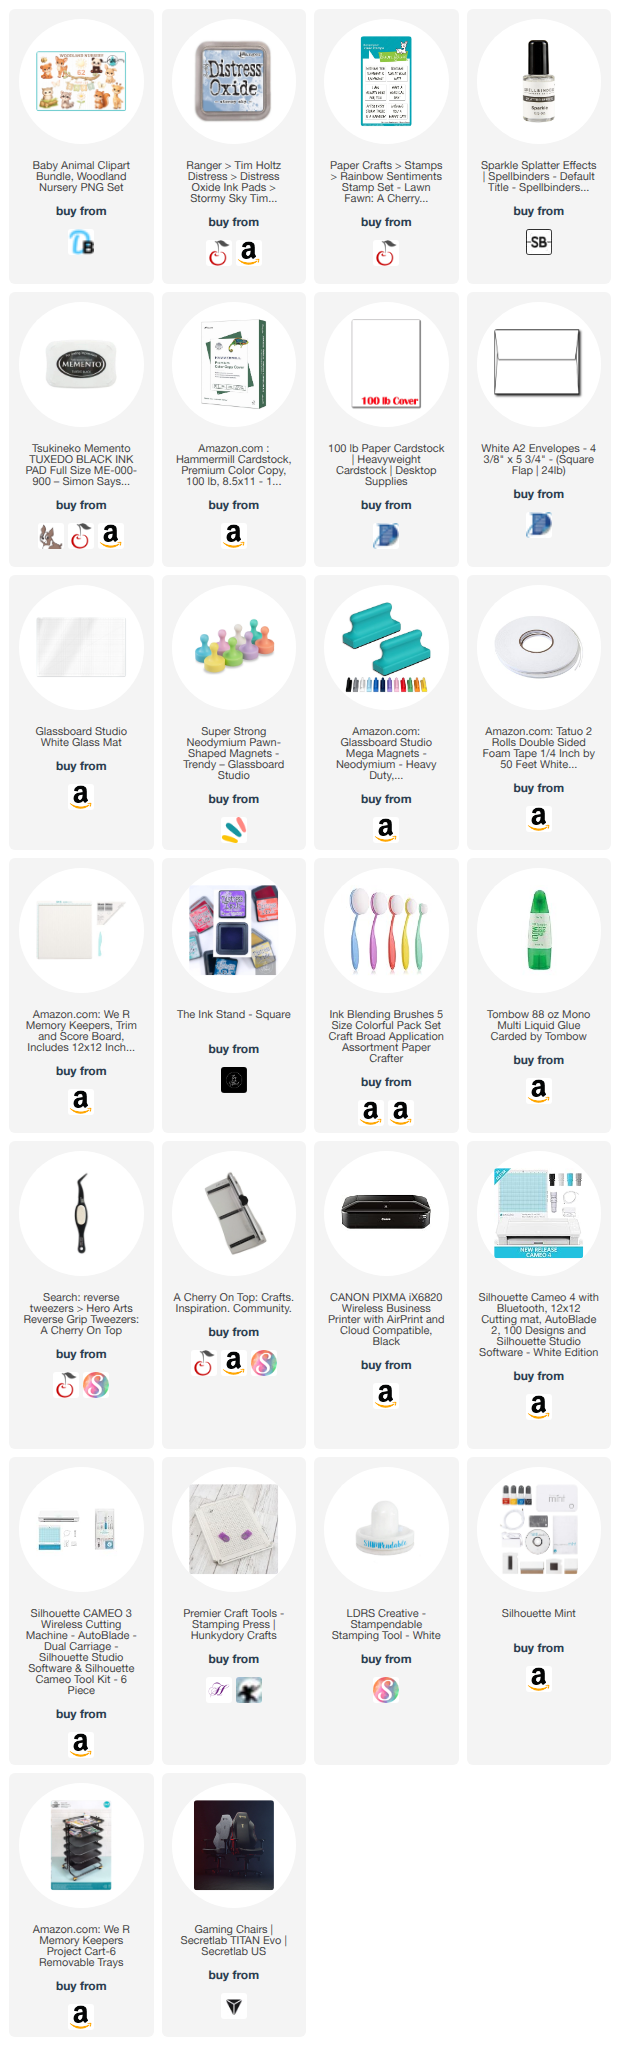
Check out the supply list below for all that I used to make this card.
~Paula
If you’d like, please follow me:
Please follow this blog, you can find the Follow button in the right column ===>
Facebook: Paula's Studio
Instagram: PaulasStudioMI
Please Note: I am a big advocate of using supplies you already own but I understand that readers might be interested in specific products that they might not already own. This post contains product links so you can easily find any supplies and/or tools you may be interested in. As an affiliate, I may be compensated for a purchase made using my links. However, no additional cost is extended to you. The other links are just to help guide you in the right direction. I am not affiliated with all companies but I encourage you to shop small businesses as much as possible. I may even include eBay listings for products that are available there at the time this is posted. I only share product information of products I am familiar with and use in my own studio. Papers are just from my collection. I always grab from my scraps first and I don’t keep track of where they came from. Use what you have!
No comments:
Post a Comment