Showing posts with label thanks. Show all posts

Friday, July 10, 2026

CRAFT Challenge Blog #784

 Hi there friends,

The latest challenge over on the CRAFT Challenge Blog is "Thank you" or anything goes. The sponsor is Doctor Digi's House of Stamps


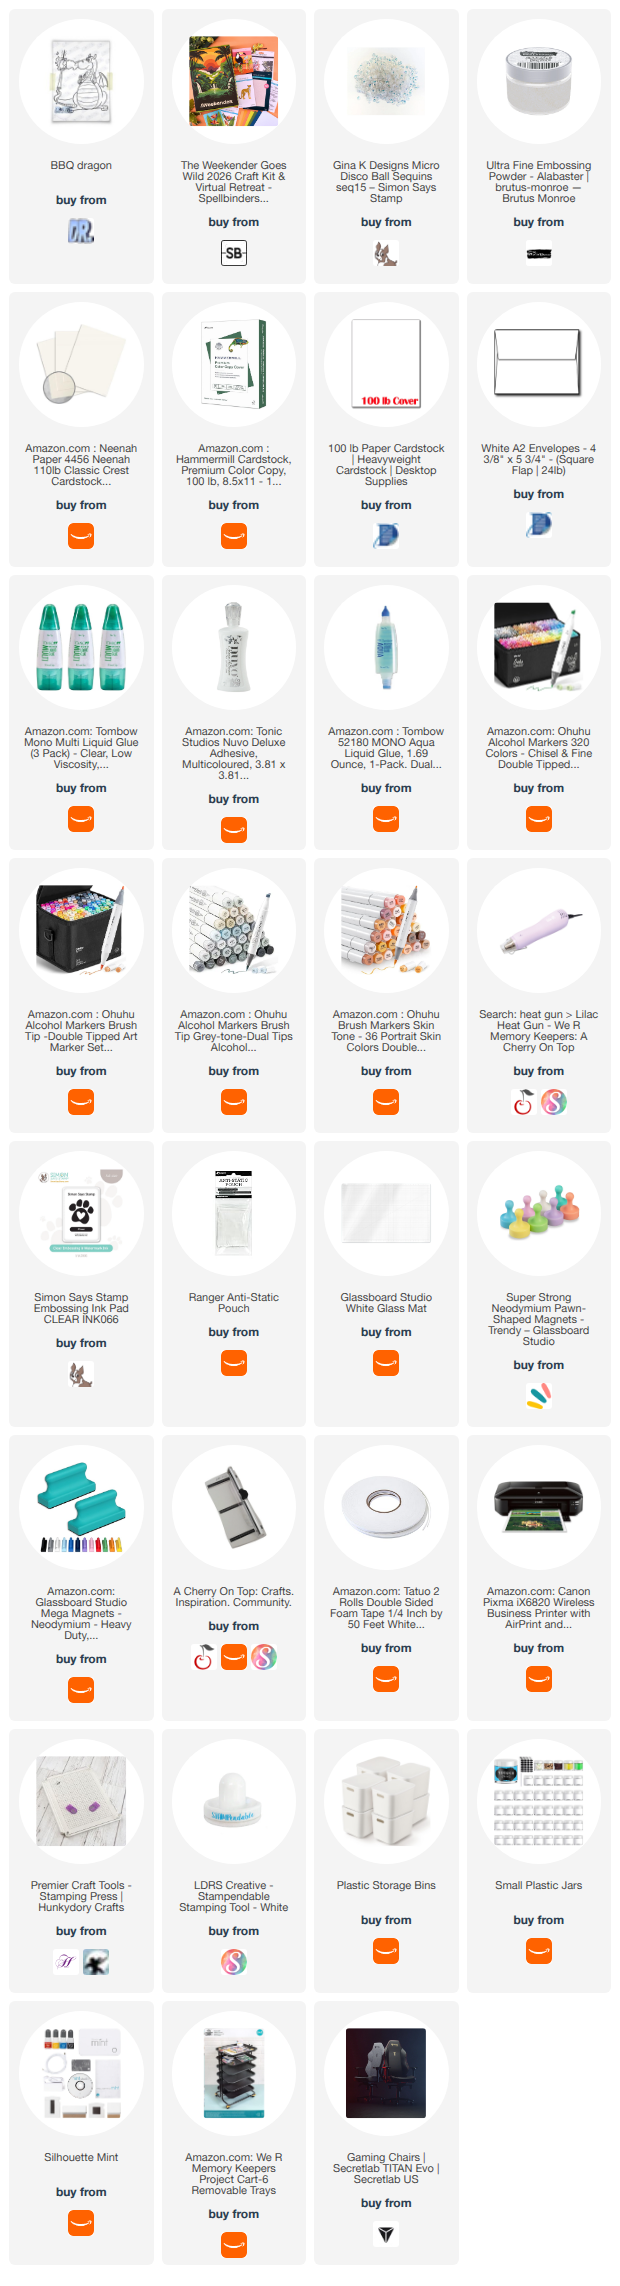
 I printed the design out to fit on an A2 card base. I colored with alcohol makers. I added some sparkly sequins. The sentiment is from Spellbinders Weekender kit. It is pricey and the sets will not be released individually but let me tell you, I love every piece of it. The sentiment is heat embossing in white. It has a die to cut it out but I just used scissors. Lastly it is mounted on a solid cardstock in green and then an A2 size card base. 

 I thought this would be such a fun thank you card to give to a host of a summer cookout. So funny. I will attach it to a bottle of BBQ sauce from a local restaurant. It's just the little things to enjoy in life.

 ~Paula
If you’d like, please follow me:
Please follow this blog, you can find the Follow button in the right column ===> 
Facebook: Paula's Studio
Instagram: PaulasStudioMI 

Please Note: I am a big advocate of using supplies you already own but I understand that readers might be interested in specific products that they might not already own. This post contains product links so you can easily find any supplies and/or tools you may be interested in. As an affiliate, I may be compensated for a purchase made using my links. However, no additional cost is extended to you. The other links are just to help guide you in the right direction. I am not affiliated with all companies but I encourage you to shop small businesses as much as possible. I may even include eBay listings for products that are available there at the time this is posted. I only share product information of products I am familiar with and use in my own studio. Papers are just from my collection. I always grab from my scraps first and I don’t keep track of where they came from. Use what you have!
Tuesday, August 20, 2024

Teacher Card for CRAFT Challenge Blog #730

 Hi Friends,

This is the card I made for the Design Team for CRAFT Challenge Blog 730. The blog published last week, I've been busy and just now getting around to writing the blog for it. The theme this week is Anything Goes with the option of Back to School. You can join in and still submit your entry as because this one lasts 2 weeks you still have over a week to enter. Find the blog entry ===>here.


The sponsor is: All Dressed Up

and the design I used is called "star teacher

I printed the design onto cardstock. I colored with colored pencils. 


I then colored the background with blue watercolor. I gathered some colored papers to make the background and sentiment. A final touch is add some gold splatter for whimsy. 


~Paula

If you like, please follow my Facebook page: https://www.facebook.com/paulasstudiomi

Please Note: This post contains product links so you can easily find any supplies and/or tools you may be interested in. As an Amazon Associate, I may be compensated for a purchase made using my link. However, no additional cost is extended to you. The other links are just to help guide you in the right direction. I am not affiliated with those companies but I encourage you to shop small businesses as much as possible.

Papers are just from my collection. I always grab from my scraps first and I don’t keep track of where they came from.


Wednesday, July 10, 2024

CRAFT Challenge Blog #727

 Hi friends! 

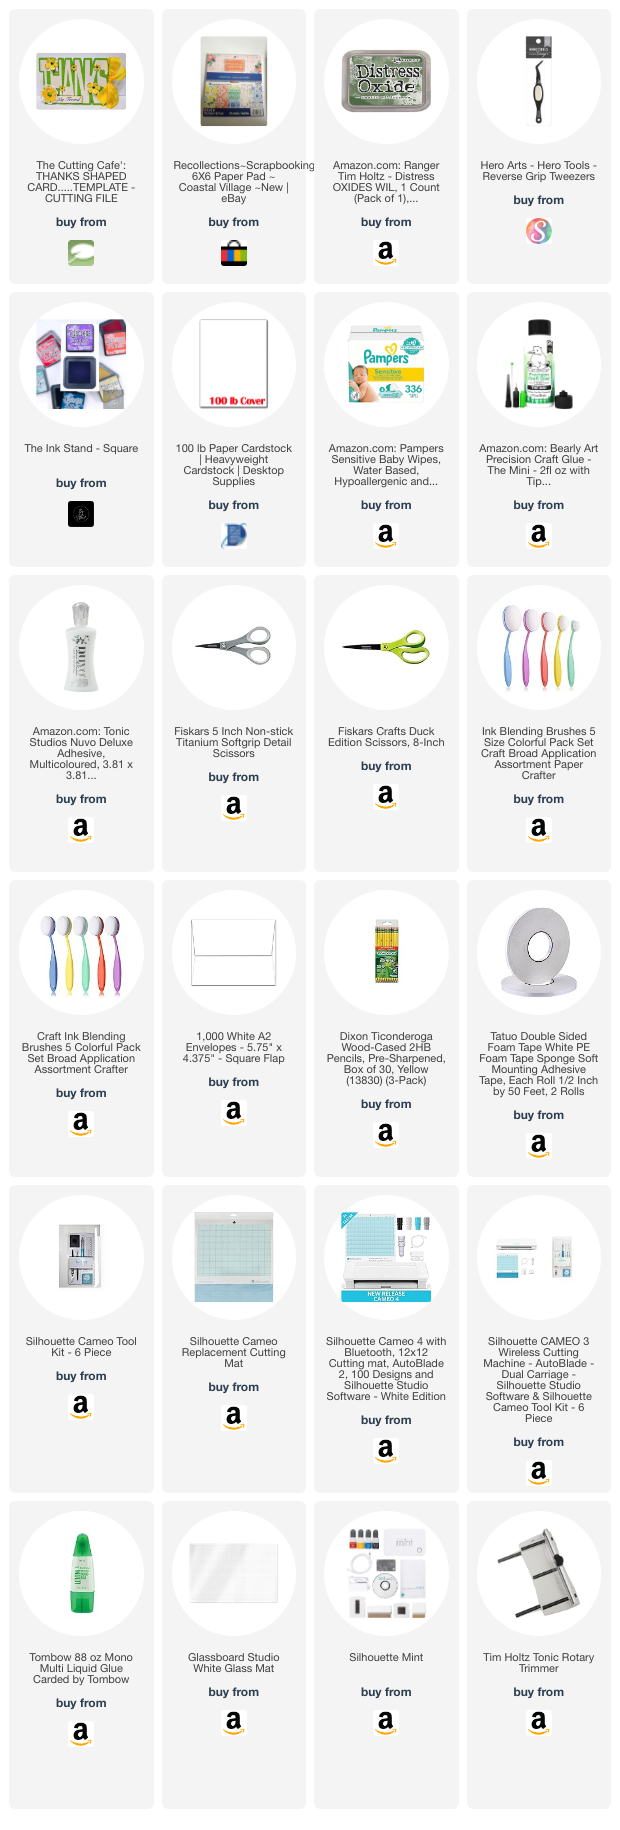
This week's theme for the CRAFT Challenge Blog is "Thank you" and the sponsor is: The Cutting Cafe. I chose to use their cutting file Thanks Shaped Card


Now if you feel that my card is hard to see the "thanks" you are correct. It's actually intentional with the technique. I used the eclipse technique here. This is when you use the same paper to cut the foreground and background at the same time. Keep reading to learn more...

I started off my loading the SVG file into Silhouette Studio. 


 I lined the word up with it's shadow piece. The red rectangle is 5.5x4.25" and is there for me to resize all the pieces properly to fit inside an A2 sized envelope. I remove the rectangle before I send the design to be cut. 

I cut out the card base in 100 lb white cardstock and I cut the work and its shadow out of the same piece of patterned paper. 


Normally for the eclipse method you do not alter either piece. I chose to with this one because the pattern is a busy foil design which makes it extra hard to see and also to photograph. 

I colored only the background piece with a green Distress Oxide.

I glued it onto the card base. 

I used 2mm foam adhesive to pop up the word piece and carefully attached in to the card base so that it lines up perfectly with the background.


You can see I have some white areas.

These are the missing pieces. They get colored too and glued in. 


As you can see, all the foiled gold lines up perfectly because it came from the same piece of paper. That is the main feature of the eclipse technique.


~Paula

If you like, please follow my Facebook page: https://www.facebook.com/paulasstudiomi

Please Note: This post contains product links so you can easily find any supplies and/or tools you may be interested in. As an Amazon Associate, I may be compensated for a purchase made using my link. However, no additional cost is extended to you. The other links are just to help guide you in the right direction. I am not affiliated with those companies but I encourage you to shop small businesses as much as possible.

Papers are just from my collection. I always grab from my scraps first and I don’t keep track of where they came from.


Friday, May 17, 2024

Spin the wheel #1: picnic

 Hi friends! Today I am starting a new series using a randomizer. I have a spinner set up to be filled with all sorts of subjects I could use on a card but also I add sets of dies, stamps, etc. that I have. I started this to prompt me as it helps me use my supplies and helps creativity flow.

The spinner gave me: picnic as the subject. I thought that was perfect timing as the outside temperatures are warming up and it's a great time of year for a picnic. 

I decided to make 2 cards. I chose the A2 size and also a mini slimline. 


When "picnic" popped up the first thing I thought of was the background stamp that I used with trailing ants. Then that made me think of watermelon.


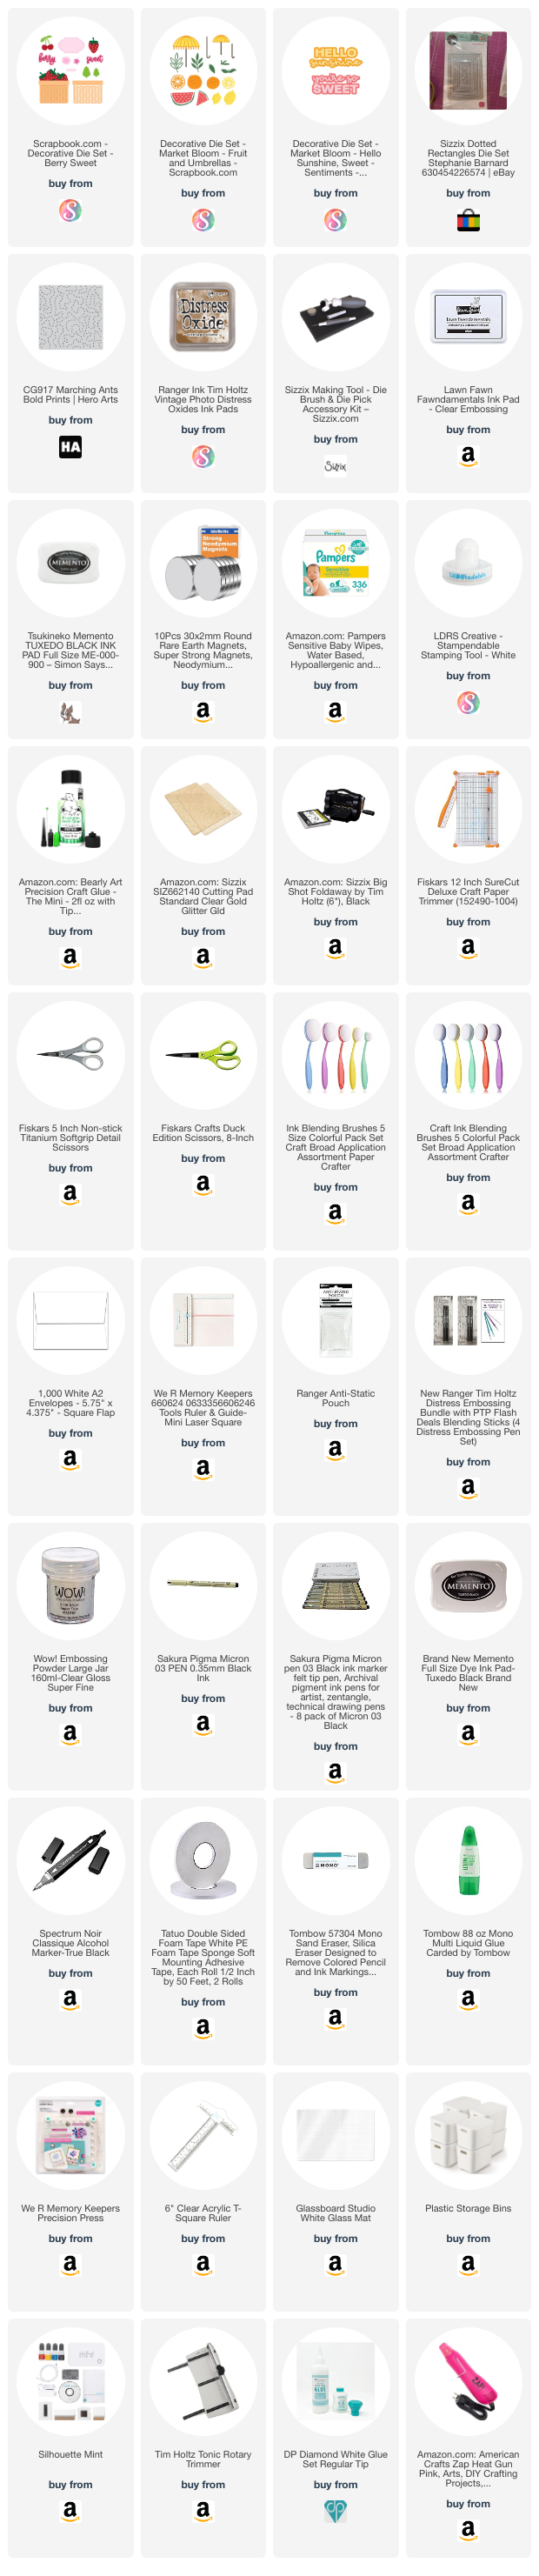
 I love fruity themed cards for the summertime so I pulled out these sets from scrapbook.com that came out earlier this year. 

I cut out one basket and several watermelon slices in two sizes. 


 To get those little pieces out of the red layer real quick, I use a took by Sizzix that helps speed that up. 


The watermelons have 3 layers and I colored part of the middle white layer with black marker because I wanted the seeds to be black. 


 The beauty of having a glass mat is the cleanup is so easy. The black marker is an alcohol marker which is permanent on most surfaces. However, with the glass mat I can add a little alcohol based hand sanitizer and it wipes away. 


I chose sentiments that could be used for different occasions such as birthday, thank you perhaps even for a teacher, or just hello. 


~Paula

Please Note: This post contains product links so you can easily find any supplies and/or tools you may be interested in. As an Amazon Associate, I may be compensated for a purchase made using my link. However, no additional cost is extended to you. The other links are just to help guide you in the right direction. I am not affiliated with those companies but I encourage you to shop small businesses as much as possible.

The background stamp is called Ant Trail by Hero Arts but they have a different one available now that I included in the list since the one I have is from 2017. 

The "hello Summer" sentiment is from Diamond Press's set called Tropical.

Paper is from my collection. The green embossing powder has been discontinued and I wasn't thrilled with the outcome of this one. It's okay but I feel I can find one that is more crisp. I would just suggest another brand but I am picky about my powders and I don't want to suggest one that I haven't tried yet.