Tuesday, October 27, 2026

Halloween Beverage Station with Polkadoodles

 Hi there friends!

Sorry for my absence the last few weeks -- October is super busy for me with my dance schedule, hopefully will get more consistent soon. 

Today I am sharing a great use of ephemera by Polkadoodles to help decorate for a Halloween party. Every month I host a craft night with friends. We often have a theme for our craft and I try to incorporate that into a beverage and snack for them to enjoy. 

Use can use my coupon code to get 10% off! Use:  PAULAPORTELLI


Here I set up a pumpkin spice bar where they can make cocoa or hot tea. 

I used the print and cut feature on my Silhouette Cameo. In design studio I loaded the pieces I wanted to use. I sized them to desired size. Printed then cut. I also cut blank pieces to adhere to the printed ones to make them thicker. I used various pumpkin as labels:


 I have this stand log that use on my hot beverage bar. I change the signs that hang on it to fit the occasion. 


 For this sign, I created a 5 inch circle which is what I use for my signs. I filled the circle with a printable patterned paper. I panned and scaled the image to be just how I would like. Then, I added a curved text. I printed and cut this circle and mounted on another circle in brown cut at 5.5 inch diameter. I added twine and hung in on the log post. 

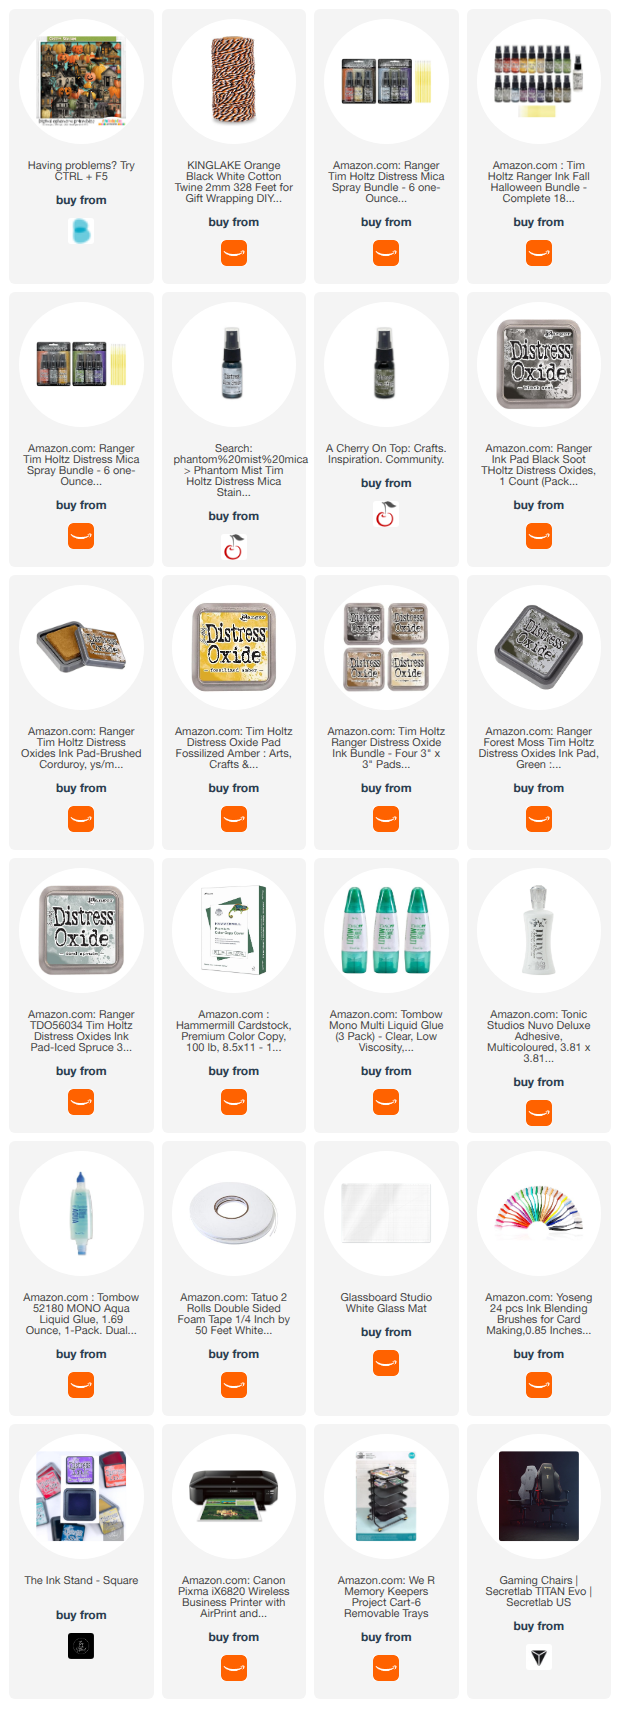
Here are the elements I made and used: 

~Paula

If you’d like, please follow me:

Please follow this blog, you can find the Follow button in the right column ===> 

Facebook: Paula's Studio

Instagram: PaulasStudioMI


Please Note: I am a big advocate of using supplies you already own but I understand that readers might be interested in specific products that they might not already own. This post contains product links so you can easily find any supplies and/or tools you may be interested in. As an affiliate, I may be compensated for a purchase made using my links. However, no additional cost is extended to you. The other links are just to help guide you in the right direction. I am not affiliated with all companies but I encourage you to shop small businesses as much as possible. I may even include eBay listings for products that are available there at the time this is posted. I only share product information of products I am familiar with and use in my own studio. Papers are just from my collection. I always grab from my scraps first and I don’t keep track of where they came from. Use what you have!


Wednesday, October 14, 2026

Halloween Banner with Polkadoodles

 Hi there friends!

Today I am sharing with you this banner that I made to decorate my fireplace and mantel. I used printable files by Polkadoodles Crafts. 


I really love how it turned out and that it is unique.

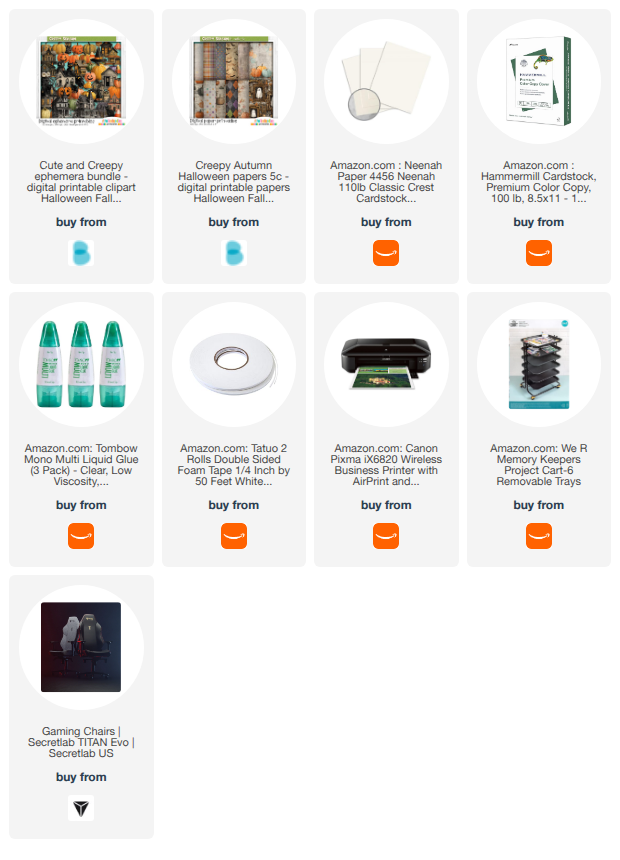
Supplies:

  • 6 sheets black cardstock
  • 3 sheets of yellow (or moon color) cardstock
  • 4 sheets of white cardstock for printing
  • String, twine, or ribbon long enough to hang banner 
  • Gray ink and blending brush
  • Shimmer or mica sprays
  • liquid adhesive
  • foam adhesive
  • printer
  • electronic cutting machine such as by Cricut, Silhouette, etc. 

Instruction: 

  1.  In the software for the cutting machine, draw the shape that I wanted for the panels on the banner. They are approximately 10 x 7 inches. Any shape would do. Add two holes to each panel to allow the panels to be put on a string or ribbon. Cut it 6 times with black cardstock
  2. Spray each panel with a shimmer or mica spray. I used a different color for each panel. Set aside to dry. 

  3. Cut 6 circles with yellow cardstock, or whatever color you want the moons.
  4. Download and unzip the file of ephemera (link below) and choose a house for each banner panel. Size them to fit.
  5. Align the houses on a page with the Print & Cut registration marks turned on. Add pumpkins, cats, owls too. Size them to fit on or in front of the houses.

  6. Print then cut each house and other elements.

  7.  Using a gray ink and a blending brush, add some color and shading to the moons.  

  8. Arrange the moons, houses, and other elements on each panel and adhere them in place. Use adhesive foam on some to prop the up to give some dimension. 

  9. Cut a string or ribbon to the length needed for your mantel or the location you want to hang the banner. 
  10. Thread the string through the holes and hang in place. I added a string of jack-o-lantern lights to the display as well. 

    ~Paula

    If you’d like, please follow me:

    Please follow this blog, you can find the Follow button in the right column ===> 

    Facebook: Paula's Studio

    Instagram: PaulasStudioMI

     Please Note: I am a big advocate of using supplies you already own but I understand that readers might be interested in specific products that they might not already own. This post contains product links so you can easily find any supplies and/or tools you may be interested in. As an affiliate, I may be compensated for a purchase made using my links. However, no additional cost is extended to you. The other links are just to help guide you in the right direction. I am not affiliated with all companies but I encourage you to shop small businesses as much as possible. I may even include eBay listings for products that are available there at the time this is posted. I only share product information of products I am familiar with and use in my own studio. Papers are just from my collection. I always grab from my scraps first and I don’t keep track of where they came from. Use what you have!