Tuesday, August 25, 2026

Garden Planner Project #1

 Hi there friends!

Today I am sharing the start of my garden planner. Just like my Birthday Card Catalog I am using Esther Glas's release with Spellbinders as my starting point. 

My first section in the planner is for broccoli. 


 Each index page, like the one shown, will be for a different garden fruit, flower, vegetable, or herb. On the back of the page is a pocket to hold that year's seed packet. 


 Behind the index page will be a page to write on for notes and or plans for that year.

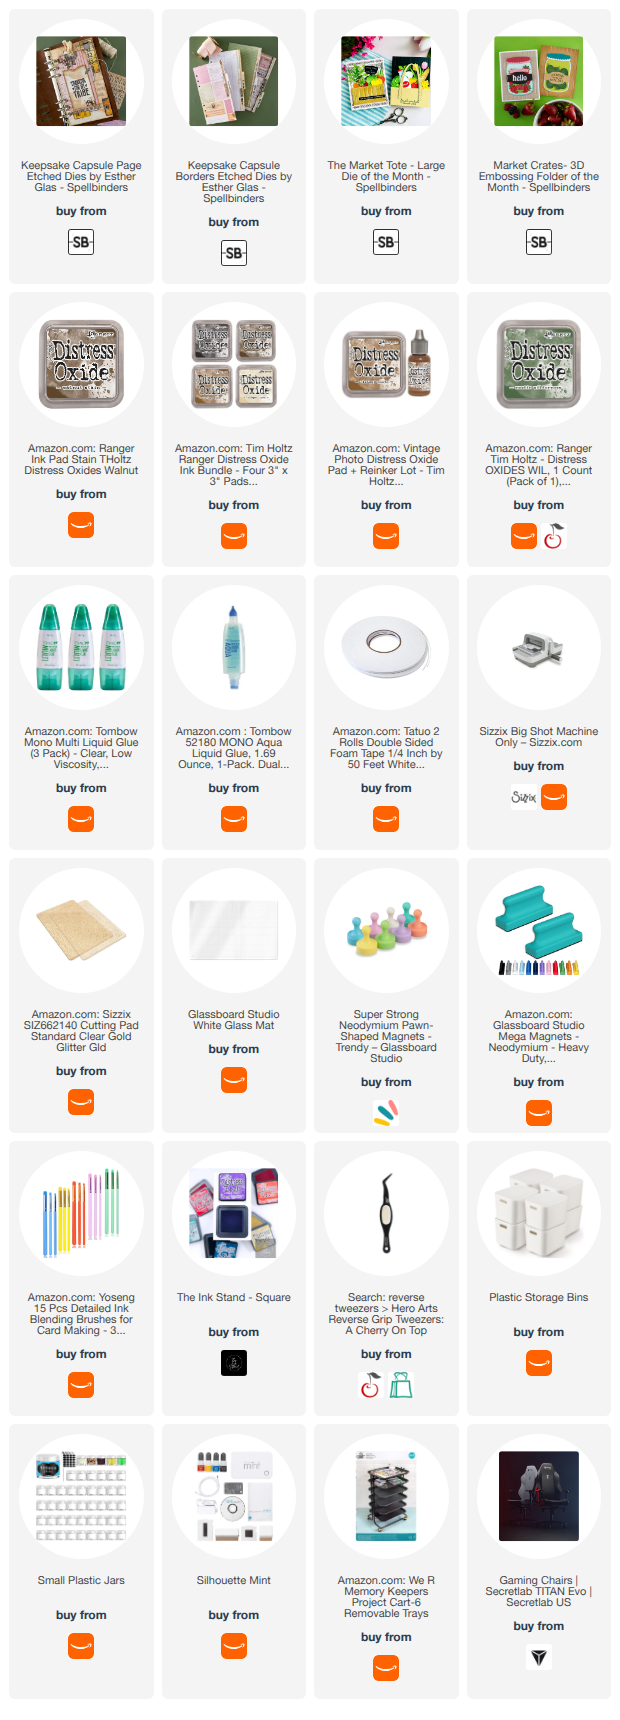
To make this I cut the page with a die. I embossed it with an embossing folder then using a flat sponge dauber, I added ink to the embossed page.


 I used two shades of brown. 


I cut out various veggies that I actually grow. I assembled them and added some shaded to them. For this project, I am only using broccoli and the other veggies are set aside for later. 


 For the back I chose a die that can be the pocket to hold the seed packets. I used a thick adhesive foam to adhere the pocket. The thickness allows for space if there are seeds in the packet.


I adhered the die cut and shaded broccoli pieces on the front. I cut 5 so I decided to make a wreath. I used a splatter paint to add some more inky goodness to the page. A bright name plate to finish it off. 


 Stay tuned for more garden planner pages!

~Paula

If you’d like, please follow me:

Please follow this blog, you can find the Follow button in the right column ===> 

Facebook: Paula's Studio

Instagram: PaulasStudioMI


Please Note: I am a big advocate of using supplies you already own but I understand that readers might be interested in specific products that they might not already own. This post contains product links so you can easily find any supplies and/or tools you may be interested in. As an affiliate, I may be compensated for a purchase made using my links. However, no additional cost is extended to you. The other links are just to help guide you in the right direction. I am not affiliated with all companies but I encourage you to shop small businesses as much as possible. I may even include eBay listings for products that are available there at the time this is posted. I only share product information of products I am familiar with and use in my own studio. Papers are just from my collection. I always grab from my scraps first and I don’t keep track of where they came from. Use what you have!
Saturday, August 22, 2026

Schoolhouse card by White Spruce Studio

 Hi there friends!

Today I am sharing this schoolhouse card I made using a new design by White Spruce Studio.  

I colored the schoolhouse design using alcohol markers and mounted it on patterned paper and a red card base. I kept trying to decide if I wanted this to be a Back to School card or a thank you card for a teacher. I decided to leave a sentiment off the front so that it could be used for either when the time comes.


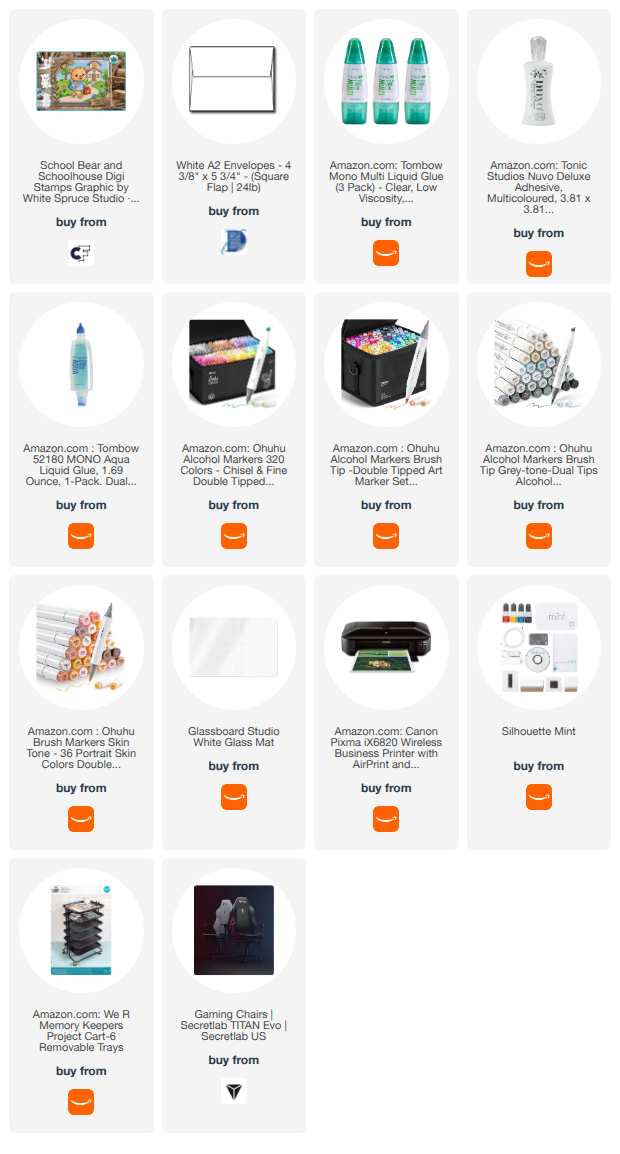
Ohuhu markers used: BV31, BV32, CG02, CG17, E66, E612, GG07, GG16, R014, R016, Y28, Y213

~Paula

If you’d like, please follow me:

Please follow this blog, you can find the Follow button in the right column ===> 

Facebook: Paula's Studio

Instagram: PaulasStudioMI


Please Note: I am a big advocate of using supplies you already own but I understand that readers might be interested in specific products that they might not already own. This post contains product links so you can easily find any supplies and/or tools you may be interested in. As an affiliate, I may be compensated for a purchase made using my links. However, no additional cost is extended to you. The other links are just to help guide you in the right direction. I am not affiliated with all companies but I encourage you to shop small businesses as much as possible. I may even include eBay listings for products that are available there at the time this is posted. I only share product information of products I am familiar with and use in my own studio. Papers are just from my collection. I always grab from my scraps first and I don’t keep track of where they came from. Use what you have!

Friday, August 21, 2026

Birthday Card Catalog Project: September index card

 Hi there my friends! 

Today I am presenting my September index card for my birthday card catalog.


 I am so excited for this Birthday Card Catalog project. It will help me stay organized with birthday cards all year. I am using Spellbinders new release with Esther Glas. It is a full release with great products that any junk journal fan should love. 

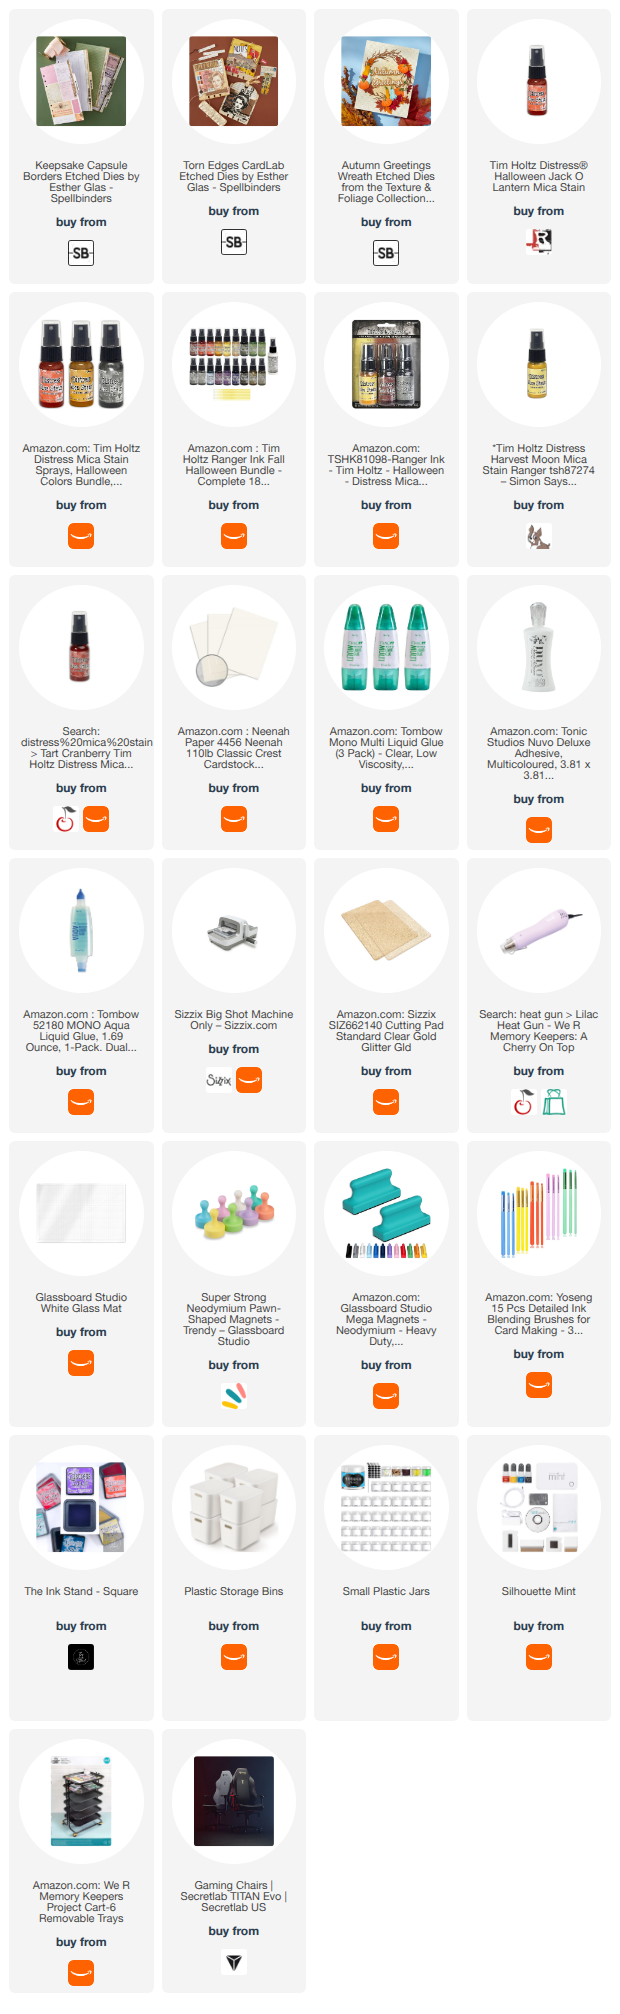
For this project, I cut the base index card. Sprayed it with Distress Mica Stains in fall colors. Attached a "September" tab and cut out an autumn wreath with autumn elements. It is a really easy index card with big and beautiful results. 

I use my studio trash can as a spray box. Nothing gross gets thrown in there to contaminate a project.

Beautiful shimmery results.

 My previous post for the Birthday Card Catalog project is here: August Index Card


~Paula

If you’d like, please follow me:

Please follow this blog, you can find the Follow button in the right column ===> 

Facebook: Paula's Studio

Instagram: PaulasStudioMI


Please Note: I am a big advocate of using supplies you already own but I understand that readers might be interested in specific products that they might not already own. This post contains product links so you can easily find any supplies and/or tools you may be interested in. As an affiliate, I may be compensated for a purchase made using my links. However, no additional cost is extended to you. The other links are just to help guide you in the right direction. I am not affiliated with all companies but I encourage you to shop small businesses as much as possible. I may even include eBay listings for products that are available there at the time this is posted. I only share product information of products I am familiar with and use in my own studio. Papers are just from my collection. I always grab from my scraps first and I don’t keep track of where they came from. Use what you have!