Showing posts with label wall art. Show all posts

Friday, June 21, 2024

Uncle Sam's Firework Co. DIY Kit with Not Just Frames

 Hi Friends!

Today I have painted this patriotic kit from Not Just Frames. 

You can purchase this kit here ===> Uncle Sam's Firework Co.


 First thing I do when I open a kit is lay it out. I do this to not only check to make sure everything is there and stuck in packaging or on the floor but I can see it all together, understand the pieces so I'm not confused and then finally, it helps me plan the colors. 

Then I put the small pieces in a tray so that I reduce the chances of me losing anything. 


Some pieces are tiny like the dots on letters and punctuation. Don't skip the tray!


So for the colors, I know I want red, white, and blue behind the fireworks panels to the sparklers are all three colors. I know I want that panel to be a dark blue to represent a dark sky but still keep it patriotic. I know I want the background behind the truck to be a light blue for daytime sky. I know I do not want the truck to be red. Although a red truck still falls in the patriotic color scheme, I'm really over the red truck trend and never understood why most of them are red. 

Once I know what color I want where, I have to plan the other pieces. I still need some red so that will be the center and the lettering will be white because that will stand out the best in my head. I will figure the smaller details as I go. 

I mark off the area with a pencil so I know the firework area. I paint red, white, and blue sort of randomly. 


 I paint the rest of the pieces as I had planned. I have found that enjoy use paint markers and sometimes alcohol markers on the smaller pieces rather than paint with a brush. 


Once all pieces are painted, time to glue and use weights or clamps to make sure the pieces lay flat and adhere well. 

I glued a loop of patriotic ribbon for the hanger and done!


~Paula

If you like, please follow my Facebook page: https://www.facebook.com/paulasstudiomi

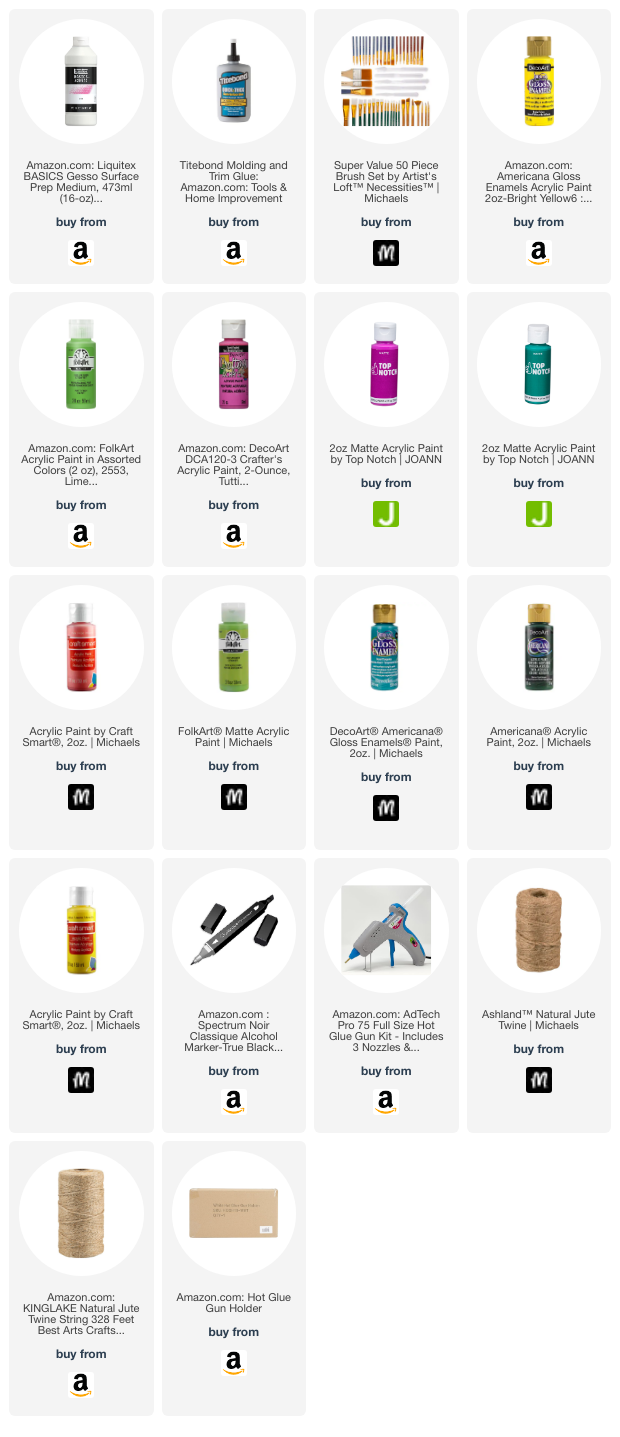
Please Note: This post contains product links so you can easily find any supplies and/or tools you may be interested in. As an Amazon Associate and a Not Just Frames Affliliate, I may be compensated for a purchase made using my links. However, no additional cost is extended to you. The other links are just to help guide you in the right direction. I am not affiliated with those companies but I encourage you to shop small businesses as much as possible.


Friday, June 7, 2024

A froggy hello with Not Just Frames

 Hi friends!

Today I am sharing my first project with you as an affiliate for . I chose this adorable frog which goes perfectly with my summer. I have so many frogs and toads in my garden and I love it when I find them. For summer, I love bright, bold, and sometimes neon colors. 


The kits are pretty easy to put together and personalize how you would like. I love these laser cut pieces because the end result always looks clean and crisp. This particular one has many pieces as each other shown is a different piece. It's fun to piece it altogether. 


I pull out all the pieces and start to choose colors. I know there will be pink. I pick out a handful of colors that I enjoy for summer. 


I know I won't use them all but it's a starting point. Originally I thought I would do the flowers in different colors but I ended up using this dark purple-ish color that I really like. 

I knew it would go really nice with a green frog. 

These are the colors I chose. The black for the eyes was colored with an alcohol marker. I did paint each piece with white gesso (you can use white paint) before I added color. I don't always do that but when I am using light colors or I really want the colors to stand out the best they can, I find that a primer is best on the wood.


  As you can see, I just use what I have. I have a mix of finishes and brands. I am big on using things I have and making them work. Really you cannot tell there are different finishes. The "Top Notch" brand is a Joann's brand. I do love the colors they carry but I feel like I have to use about 3 coats to get a good finish with them and that does annoy me.

After I painted all the pieces, it was time to glue. 

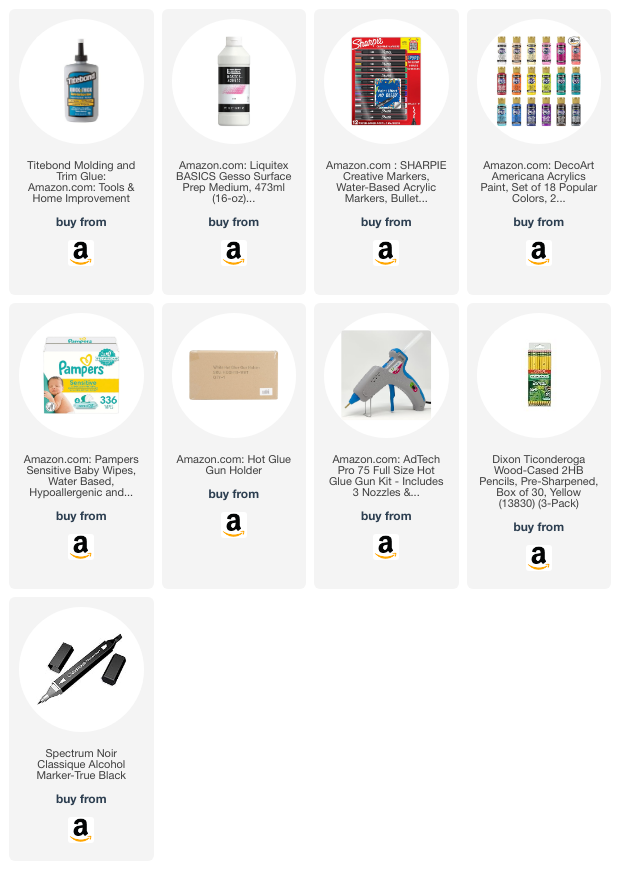
I prefer Titebond for all my wood gluing, it never has failed me. 

I don't have any wood clamps in my studio and I'm too lazy to go down the garage to grab some so I use my paperweight to hold the pieces while the glue sets. I collect fun paperweights and use them all the time in my studio. 


Once they are all glue in, I let it dry overnight. I attach a string loop to hang with some hot glue. For this piece, I didn't want to add any additional ribbon or greenery which is popular. I love this design so much that I didn't want to add anything to it. 


~Paula

If you like, please follow my Facebook page: https://www.facebook.com/paulasstudiomi

Please Note: This post contains product links so you can easily find any supplies and/or tools you may be interested in. As an Amazon Associate and a Not Just Frames affiliate, I may be compensated for a purchase made using my link. However, no additional cost is extended to you. The other links are just to help guide you in the right direction. I am not affiliated with those companies but I encourage you to shop small businesses as much as possible. 

(afil) Link to Frog Kit

(afil) Link to Not Just Frames