Showing posts with label beach. Show all posts

Thursday, August 6, 2026

CRAFT Challenge Blog #786 with Summer theme

 Hi there friends!

Today I am sharing my design team project for CRAFT Challenge Blog #786. The theme is summer holiday/vacation. The sponsor for this challenge is All Dressed Up and the design I am working with is: Sandy Beach Camper


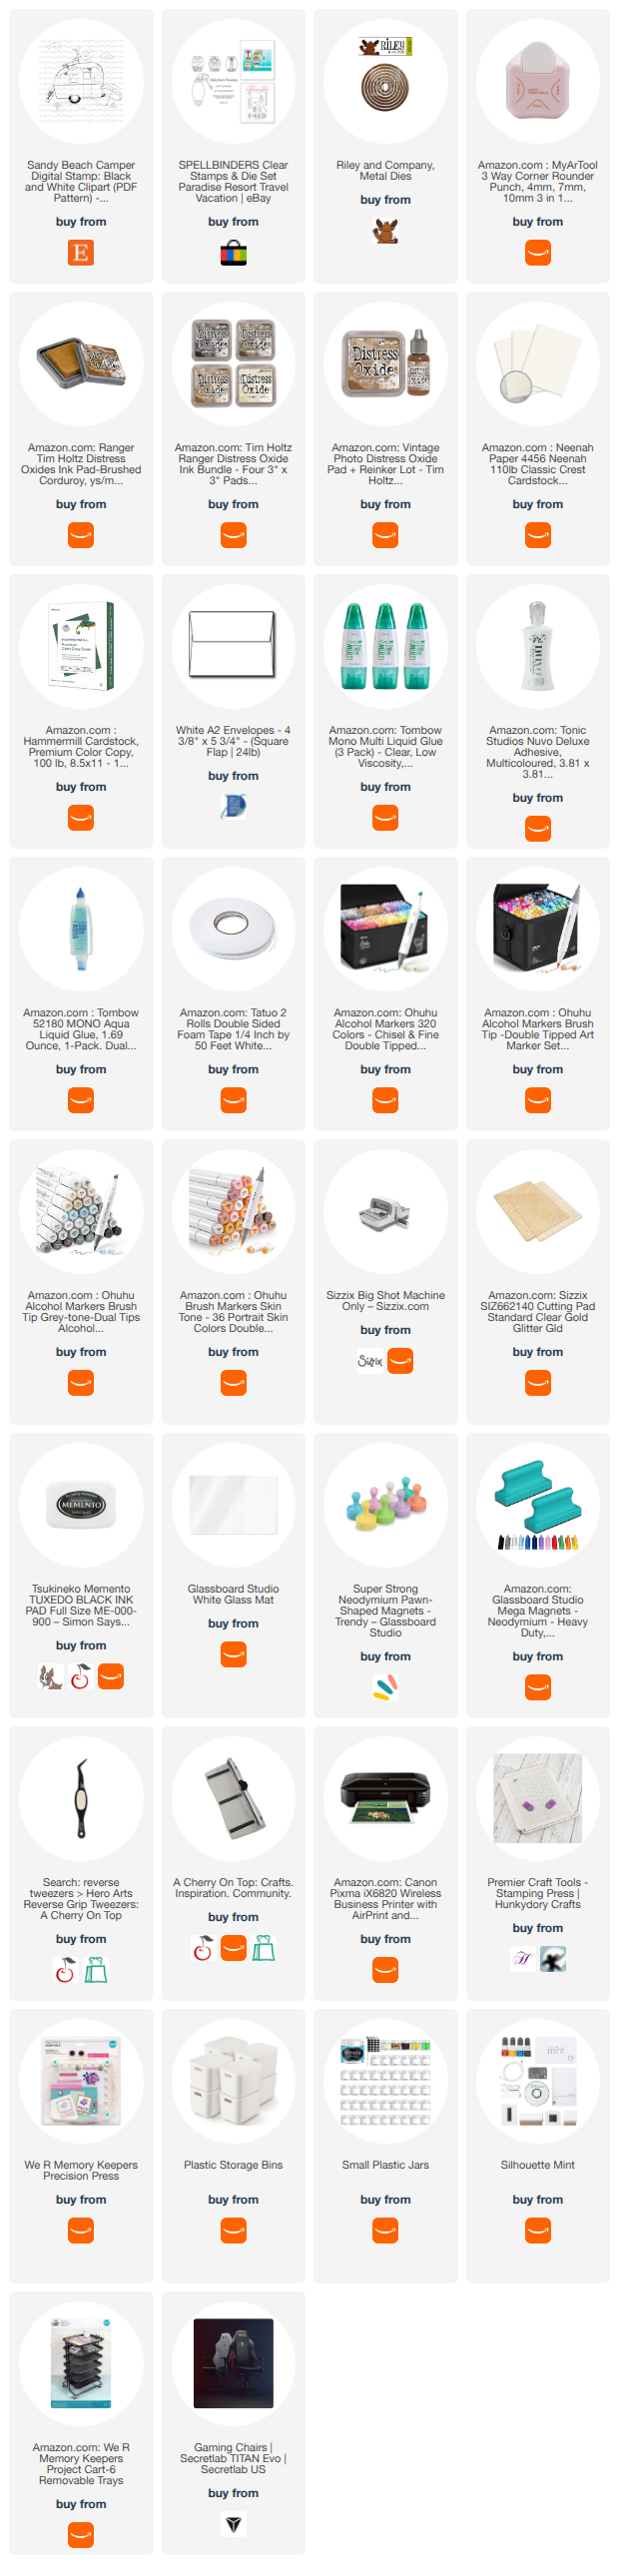
 Basic Supplies (specifics are listed below)

  • printer
  • alcohol markers
  • scissors
  • paper trimer
  • brown ink
  • beachy embossing folder (Mine is by Diamond Press and is discontinued)
  • Die cut/embossing machine (I use a Sizzix Big Shot) 
  • summer sentiment
  • adhesive foam
  • corner punch 
  • circle die (or can be cut with an electronic cutter such as a Silhouette Cameo or Cricut)
  • A2 card base
  • white cardstock for printing
  • light brown cardstock for embossing
  • sequins or gems, optional

Instruction

  1. Download the design and bring into your cutter's software.
  2. Size it to fit on an A2 card base.
  3. Either print the design on cardstock and trim with a paper trimmer or use the Print and Cut feature with the software to do that on cardstock. 
  4. Color with alcohol markers.
  5. Round corners with corner punch or scissors. 
  6. Use a circle die to cut out part of the design. Mine is intentional off-center to put the camper in the center.
  7. Add adhesive foam to the circle and set that and the remaining piece aside.
  8. Using a tan piece of cardstock, add brown ink to one side of the beachy embossing folder and send through your die cut machine. 
  9. Trim embossing paper to fit on your A2 card. I trim to 4 x 5.25 inches. Adhere in place
  10. Adhere the square piece to the embossed piece.
  11. Adhere the circle piece in its place in the square piece.
  12. Stamp or die cut a summer sentiment and adhere to the card in your chosen location. 
  13. Add an inside sentiment or message. 

~Paula

If you’d like, please follow me:

Please follow this blog, you can find the Follow button in the right column ===> 

Facebook: Paula's Studio

Instagram: PaulasStudioMI


Please Note: I am a big advocate of using supplies you already own but I understand that readers might be interested in specific products that they might not already own. This post contains product links so you can easily find any supplies and/or tools you may be interested in. As an affiliate, I may be compensated for a purchase made using my links. However, no additional cost is extended to you. The other links are just to help guide you in the right direction. I am not affiliated with all companies but I encourage you to shop small businesses as much as possible. I may even include eBay listings for products that are available there at the time this is posted. I only share product information of products I am familiar with and use in my own studio. Papers are just from my collection. I always grab from my scraps first and I don’t keep track of where they came from. Use what you have!
 

Saturday, August 3, 2024

Summer theme for tiered tray with Not Just Frames

 Hi friends!

I got this set of wood embellishments that I decided to put them on my tiered tray. I always love the idea of things I can change with the seasons for special holidays. I will admit I'm not completely faithful to changing them. Every year, I find that my summer decor is lacking. I get so excited to decorate for fall, Halloween, Thanksgiving, Christmas, Winter and then it starts to taper off. I sometimes give up before Easter arrives and rarely does Summer decor happen beyond a wreath on my front door. Really, I'm the only one that notices or cares. This year I tried with a little bit of effort.


I used pieces from this set by Not Just Frames: Summer Embellishment Pack  (afil)


 Please note: the Adirondack chair is missing from this photo but is included in the set.

All the pieces have paint on them. 


 I used acrylic paint markers. I like to use them on small items rather than a paint and brush.

The flip flops are decoupage. 

I traced the soles of the flip flops on the back side of the paper I chose to use.


I like to cut it slightly larger than the object where it will be adhered.


I coat the wood in Mod Podge. I'm not picky on the specific formula used as it is not going in the dishwasher or used as a sealer. It is just used as a glue here.

Once adhered, I use a brayer (roller) to roll each one to get out any bubbles or wrinkles. I used a thicker paper so there isn't much of this anyway but thin papers will show more of those.

I use a pen blade (Exacto knife would work too) to trim the edges to match the wood.

 I sanded the beach sign with a sanding block to give it a faux weathered look. 


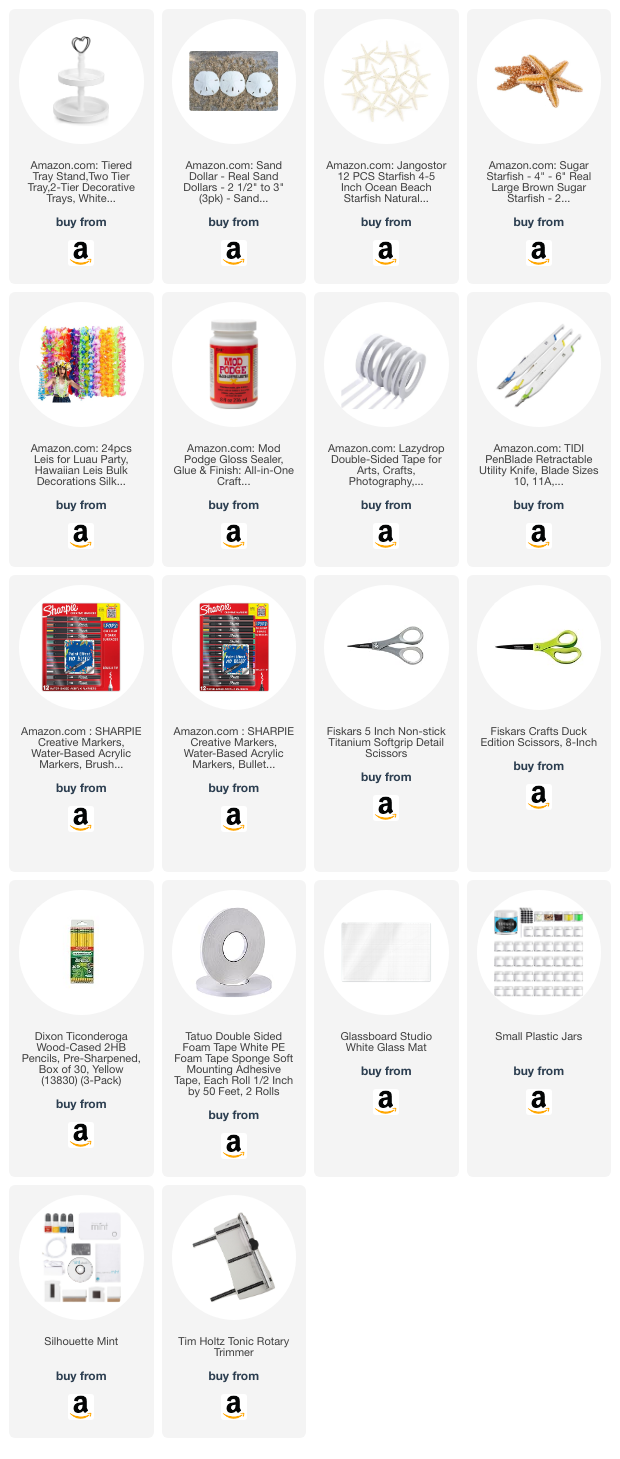
I put double-sided tape to a few pieces to attach them directly to my tiered tray. 


I added some things from around the house to help fill the tray such as a lei, starfish, and sand dollar. I think it's a good start!

Affiliate Message June 2024


~Paula

If you like, please follow my Facebook page: https://www.facebook.com/paulasstudiomi

Please Note: This post contains product links so you can easily find any supplies and/or tools you may be interested in. As an Amazon Associate and a Not Just Frames affiliate, I may be compensated for a purchase made using my link. However, no additional cost is extended to you. The other links are just to help guide you in the right direction. I am not affiliated with those companies but I encourage you to shop small businesses as much as possible.

Papers are just from my collection. I always grab from my scraps first and I don’t keep track of where they came from.


Thursday, March 28, 2024

Craft Challenge Blog #714

 Hi Friends!

This week's challenge for the CRAFT Challenge Blog is: Not A Card

The sponsor I was assigned for this week is Sheepski Designs <== check out their Etsy shop. 

I chose to work with their design ===> Beach Hut Holiday


 I had a few ideas for a non-card project for this design but one goal I have in my studio this year is to use supplies that I have in my room. I have a stack of wood pieces that I cut up to make things out of and this is the perfect project for one. 

I started the project off by bringing the design in Silhouette Studio. I made a rectangle box in the software that is the exact size of the wood block. I size the graphic to fit as best as I could. I set up the registration marks for the Print & Cut feature. 


I have them rotated on the screen because the paper is 8.5"x11" inches and will be placed on the cutting mat in this orientation. Yes, I could have done it landscape but it just seems easier to me to do it this way. The red rectangle is where the Cameo will cut the paper. The white portion of the graphic does not need to fill the rectangle because it will not be printed. I center the graphic how I would like it and sent it to the printer. Once printed I had the Cameo cut it out. I verified that the cutout design fits on the wood block as I would like and it does. 


I decided to use watercolor to paint this and I just feel that medium works well with the scenery in the image. I did not print this out on watercolor paper which is really the best paper for the job. However, I know I will have some issues and will still be able to make them work for the project. 

The graphic does not fill the whole cut out so to make up for it I just used the paints to extend the sand and water to the left and right edges. The issues from not using watercolor paper is that the paper can sort of pill from the moisture which I had happen in the sky. I was adding different shades of blue and some white to break of the solid color a bit. Once dry, I used a sand eraser to sand off the rough spots. The other issue with the paper is that it will curl and become wavy. I have fixed this sometimes but just running it through a die cut machine (Not to be confused with a Cricut or Cameo as they are not die cutting machines but rather electronic cutters.) A die cut machine with a firm sandwich can flatten really well. Just take care to not have the image against a plate with cut marks in it as it will add texture to your picture. In this case, I didn't do that at all. I used Mod Podge to adhere to the block with glue and used a brayer to roll it down smooth. 


I decided to add a phrase to it before I glue it to the block.


Once this was set to dry for a few hours, I simply tied some twine that seemed appropriate for a beach scene around the block to serve as a hanger. 

I will spray it with a sealer another day. It's still really cold here and I will wait until the warm temperatures arrive to spray it outside. 


There you have it!

~Paula

Please Note: This post contains product links so you can easily find any supplies and/or tools you may be interested in. Any product linked in the above description is NOT an affiliate link. I am not affiliated with those companies but I encourage you to shop small businesses as much as possible. The links below could be affiliate links. As an affiliate, I may be compensated for a purchase made using my link. However, no additional cost is extended to you