Hi there friends!
I quite often color images for my cards but not every likes to color or feel they don't have good coloring skills. Some of the time I just want to focus on other features of the card. Here I am using a printed focal design and building a card around it.

- Digital design
- printer
- electronic cutting machine such as a Cricut or Silhouette Cameo
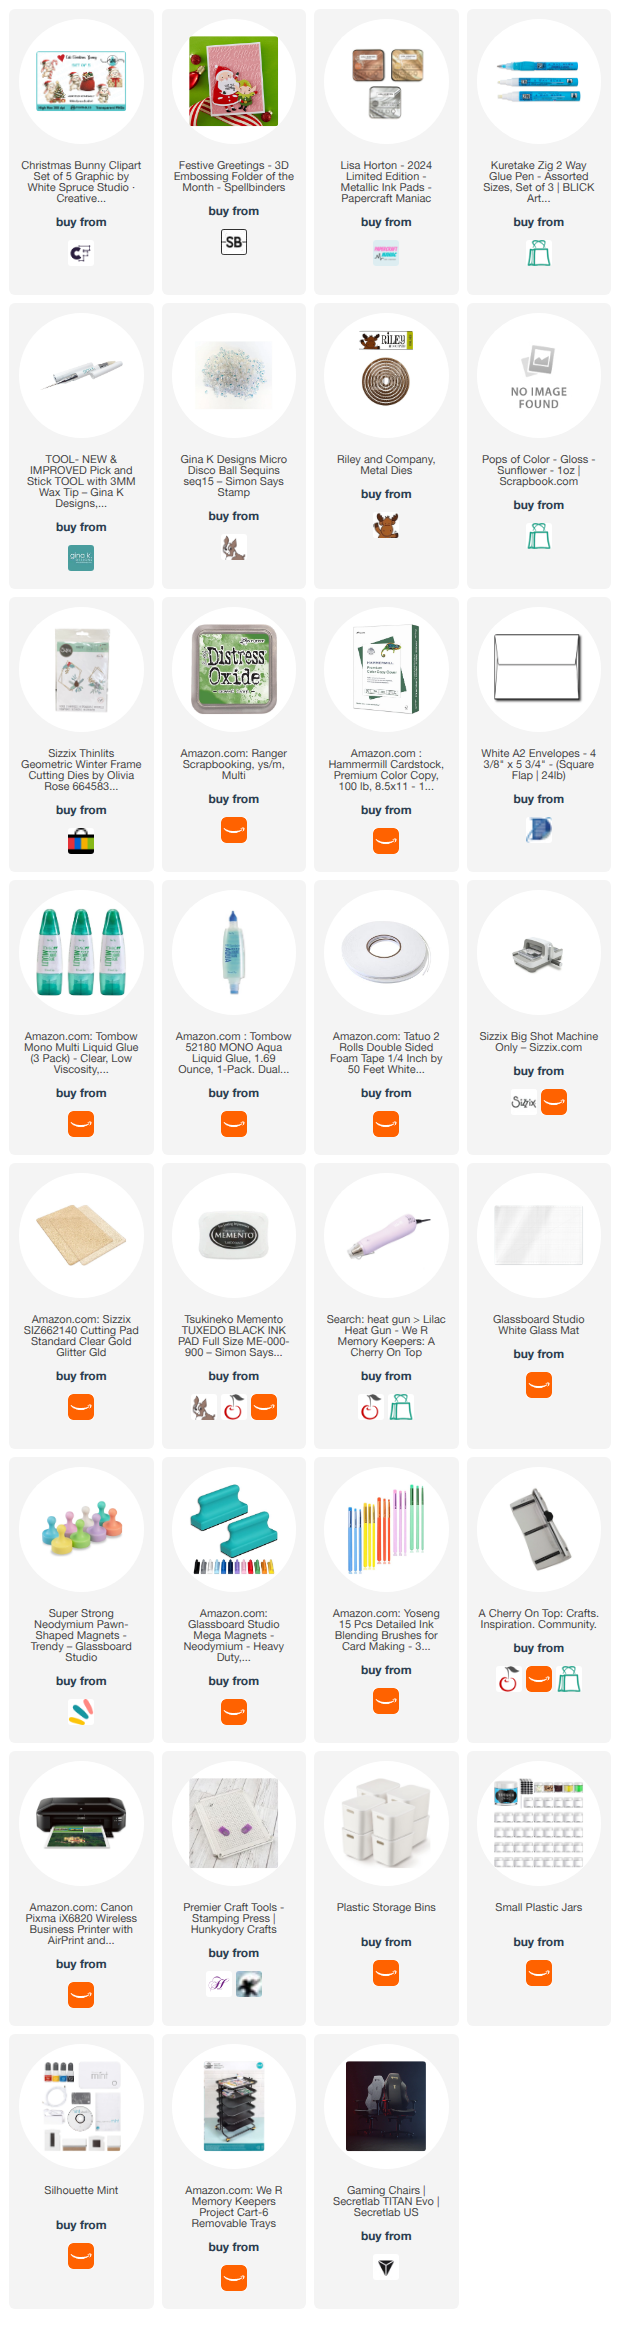
- Card panel size 4 x 5.5 inch in red
- A2 card base in dark green
- 3" circle cutting die or cut with your electronic cutting machine
- Christmas embossing folder
- gold metallic ink
- inking sponge
- glue pen
- glitter
- adhesive foam
- sequins or gems
- Christmas floral die or design for cutting machine
- liquid glue
- white card panel 5 x 3.75
- green ink
- small blending brush
Instruction:
- Download and unzip the file.
- Bring the design into your cutting machine's software. Size as desired. Mine is 2.75" tall.
- Using your machine's Print and Cut feature. Print the design and then cut it. Set aside.
- Cut a 3" circle out of card panel about 0.75 inch from top. Use a die or your electronic cutting machine.

- Using an embossing folder, embossing a holiday design onto the card panel.

- Apply gold metallic ink to the raised part of the embossed card panel.

- Apply liquid glue with a glue pen around the perimeter of the cut out circle. Sprinkle glitter onto the glue.

- Adhere the panel to the card base.
- Using adhesive foam to add dimension, attach the printed design to the center of the circle.

- Add three sequins or gems around the design and in the circle.
- Cut some holiday greenery and florals. I used a die set but digital files for your cutting machine will work too.
- Assemble and adhere adjacent to the circle.
- If desired, add some shading with green ink and a small blending brush.

- Use Pops of Color for flower centers, if desired.

- Adhere white panel to the inside of the card. Add a sentiment of your choice


~Paula
If you’d like, please follow me:
Please follow this blog, you can find the Follow button in the right column ===>
Facebook: Paula's Studio
Instagram: PaulasStudioMI
Please Note: I am a big advocate of using supplies you already own but I understand that readers might be interested in specific products that they might not already own. This post contains product links so you can easily find any supplies and/or tools you may be interested in. As an affiliate, I may be compensated for a purchase made using my links. However, no additional cost is extended to you. The other links are just to help guide you in the right direction. I am not affiliated with all companies but I encourage you to shop small businesses as much as possible. I may even include eBay listings for products that are available there at the time this is posted. I only share product information of products I am familiar with and use in my own studio. Papers are just from my collection. I always grab from my scraps first and I don’t keep track of where they came from. Use what you have!