Showing posts with label ocean. Show all posts

Friday, November 1, 2024

Craft Challenge Blog #738

 Hi Friends!

I'm back from my October events. If you didn't catch my announcement earlier, I perform as two separate Halloween characters all over metro Detroit starting mid-September through October. During this time I limit my work and social life as my schedule gets very hectic and I want I enjoy it with as little stress and exhaustion as possible.

Also -- CRAFT Challenge Blog is back after being suspended for a few weeks while the owner of the blog recovers from being sick. So here is the first project for the return:

The theme for this week is: Anything Goes and the sponsor is: Trimgym Digital Stamps and Images

I used my Silhouette Cameo and Studio software to resize and multiply the seahorses. I then print them out and had my Cameo cut them out for me. I colored them using alcohol markers.

I pulled one of my water colored card panels out of my basket of panels I previously made. I love that I have a pile of these waiting to be something wonderful.


I chose a sentiment that went along with the ocean.


I stamped it in a contrasting blue color. 


I added clear embossing to it to give it shine and texture.


I added some gold sparkle spatter. 


I added clear drops.


~Paula

If you like, please follow my Facebook page: https://www.facebook.com/paulasstudiomi

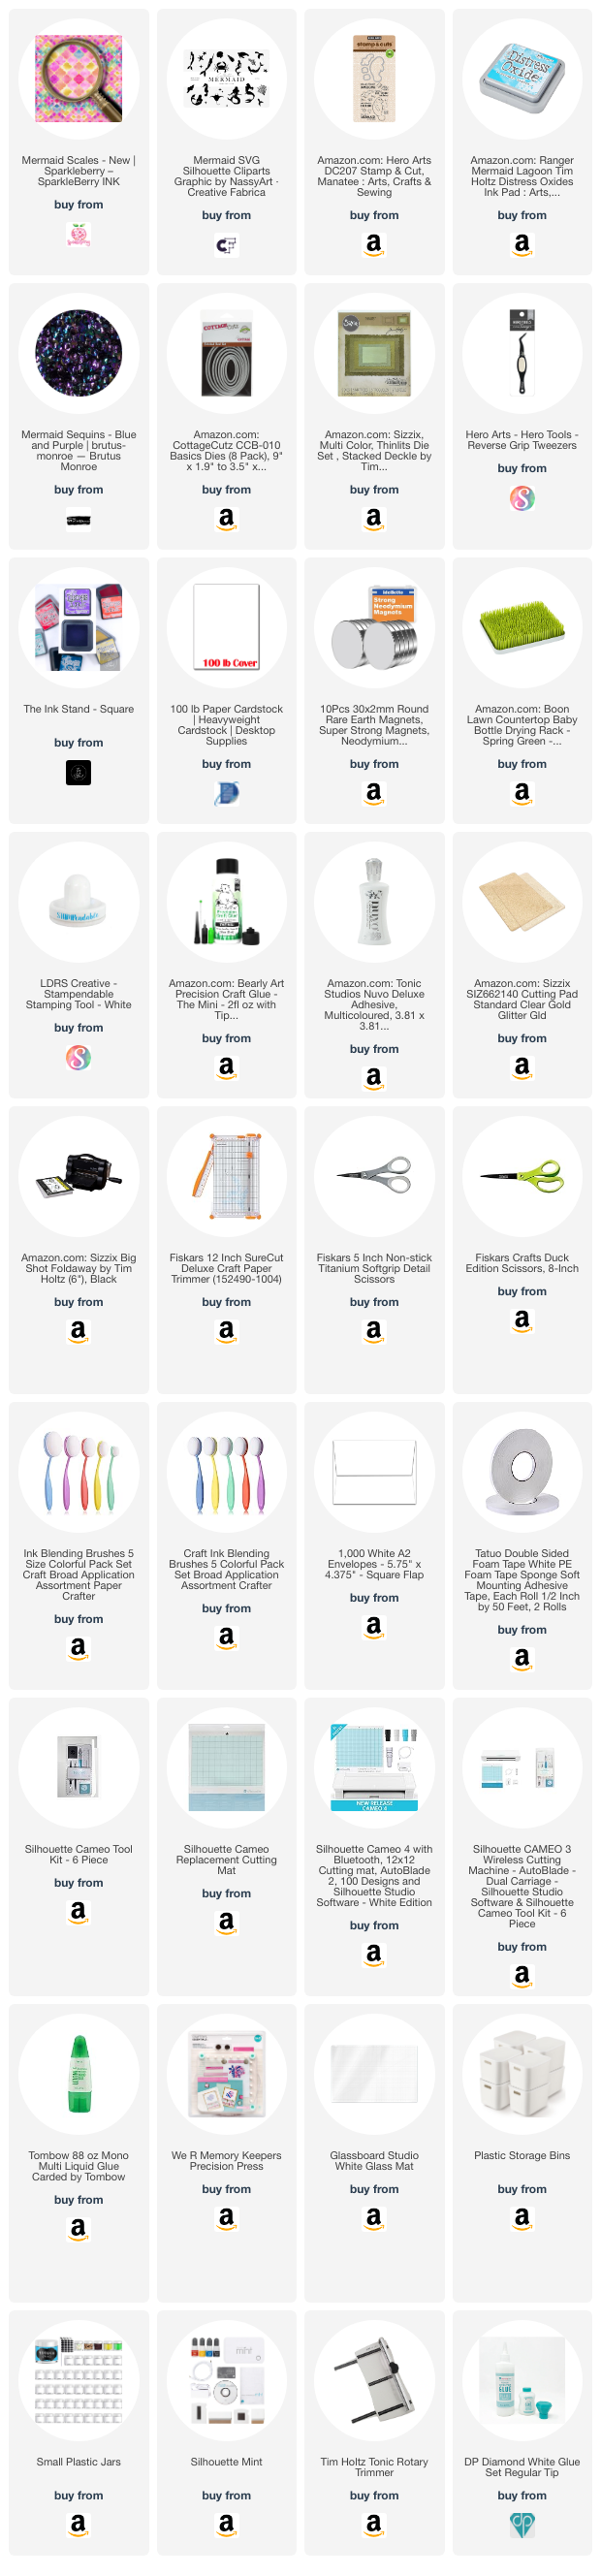
Please Note: This post contains product links so you can easily find any supplies and/or tools you may be interested in. As an Amazon Associate, I may be compensated for a purchase made using my link. However, no additional cost is extended to you. The other links are just to help guide you in the right direction. I am not affiliated with those companies but I encourage you to shop small businesses as much as possible.

Papers are just from my collection. I always grab from my scraps first and I don’t keep track of where they came from.


Monday, June 10, 2024

Seahorses with Sparkleberry Ink vinyl

 Hi friends!

Today I made a card using Sparkleberry Ink pattern called "Laura's Abalone" as part of my weekly Sparkleberry Ink project to celebrate their return. 

This pattern is one of their most popular and was part of their monthly vinyl box for May. 


This is vinyl, not paper. I cut it to 4x5.25" and applied the adhesive vinyl to white cardstock. 

It's best to do this by revealing part of the adhesive at a time. 


Once you apply to the paper it will be difficult to move. I try to get all the wrinkles out as I attach it and peel the paper backing off. You can also pull all the backing off and add liquid glue to it. This allows you to stick the vinyl to the paper but because the glue is wet you will be able to adjust it for a few minutes. I did not do this as I am not sure how much you will see an impression of the glue once attached.

I wanted some sort of sea life for my scene and I wanted it to be a card to send to a friend. I decided on seahorses. I found a really cute one by Miss Kate Cuttables in the Silhouette Design Store. It has 4 layers. I used one seahorse but twice. I mirrored one of them so they are facing each other. One is 4 shades of pink and other of purple as those 2 colors are in the background pattern. 

I attached them using 2mm adhesive foam so they are raised up off the background.

I only have one die that is the word "friend" and I got it from a subscription sampler a few years ago. Any word die would work as well as using your electronic cutter to cut it. I cut one shadow in pink and then another in green glitter as that color is also in the background. The words "hello friend" were cut 4 times and glued together to make it thick. 

I glued the finished piece to the card panel and slanted slightly to go along with the lines of the background.


I attached round embellishments to give the appearance of bubbles in the water. 


And done!


~Paula

If you like, please follow my Facebook page: https://www.facebook.com/paulasstudiomi

Please Note: This post contains product links so you can easily find any supplies and/or tools you may be interested in. As an Amazon Associate, I may be compensated for a purchase made using my link. However, no additional cost is extended to you. The other links are just to help guide you in the right direction. I am not affiliated with those companies but I encourage you to shop small businesses as much as possible.

Papers are just from my collection. I always grab from my scraps first and I don’t keep track of where they came from.

Wednesday, May 22, 2024

Mermaid birthday card using Sparkleberry Ink vinyl

 Hi friends!

Today I am making this lovely mermaid card using Sparkleberry Ink adhesive vinyl. Sparkleberry Ink is a small USA business based in Georgia. They recently changed owners and the new owner is not at all new to Sparkleberry Ink. To celebrate the return of them I am making one card a week using products that highlight their patterns.


Throughout Sparkleberry history this pattern used in the background has been often used in mermaid themed projects and I decided to do that too. 

The elements of mermaid, turtle, and vegetation are from Creative Fabrica (link found in supply list) and I laid them out on the screen within Silhouette Studio.

The red lines represent my card panel and the oval that I intend to cut the vinyl with. I do this so that I can adjust the size of all the elements and decide if I want to add or delete any. 

I used green glitter paper for the sea vegetation but the mermaid and turtle are silhouettes in black. This way that Sparklberry Ink pattern will be highlighted more.


I actually cut the mermaid out 4 times. I only cut the turtle once but it is a slightly more gray shade of black. This slight coloring change adds a sense of depth which works well for an underwater scene. The mermaid pieces get glued as a stack to make them thicker. This gives it more depth and all the dainty parts are more stable.

I cut the card panel with a deckled edge die. 


I use Mermaid Lagoon (of course!) Distress Oxide to color the edges of the paper. I don't need to do the center as it will be covered. This will help those tile colors to pop.

I colored a small piece of white cardstock that I will cut and stamp for the sentiment. I am doing this with the same color but using the ink that is already on my brush and pulling any off my Glassboard Mat too. I don't want this to be a blaring white or take away from that background either.

I used a small oval die from the same set as the bigger one I use on the background.

Cleaning up the remaining ink off the Glassboard Mat is as quick and easy as a baby wipe. I always have some nearby to keep my surfaces clean. 


I knew when I picked this die that the sentiment would reach the stitched edges. I'm okay with that as it is better than choosing a bigger oval. I adhered the oval to my stamp positioner base with magnets. I use the same ink for this.


Now it's time to start assembly. First I remove the backing off the vinyl piece and attach it to the card panel. 


I want to add these sequins for more sparkle and faux bubbles. I always dump sequins in these little jars and attach the label to the jar. 

It is just easier to work with when I can pick sequins out of the jar with tweezers.


All the elements are glued to the card panel. I used foam adhesive for the sentiment oval to pop it up too. 


~Paula

If you like, please follow my Facebook page: https://www.facebook.com/paulasstudiomi

Please Note: This post contains product links so you can easily find any supplies and/or tools you may be interested in. I am affiliates with Amazon and Creative Fabrica. I may be compensated for a purchase made using my link. However, no additional cost is extended to you. The other links are just to help guide you in the right direction. I am not affiliated with those companies but I encourage you to shop small businesses as much as possible. 

 Papers are just from my collection. I always grab from my scraps first and I don’t keep track of where they came from.