Showing posts with label CRAFT Challenge Blog Team. Show all posts

Thursday, July 23, 2026

Christmas in July with CRAFT Challenge Blog #785

 Hi there friends!

Here I am carrying on with Christmas in July. It's been a busy month so I have found I just cannot get one done every single day. It's okay because I actually try to make one holiday card every week and have for many years so they are all done by the time I need to mail them. 

Today's card is for the CRAFT Challenge Blog current challenge which has the theme of Christmas. The sponsor I am using is Sheepski Designs


 The image is colored with alcohol makers. The background is from an embossing folder inked up with green ink with a darker green added to the raised image of branches. The sentiment is cut from a tie and what I always say when my kitties take interest in the Christmas tree.


~Paula

If you’d like, please follow me:

Please follow this blog, you can find the Follow button in the right column ===> 

Facebook: Paula's Studio

Instagram: PaulasStudioMI


Please Note: I am a big advocate of using supplies you already own but I understand that readers might be interested in specific products that they might not already own. This post contains product links so you can easily find any supplies and/or tools you may be interested in. As an affiliate, I may be compensated for a purchase made using my links. However, no additional cost is extended to you. The other links are just to help guide you in the right direction. I am not affiliated with all companies but I encourage you to shop small businesses as much as possible. I may even include eBay listings for products that are available there at the time this is posted. I only share product information of products I am familiar with and use in my own studio. Papers are just from my collection. I always grab from my scraps first and I don’t keep track of where they came from. Use what you have!
Friday, July 10, 2026

CRAFT Challenge Blog #784

 Hi there friends,

The latest challenge over on the CRAFT Challenge Blog is "Thank you" or anything goes. The sponsor is Doctor Digi's House of Stamps


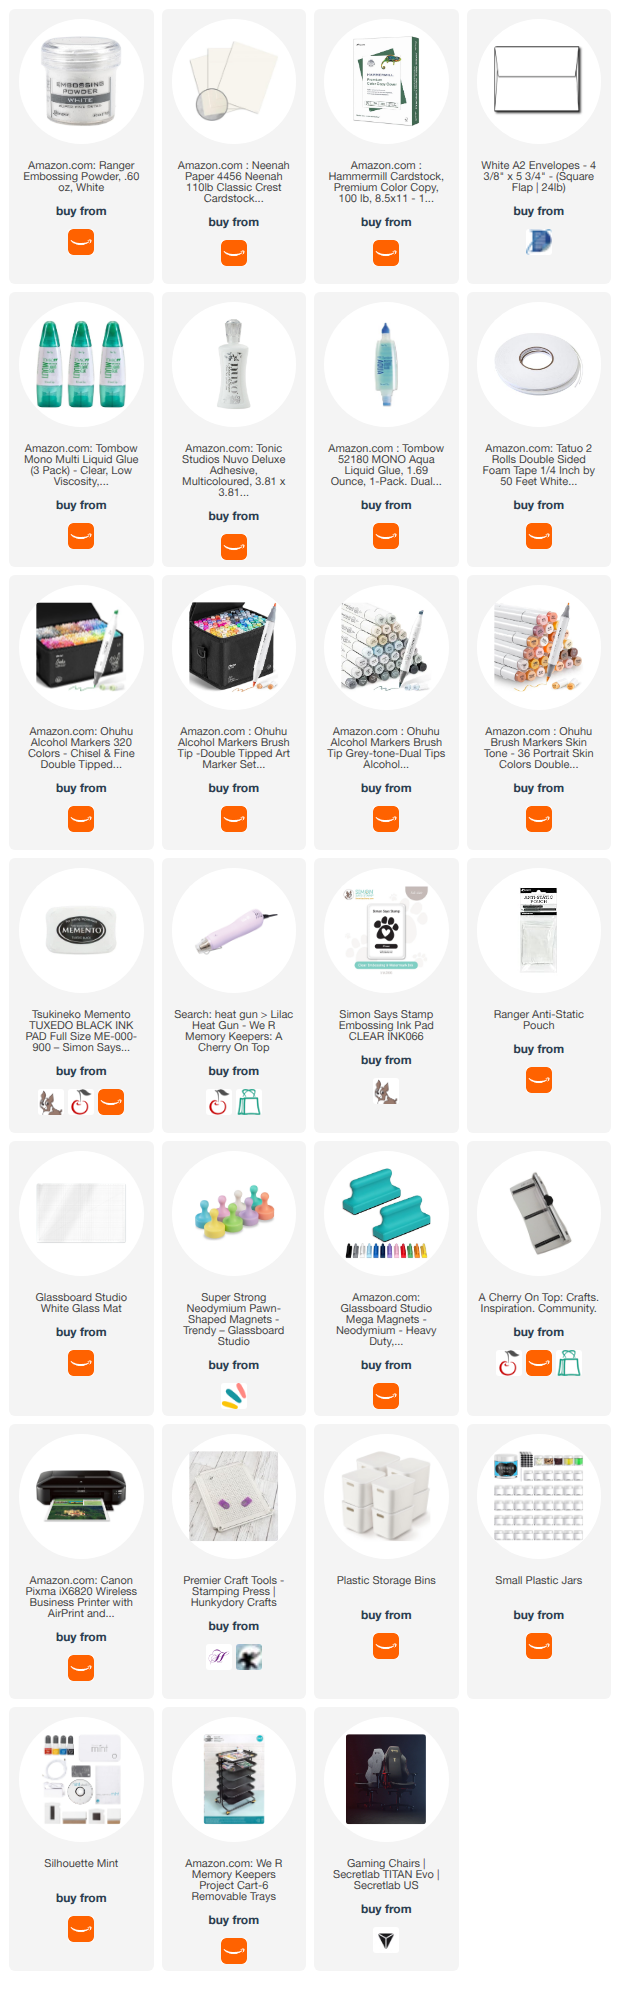
 I printed the design out to fit on an A2 card base. I colored with alcohol makers. I added some sparkly sequins. The sentiment is from Spellbinders Weekender kit. It is pricey and the sets will not be released individually but let me tell you, I love every piece of it. The sentiment is heat embossing in white. It has a die to cut it out but I just used scissors. Lastly it is mounted on a solid cardstock in green and then an A2 size card base. 

 I thought this would be such a fun thank you card to give to a host of a summer cookout. So funny. I will attach it to a bottle of BBQ sauce from a local restaurant. It's just the little things to enjoy in life.

 ~Paula
If you’d like, please follow me:
Please follow this blog, you can find the Follow button in the right column ===> 
Facebook: Paula's Studio
Instagram: PaulasStudioMI 

Please Note: I am a big advocate of using supplies you already own but I understand that readers might be interested in specific products that they might not already own. This post contains product links so you can easily find any supplies and/or tools you may be interested in. As an affiliate, I may be compensated for a purchase made using my links. However, no additional cost is extended to you. The other links are just to help guide you in the right direction. I am not affiliated with all companies but I encourage you to shop small businesses as much as possible. I may even include eBay listings for products that are available there at the time this is posted. I only share product information of products I am familiar with and use in my own studio. Papers are just from my collection. I always grab from my scraps first and I don’t keep track of where they came from. Use what you have!

Thursday, June 11, 2026

CRAFT Challenge Blog #782


Hi Friends!


The newest challenge over at CRAFT Challenge Blog and the theme is "cute." I am working with a design by Polkadoodles.

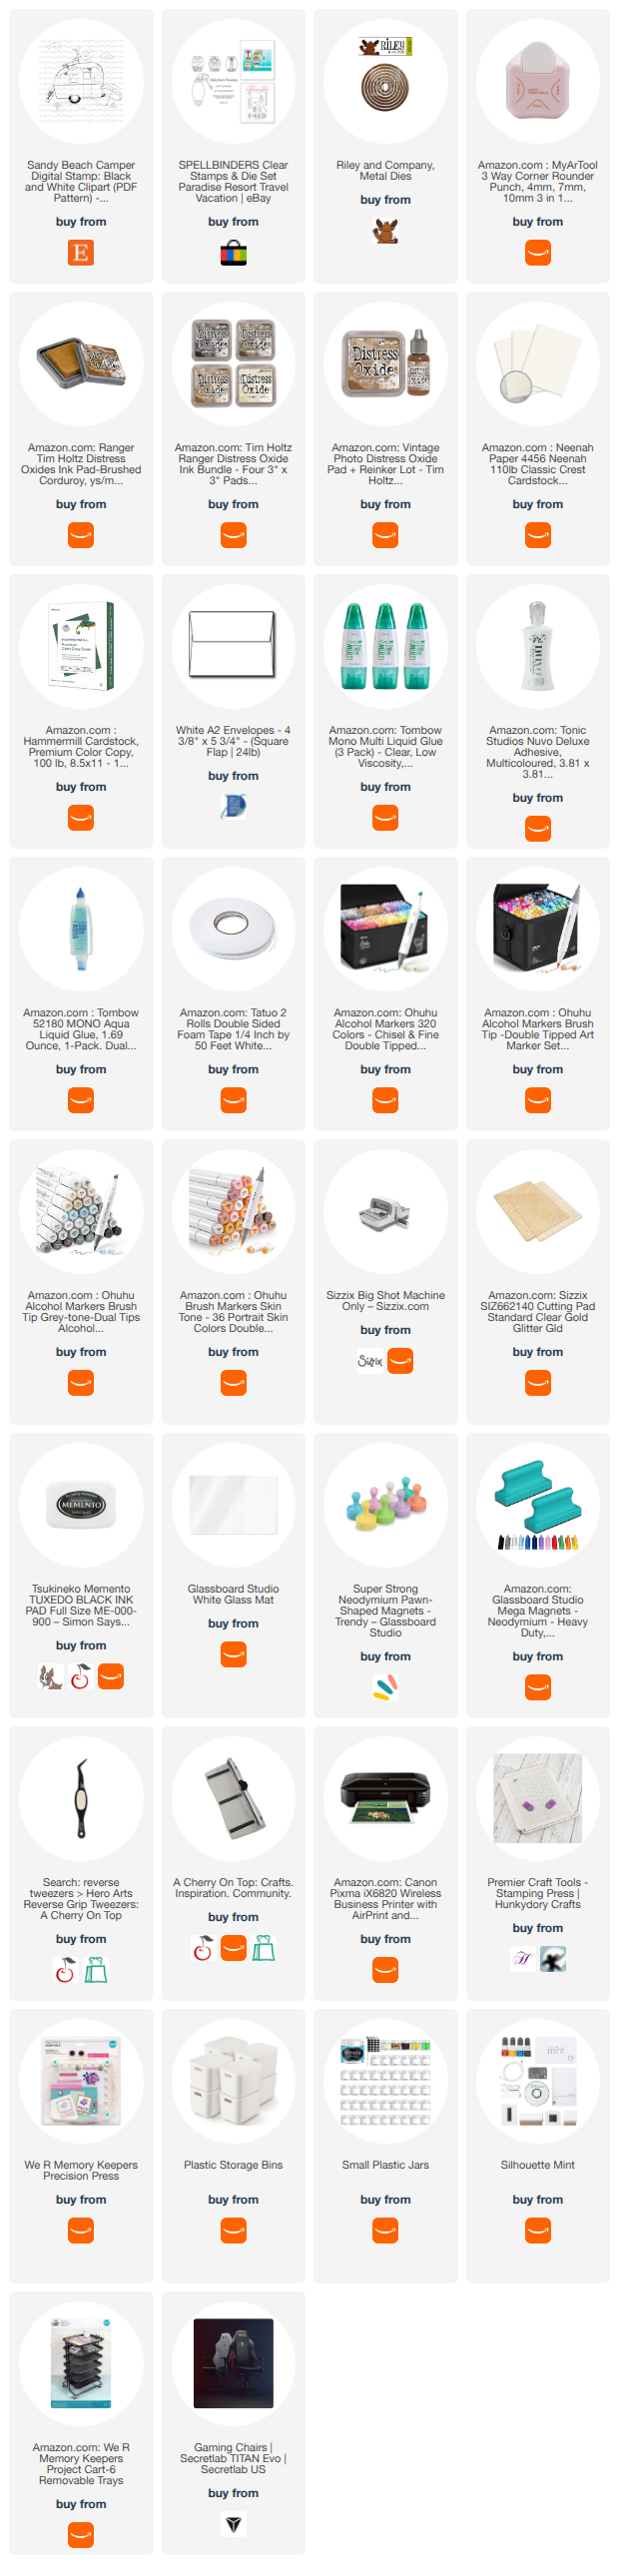
Please note: I use Silhouette Studio with a Silhouette Cameo. My instruction is exactly how I made my card. You can change design elements as you please and this will work on other brands of electronic cutters. My specific supply list is at the bottom including the links to the design files used.

Basic supplies:design file (link listed below)
white cardstock for printing
colored cardstock for border
A2 card base
alcohol markers
printer
electronic cutter
rectangle die
white acrylic paint marker
sequins or gems
sentiment stamp and ink


Instruction Download and unzip file.
Draw a rectangle in the software for your cutting machine to be 5 x 3.75"
Drag the design file into the software and resize to fit inside the rectangle.
On send panel, turn off the cut lines for the design image. We only want to cut the rectangle.
One the design panel, select both the image and the rectangle and center them. Group them together.
Turn on the registration marks for the Print and Cut feature.
Print the page.
Cut with your cutting machine.(alternatively you can just print the page and use a paper trimmer.)
Color the design using alcohol markers.
Cut a colored piece of cardstock with a stitched die to be 5.25 x 4 inches.
Adhere the colored design to the colored cardstock and then adhere both to the card base.
Stamp a sentiment.
Adhere 3 sequins.
Add an interior sentiment or message.

~Paula

If you’d like, please follow me:

Please follow this blog, you can find the Follow button in the right column ===>

Facebook: Paula's Studio

Instagram: PaulasStudioMI


Please Note: I am a big advocate of using supplies you already own but I understand that readers might be interested in specific products that they might not already own. This post contains product links so you can easily find any supplies and/or tools you may be interested in. As an affiliate, I may be compensated for a purchase made using my links. However, no additional cost is extended to you. The other links are just to help guide you in the right direction. I am not affiliated with all companies but I encourage you to shop small businesses as much as possible. I may even include eBay listings for products that are available there at the time this is posted. I only share product information of products I am familiar with and use in my own studio. Papers are just from my collection. I always grab from my scraps first and I don’t keep track of where they came from. Use what you have!


Wednesday, May 27, 2026

Craft Challenge Blog #781 - Christmas with Jo


Hi Friends!


This week's new challenge at CRAFT Challenge Blog is a Christmas theme. The sponsor is Trimgym and I am using the Pink Christmas Paper Pack.


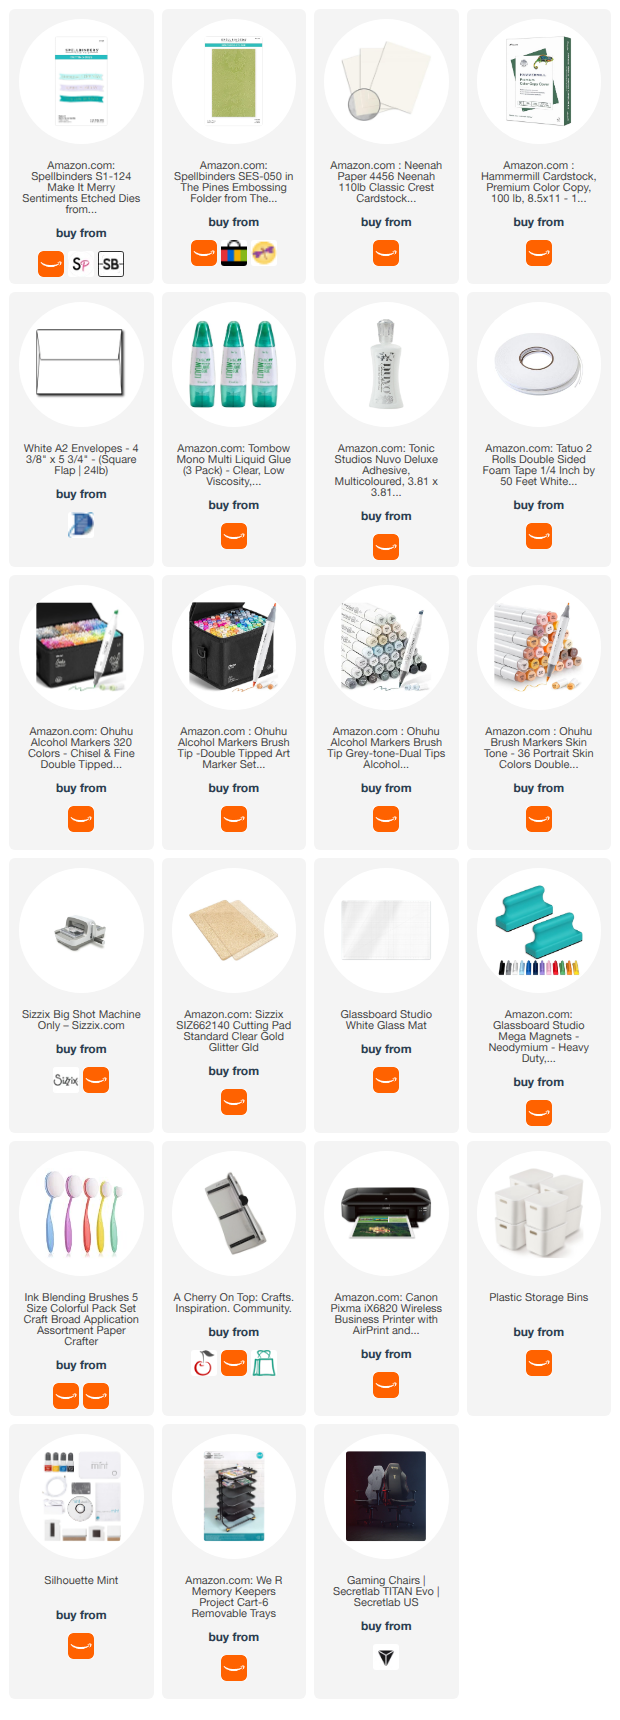
Please note: I use Silhouette Studio with a Silhouette Cameo. My instruction is exactly how I made my card. You can change design elements as you please and this will work on other brands of electronic cutters. My specific supply list is at the bottom including the links to the design files used.

Basic supplies electronic cutter
svg of a two layer christmas tree (I am using design #1800013 by Silhouette)
printer
glitter paper
A2 card base
green and pink cardstock
Christmas sentiment die (Mine is by Scrapbook.com)
vellum
adhesive foam
liquid adhesive

InstructionBring in the Christmas tree design to the software for the cutting machine
Duplicate 2 times. Make 1 tree bigger than the other two.
Size the trees to fit with a 5.25 x 4 inch rectangle in landscape orientation where they slightly overlap.
Release compound path and separate all the trees.
Fill the inner layer of the trees with 3 different pink pattern papers.
Cut the filled layers of trees using the print and cut feature.
Cut the outer layers of the trees in different colors of green.
Cut the stars in yellow.
Cut a piece of blue glitter paper to be 4 x 5.25 inches. I used a frame die but a paper trimmer or cutting machine will do the trick.
Cut the sentiment out of light pink paper.
Cut the sentiment shadow out of vellum.
Glue the sentiment to the vellum shadow.
Glue the large tree to the center of the blue glitter background panel.
Using adhesive foam, adhere the other two smaller trees to the card panel.
Adhere the sentiment across the front of the trees.
Adhere the card panel to the card base.


Please Note: I am a big advocate of using supplies you already own but I understand that readers might be interested in specific products that they might not already own. This post contains product links so you can easily find any supplies and/or tools you may be interested in. As an affiliate, I may be compensated for a purchase made using my links. However, no additional cost is extended to you. The other links are just to help guide you in the right direction. I am not affiliated with all companies but I encourage you to shop small businesses as much as possible. I may even include eBay listings for products that are available there at the time this is posted. I only share product information of products I am familiar with and use in my own studio. Papers are just from my collection. I always grab from my scraps first and I don’t keep track of where they came from. Use what you have!
Wednesday, May 13, 2026

CRAFT Challenge Blog #780


Hi there friends!


Good Morning All and a Very Happy 17h Birthday to us all here at CRAFT Challenge!!


This year we are 17 years old and still going strong. Only one team member has been present from the start, Jo. She seen a lot of team members come and go over these 17 years, but all have been fabulous and very talented. Even though Jo’s time is limited these days, she still loves being part of this team.

We all feel honoured to be working with such talented and lovely people.


We have a DT call at the moment, so if you feel you would like to join our fabulous team, then simply get in touch with us and let us know.


And now it’s time for our birthday celebrations.

Our challenge for the next two weeks is


Birthday!


(what else could it be?)


Anything that fits in with this subject, qualifies for entering this challenge.


There is a maximum of 1 entry per person for this challenge and as always it needs to be recent (new) work (so created and posted after this challenge has started). Although we love to see your work, it would put those contestants that put more than 1 entry in at an unfair advantage. The same limitation exists for the prizes to be won on the blogs of our DT members.


Please also turn word verification off as this makes leaving a comment on your lovely creations much easier. We will not leave a comment if you have word verification switched on.


Here is an alphabetical list of the fabulous sponsors for our Blog Hop, all loyal supporters of our challenge blog:


Here is an alphabetical list of the fabulous sponsors for our Blog Hop, all loyal supporters of our challenge blog:


All Dressed Up


Dr Digi’s House of Stamps


Marchhare Cards


Polkadoodles


Sheepski Designs


Star Stampz


Trimgym's Digistamps and Images


The rules this year are very simple:


1. Make a project for this challenge and we will put your entry in the random draw for the prize from Sheepski Designs

2. Visit the blogs of our DT and enter your projects into their Linky or add your link in their comments if no Linky is in place to be put in the random draw for the prize on their blog.


As always, we will choose the Top 3 as we do every week and the first placed Top 3 will be invited to be a GDT for a future challenge


You should have come here from Monika’s Blog

and your next stop is


Sheryl’s Blog


The prize on this blog is 2 images from


All Dressed Up


Here is my card


Using ‘ Birthday Girl Unicorn Cake


Please enter your card in the linky below to be in with a chance to win this prize or leave a link in the comment box below.


You are invited to the Inlinkz link party! Click here to enter

Wednesday, April 15, 2026

CRAFT Challege Blog #778

 Hi there friends!

The latest challenge over at CRAFT Challenge Blog has a theme of Anything Goes. The sponsor that I working with is Star Stampz and the design is Spring Rain


 I colored it with Tim Holtz watercolor pencils, added some gems and a sentiment by Fiskars.


Check out the supply list below for all that I used to make this card. 

~Paula

If you’d like, please follow me:

Please follow this blog, you can find the Follow button in the right column ===> 

Facebook: Paula's Studio

Instagram: PaulasStudioMI


Please Note: This post contains product links so you can easily find any supplies and/or tools you may be interested in. As an affiliate, I may be compensated for a purchase made using my links. However, no additional cost is extended to you. The other links are just to help guide you in the right direction. I am not affiliated with all companies but I encourage you to shop small businesses as much as possible. I only share product information of products I am familiar with and use in my own studio.

Papers are just from my collection. I always grab from my scraps first and I don’t keep track of where they came from. Use what you have!

Wednesday, April 1, 2026

Craft Challenge Blog #777

 Hi friends!

I know I've been quiet quite a bit lately. I am always still here working behind the scenes but lately I've been adjusting my daily routine and trying to pack more into my day. It's not easy! I'm getting it done though.


This week's challenge over on the CRAFT Challenge Blog has a theme of Seasons/Weather and the sponsor is: Polkadoodles Crafts. The design I am using is: Parkie Polar Bear and Theo Penguin. This pair is so cute. I paired them with a stamp set from Picket Fence Studios.

Supplies are listed at the end, here are my instructions:

  1. Bring the file into the software of your electronic cutting machine. I am using a Silhouette Studio. 
  2. Resize the image to fit inside a rectangle that is 4x5.25 inches. 

  3. Using the print and cut feature, make sure the design will be cut only on the outside. Print the design and cut it with your cutting machine.  For some reason, I couldn't get the software to NOT cut off one of his ears. It still printed okay and I was able to attached it on the backside so if you have the same problem, no worries, it still can work.
  4. Use alcohol markers to color the design.

  5. From the stamp stamp set, stamp the glacier in a medium to light blue color and the sentiment in black.

  6. Smear some of the blue ink on your work mat and spritz with water. Use a paint brush lightly color in the glacier. Let dry.

  7. Using scissors, cut the glacier and the sentiment out separately and set aside.
  8. Using a dark blue paper, cut a background panel measuring 4.25x5.5 inches. I used a stitched die but just cutting is okay too. 
  9. Using a white paint, water it down and splatter with a fan brush to give a snowy effect.
  10. Adhere the bear to the glacier to he is sitting on it, then adhere to the blue background panel. 
  11. Using foam tape, adhere the sentiment to the panel.
  12. Add holographic stars to the sky. 
  13. Adhere the whole project to an A2 size card panel and add a sentiment of your choice inside. 

    Check out the supply list below for all that I used to make this card. 

    ~Paula

    If you’d like, please follow me:

    Please follow this blog, you can find the Follow button in the right column ===> 

    Facebook: Paula's Studio

    Instagram: PaulasStudioMI


    Please Note: This post contains product links so you can easily find any supplies and/or tools you may be interested in. As an affiliate, I may be compensated for a purchase made using my links. However, no additional cost is extended to you. The other links are just to help guide you in the right direction. I am not affiliated with all companies but I encourage you to shop small businesses as much as possible. I only share product information of products I am familiar with and use in my own studio.

    Papers are just from my collection. I always grab from my scraps first and I don’t keep track of where they came from. Use what you have!