Showing posts with label White Spruce Studio. Show all posts

Wednesday, July 1, 2026

Christmas in July Day 1 with White Spruce Studio


Hi Friends!

Today I am starting 31 Days of Christmas in July! I am setting a goal to post a holiday card every day this month. I did this in October for Halloween and I loved the challenge and the results. It dosen't really make too much sense to do this in December so here I am in July! Now, I will be honest -- this one will be extra challenging as I have some big personal things going on that might need my attention so don't be mad or even surprised if I fail at this but I am going to give it my best!


Today I am starting with this adorable elf design by White Spruce Studio.


Please note: I use Silhouette Studio with a Silhouette Cameo. My instruction is exactly how I made my card. You can change design elements as you please and this will work on other brands of electronic cutters. My specific supply list is at the bottom including the links to the design files used.

List basic supplies Elf design file, link below
sentiment stamp
A2 card base in white
A2 colored cardstock for background
printer
white cardstock for printing
electronic cutting machine and software
embossing powder in gold
embossing ink
heat gun
embellishments

Instruction

1. Download and unzip the digital files.
2. Draw a rectangle 5.5 x 4.25 inches.
3. Load the digital design and size it to fit the rectangle.
4. Position the elf to fit in the rectangle but towards the bottom.
5. Using the print and cut feature, print the design and have your cutting machine cut it out.
6. Color the design with alcohol markers.
7. Adhere a colored piece of cardstock to your card base.


8. Adhere the colored elf next. Trim the bottom of the elf design to be the bottom of the front of the card.
9. Stamp the sentiment above with clear embossing ink. Apply gold, or other color, of embossing powder and heat set with heat gun.
10. Adhere gems or sequins.


~Paula

If you’d like, please follow me:

Please follow this blog, you can find the Follow button in the right column ===>

Facebook: Paula's Studio

Instagram: PaulasStudioMI


Please Note: I am a big advocate of using supplies you already own but I understand that readers might be interested in specific products that they might not already own. This post contains product links so you can easily find any supplies and/or tools you may be interested in. As an affiliate, I may be compensated for a purchase made using my links. However, no additional cost is extended to you. The other links are just to help guide you in the right direction. I am not affiliated with all companies but I encourage you to shop small businesses as much as possible. I may even include eBay listings for products that are available there at the time this is posted. I only share product information of products I am familiar with and use in my own studio. Papers are just from my collection. I always grab from my scraps first and I don’t keep track of where they came from. Use what you have!
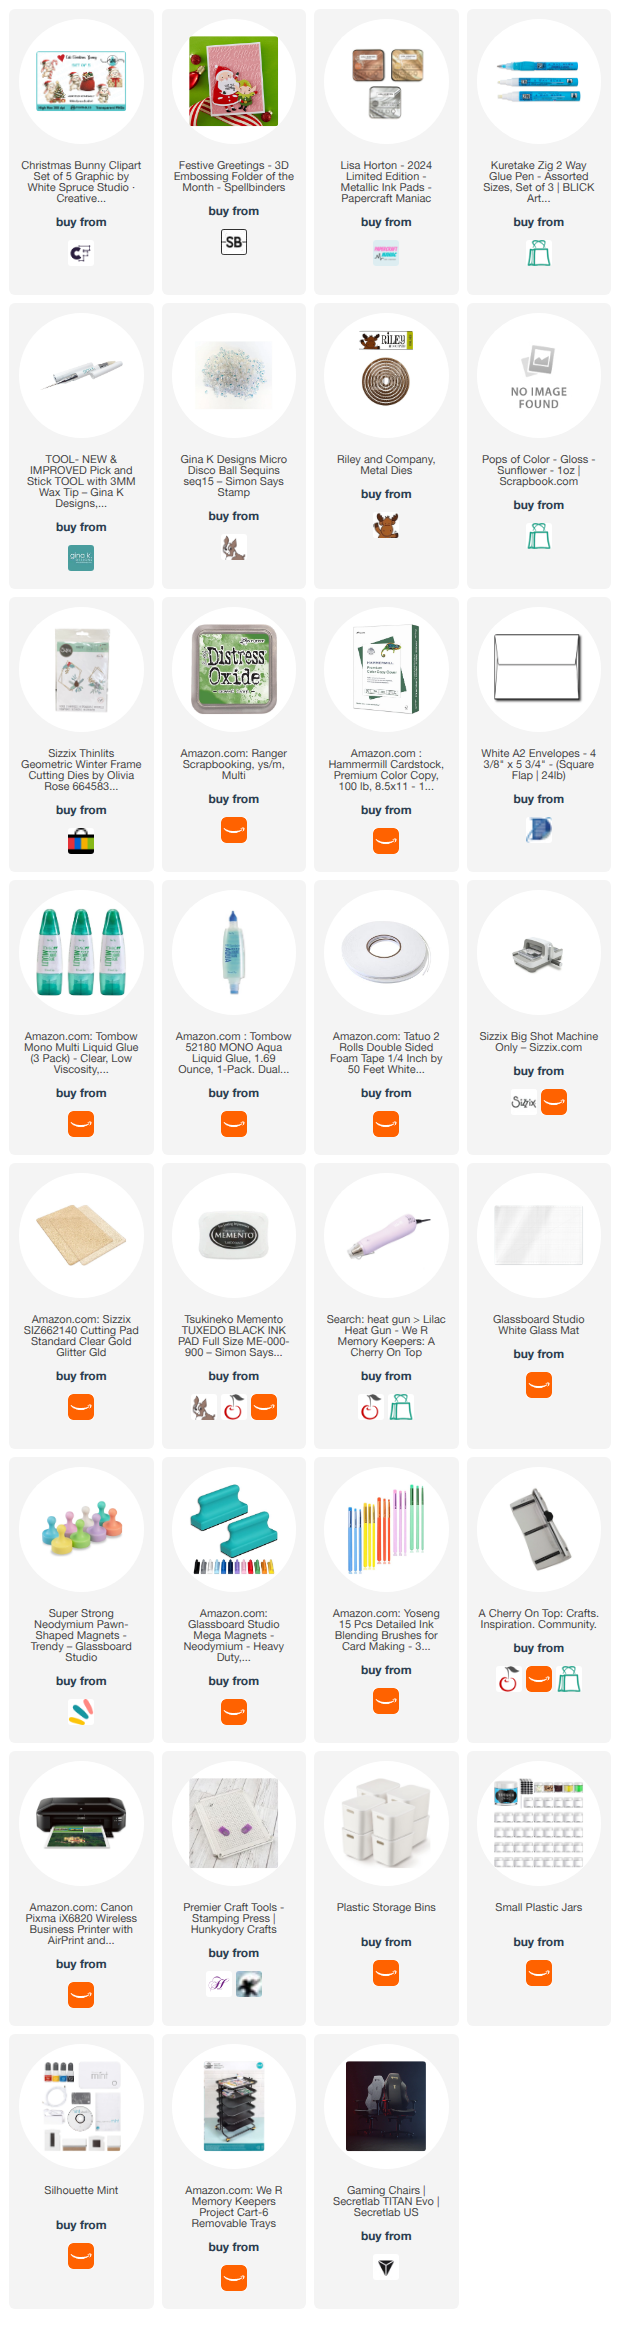


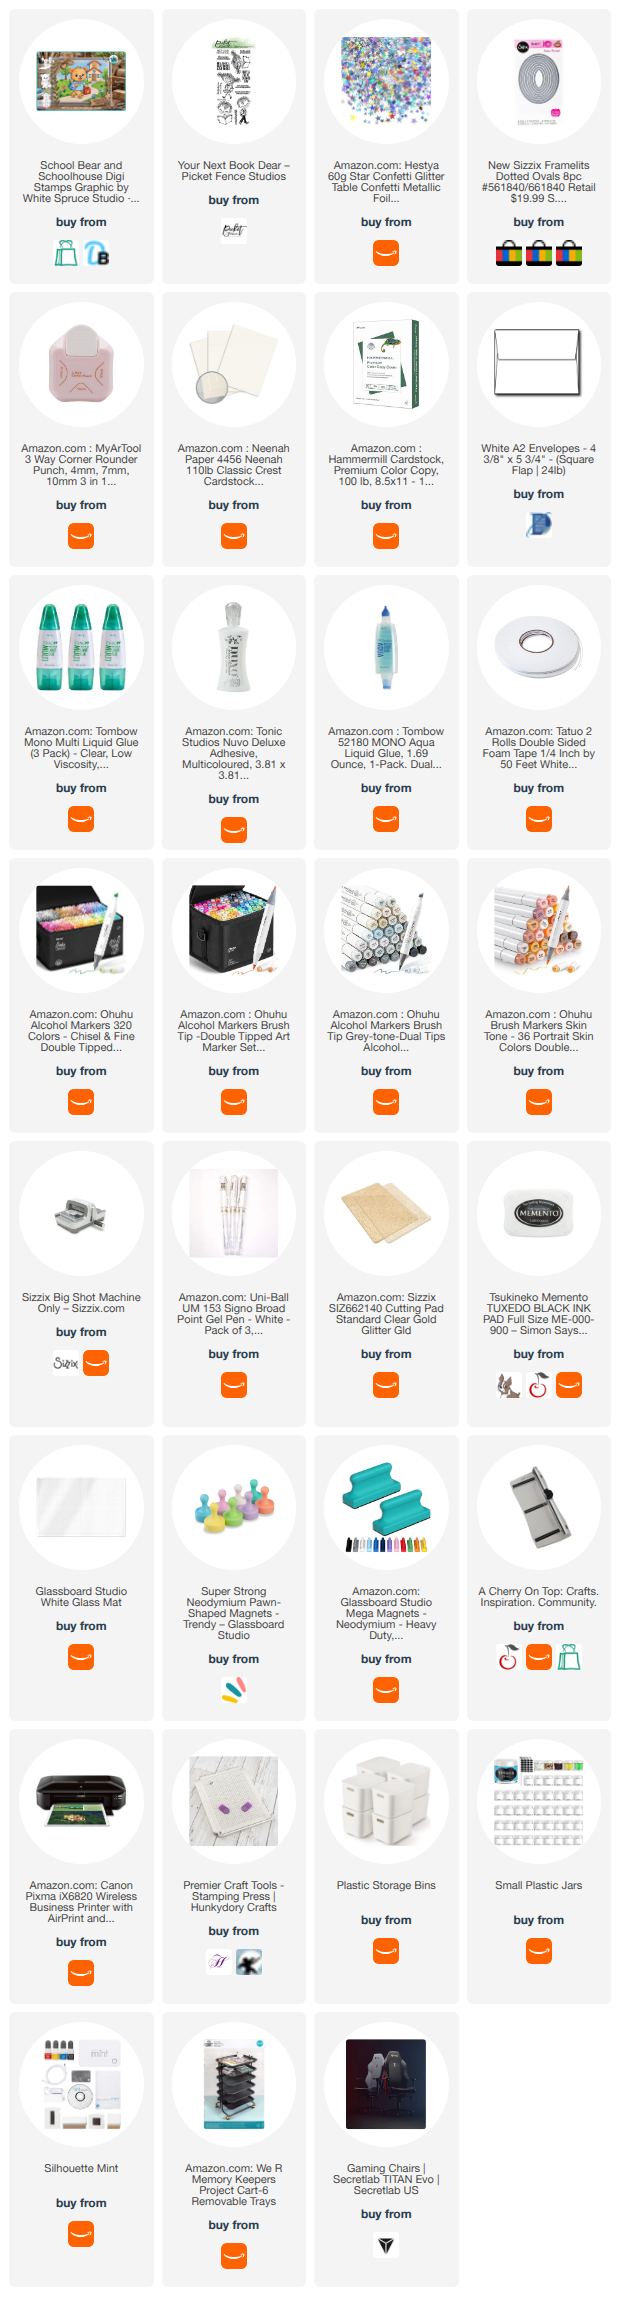
Supplies and tools used:

Thursday, May 21, 2026

Thinking of you card with White Spruce Studio

 Hi there friends!

Today I am sharing the third card made with the same set by White Spruce Studio (link at bottom.) 


 We all need these kinds of cards from time to time and it is best to just have them on hand. I prefer the "Thinking of you" sentiment because it could work for sympathy, get well, or other things someone is dealing with in life. 

Please note: I use Silhouette Studio with a Silhouette Cameo. My instruction is exactly how I made my card. You can change design elements as you please and this will work on other brands of electronic cutters. My supply list is at the bottom including the links to the design files used.

I started this one off by choosing a background that I previously made: 


 It is just an arch cut out with watercolor. I added the sentiment in black. I have a basket that is overflowing with backgrounds. I love making them but I often fail at trying to use them. I should come up with some challenge for myself to use each one by the end of the year. Should I do that? 


 For the design -- I opened the file and brought in the colored butterflies. I duplicated them and resized them to give me a variety. 

I used the print & cut feature to print on my printer and have my Silhouette Cameo cut them out. 

I folded the wings up, applied glue to the underside of the body of the butterfly.


 Working with the largest to the smallest of the butterflies, I attached them flying away and with a slight curve at the top. 


 I added some sequins for sparkle. 


 That's it!!


Check out the supply list below for all that I used to make this card. 

~Paula

If you’d like, please follow me:

Please follow this blog, you can find the Follow button in the right column ===> 

Facebook: Paula's Studio

Instagram: PaulasStudioMI


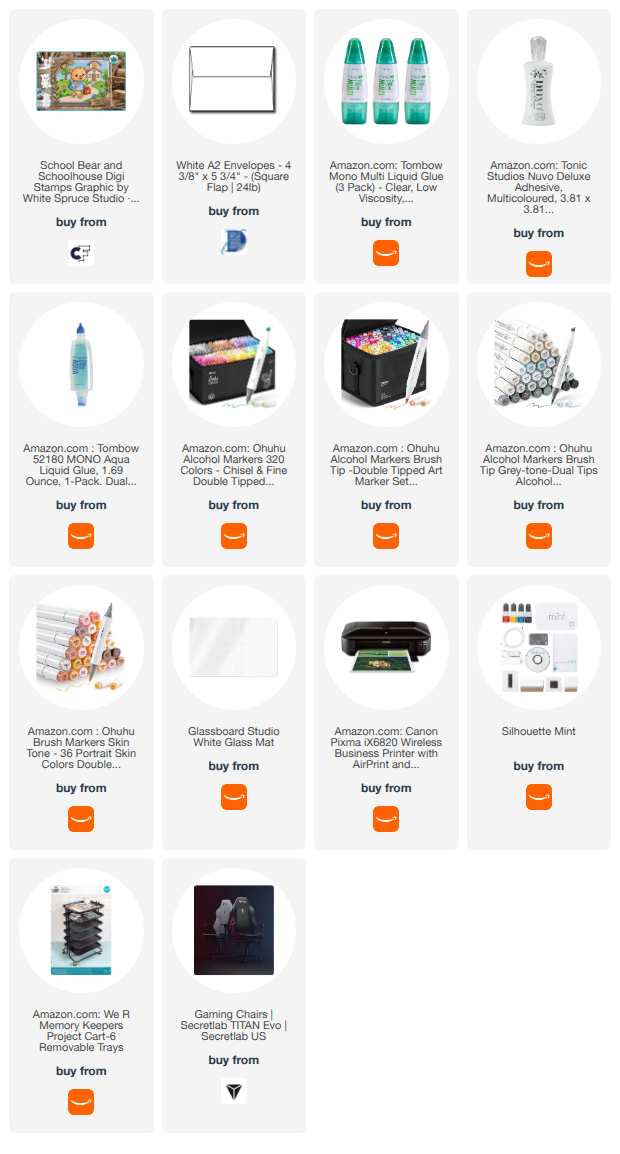
Please Note: I am a big advocate of using supplies you already own but I understand that readers might be interested in specific products that they might not already own. This post contains product links so you can easily find any supplies and/or tools you may be interested in. As an affiliate, I may be compensated for a purchase made using my links. However, no additional cost is extended to you. The other links are just to help guide you in the right direction. I am not affiliated with all companies but I encourage you to shop small businesses as much as possible. I may even include eBay listings for products that are available there at the time this is posted. I only share product information of products I am familiar with and use in my own studio. Papers are just from my collection. I always grab from my scraps first and I don’t keep track of where they came from. Use what you have!

Monday, May 11, 2026

A woodland baby card with graphics by White Spruce Studio

 Hi there friends!

I hope the spring season is going well for you. I have been busy in the yard again getting ready to plant for the season. We still get frost warnings so not quite ready for the whole garden yet. 

Today I am sharing, card #2 made with this set by White Spruce Studio. You can find the link and my supplies at the bottom. 


 This time I am making a baby card. There are so many cute ideas in my head for baby cards from this set. 

I love the little birds on the branch. They remind of the ones I saw at Grand Canyon National Park. They are so sweet how they huddle all together. The parents would swoop in and feed them.

Please note: I use Silhouette Studio with a Silhouette Cameo. My instruction is exactly how I made my card. You can change design elements as you please and this will work on other brands of electronic cutters. My supply list is at the bottom including the links to the design files used.


Instruction:

  1. Download the design files and unzip them. 
  2.  Draw a rectangle in the design software for your machine that is 4.25x5.5 inches. This is a guide for sizing the elements. You can cut it out to use as a card panel if you would like. 
  3. Bring in the elements:  tree, branch with hanging pieces, blue bird, hedgehog. 
  4. Duplicate the blue birds twice so you have three of them. 
  5. Size the tree so it hangs off the panel. Size the branch to stick out of the tree. Size the birds so 3 fit on the branch. Size the hedgehog fit below the tree. 
  6. Set the software to use the Print & Cut feature withe the registration marks turned on. 
  7. Arrange the elements to all fit in the boundaries. I remove the rectangle as I will use a die on paper.
  8. Send the page to print. Send the page to be cut by the machine. 
  9. Choose your card panel. I am using a blue paper cut with a die to make it 4x5.25".
  10. Arrange the cut elements on the card panel. 

  11. Add glitter to the moon and stars using a glue pen and a light colored glitter.

  12. Adhere the tree to the panel where the edge runs halfway through the trunk. Adhere the branch on the left of it.
  13. Adhere the left bird with glue. Adhere the middle bird with some slight thick adhesive foam to slightly prop it up. Adhere the right bird with glue.

  14. Adhere the hedgehog with adhesive foam.

  15. Stamp a sentiment and cut it out and adhere to panel. Alternatively, you can print one out.

  16. Turn the panel over, cut all the over hanging pieces. I cut the tree carefully so that I may use the cut off piece on a different card.

  17. Embellish with gems or sequins. 
  18. Adhere panel to a card base and add sentiment to the inside. 


    Check out the supply list below for all that I used to make this card. 

    ~Paula

    If you’d like, please follow me:

    Please follow this blog, you can find the Follow button in the right column ===> 

    Facebook: Paula's Studio

    Instagram: PaulasStudioMI


    Please Note: I am a big advocate of using supplies you already own but I understand that readers might be interested in specific products that they might not already own. This post contains product links so you can easily find any supplies and/or tools you may be interested in. As an affiliate, I may be compensated for a purchase made using my links. However, no additional cost is extended to you. The other links are just to help guide you in the right direction. I am not affiliated with all companies but I encourage you to shop small businesses as much as possible. I may even include eBay listings for products that are available there at the time this is posted. I only share product information of products I am familiar with and use in my own studio. Papers are just from my collection. I always grab from my scraps first and I don’t keep track of where they came from. Use what you have!