Showing posts with label marbled paper. Show all posts

Wednesday, July 10, 2024

Christmas in July - Let it Snow

 Hi friends!

We just got through a long holiday weekend here in the USA and I decided to just enjoy it! 

July is the month for makers to get a jump start on holiday product sales for supplies and ultimately work on inventory for holiday sales in the fall and personal holiday cards and gifts too. 

Today I made this winter themed holiday card. It is quite refreshing since it is hot and humid outside. 

The background is a card panel that I had previously applied water marbling paint to and I think it is perfect for this card. I cut it using a die plate with snowflakes.


The paper is really thick so I use a Sizzix roller brush to help release the snowflakes.

I took a white card panel and applied glitter glaze all over it so that the snowflakes have sparkle. 

I cut out a sentiment in similar colors. 


I decided to add some color around the edges to sort of add a frame effect. 


I attach the sentiment with 2mm foam adhesive. 


I decide to add some pink sequins to add some more sparkle.

I attach the card panel to the card base. I use mini clothes pins to hold it while it dries. I have a bucket of these for this purpose. The cuter the better!

Another card ready for December!


~Paula

If you like, please follow my Facebook page: https://www.facebook.com/paulasstudiomi

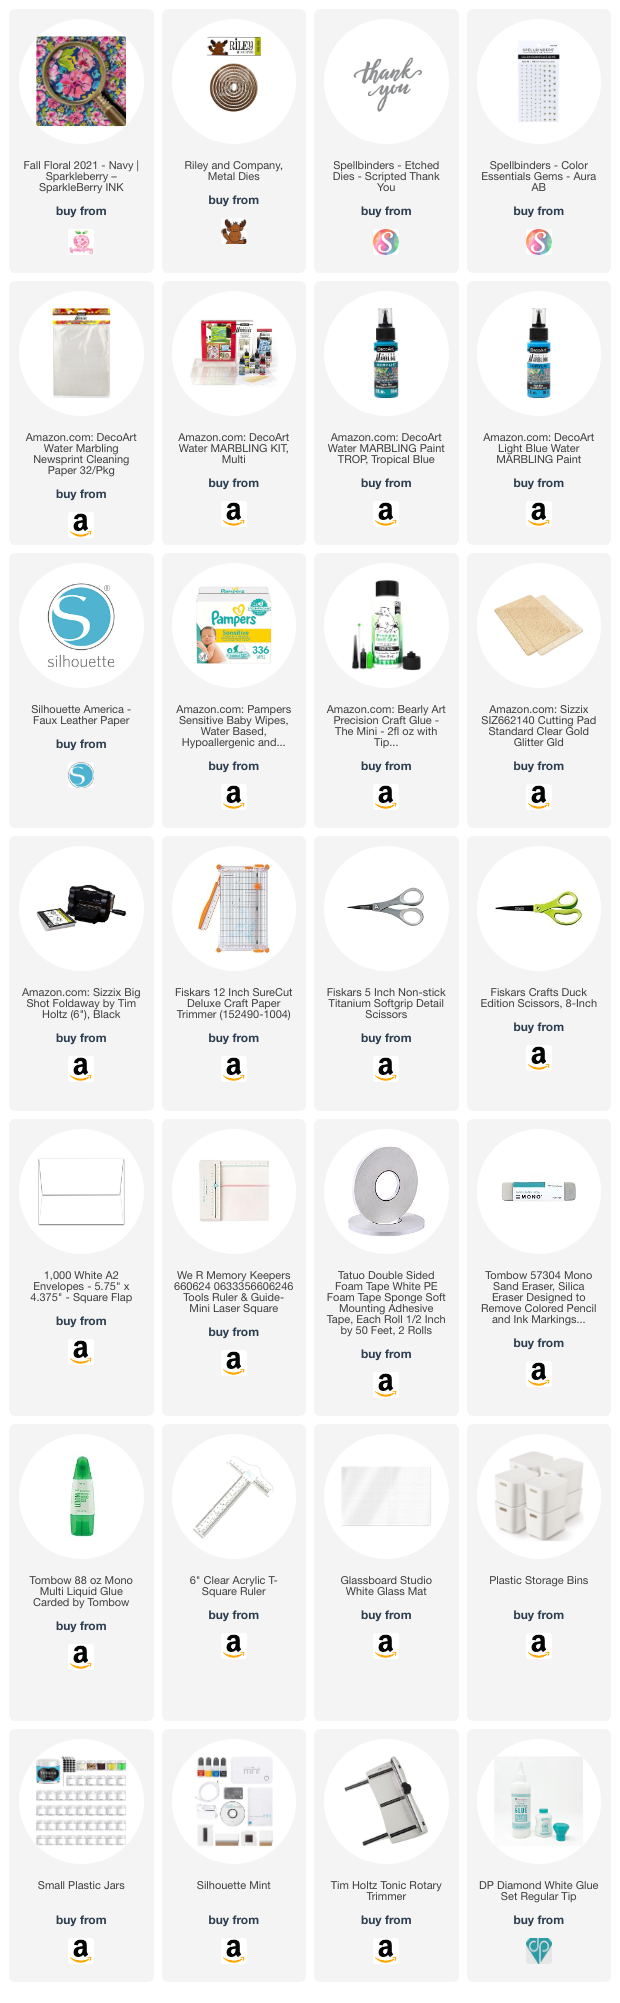
Please Note: This post contains product links so you can easily find any supplies and/or tools you may be interested in. As an Amazon Associate, I may be compensated for a purchase made using my link. However, no additional cost is extended to you. The other links are just to help guide you in the right direction. I am not affiliated with those companies but I encourage you to shop small businesses as much as possible.

Papers are just from my collection. I always grab from my scraps first and I don’t keep track of where they came from.
Tuesday, May 14, 2024

Thank you card with Sparkleberry Ink

 Hi friends!

I've had a busy week and weekend but it was really great. I spent 3 day at the Greta Lakes Mega Meet which is historically a scrapbook event but card makers enjoy it too. I took several classes focused on art. I got to play with products I never had before which is what I love about in-person and online events.

This week's Sparkleberry Ink card is using their pattern called "Fall Floral 2021 Navy" and I used it to make a thank you card. 

I started by using circle dies to cut out circles in various sizes. This can be done with an electronic cutter but a die allows me to quickly choose exactly where I want the circles cut on the pattern of the paper. 

I chose a background paper that I had made previously. I make batches of backgrounds using various methods at one time. This one is faux leather paper that I marbled. 

I arranged the circles around the background to figure out where I wanted them all to go and assigned various thicknesses of foam adhesive to the backs. I used 0mm (just glue), 1mm, 2mm, and 3mm adhesives. 

I chose a colored paper that stands out against the floral paper and cut the sentiment out with dies. 

Once I figured out where on the card the words be set, I had to add 2mm adhesives to just a part of the word "thank" to make it level with the remainder of the word. 


Then I attached the sentiment to the card. 


All done!


~Paula

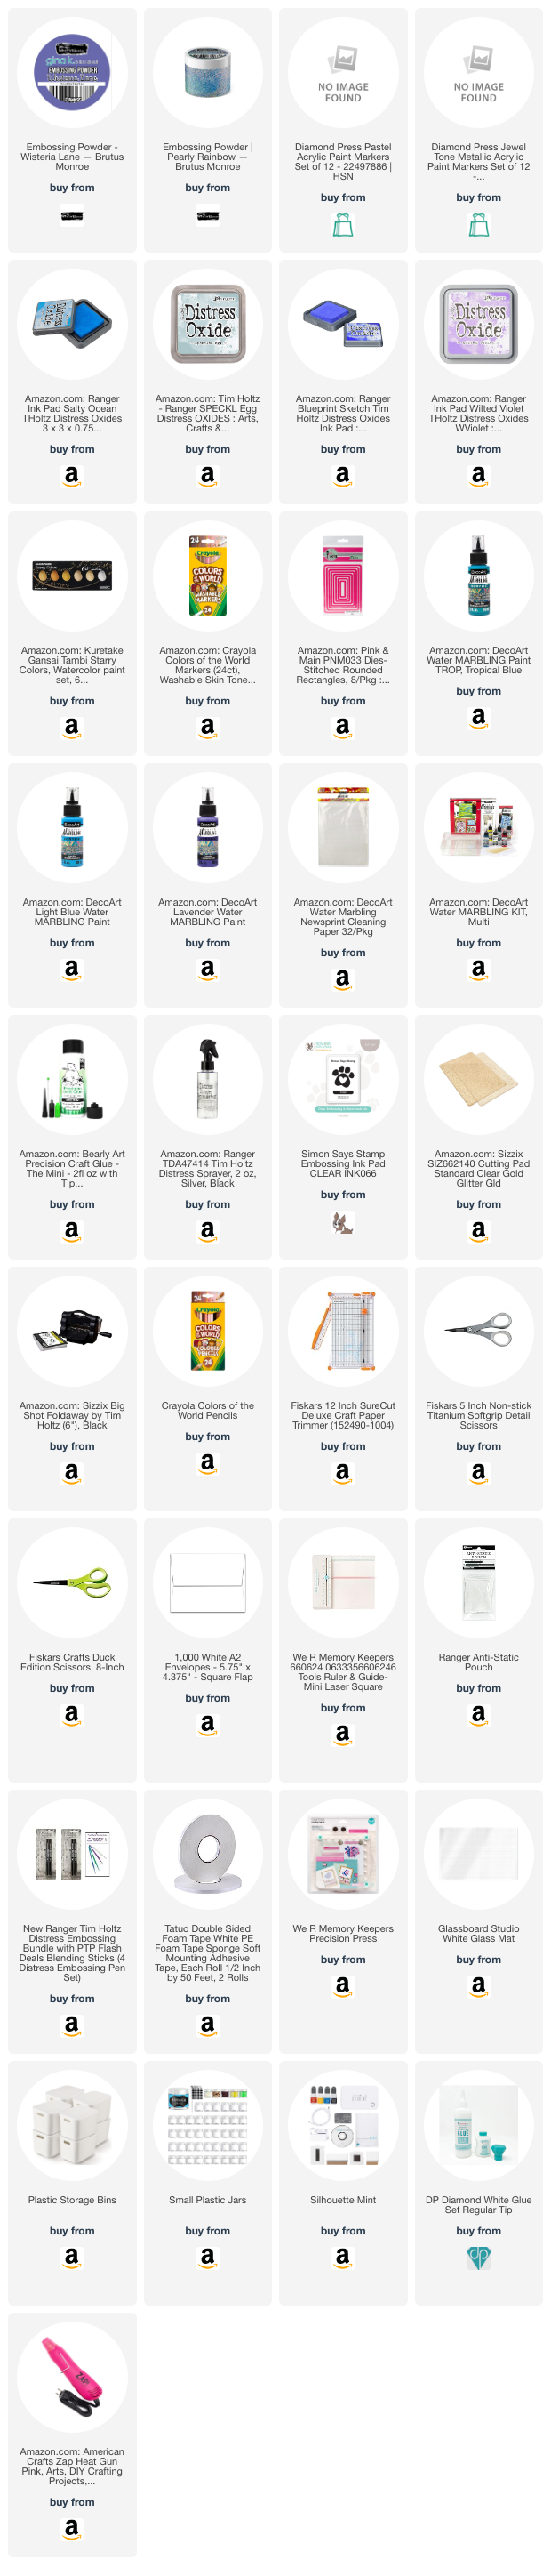
Please Note: This post contains product links so you can easily find any supplies and/or tools you may be interested in. As an Amazon Associate, I may be compensated for a purchase made using my link. However, no additional cost is extended to you. The other links are just to help guide you in the right direction. I am not affiliated with those companies but I encourage you to shop small businesses as much as possible.


Wednesday, May 1, 2024

You are mermazing! Diamond Press and marbled paper

 Hi friends!

Today I made this sparkly beautiful card using a stamp and die set by Diamond Press called Mermiad. It is discontinued but it is great set and you can still replicate with other elements you may already have in your collection. 


If you don't know Diamond Press -- let me tell you... Diamond Press primarily sells their products on HSN (Home Shopping Network) and secondarily on their own website: Diamond Press They have new products released just about every month and have such a good variety of products and themes. I wish I could have them all!

Here is how I made this card:

I started with paper that I marbled myself. This piece made me think of a mermaid wave and I really wanted to use it for that and Diamond Press's set has the perfect mermaid for the job. 


I had cut the marbled paper with a rectangle stitched die and choice some stamps and dies that I might want to use with it. 

I stamped a jelly fish and a mermaid with Oxide Inks.

I used my heat gun to heat set the ink so that it was less likely to smear while coloring them. 


Every mermaid needs some sparkle. This one gets glittery embossed fins.


I wanted this mermaid to have pink hair to contrast the blues and purples around her. I colored her hair and the jelly fish with Diamond Press Acrylic Paint Pens. They are wonderful. 


I then used their coordinating dies to cut them out. Dies often leave a white border around an image. Some of the time I am okay with that but I didn't like it for my scene. I am using an oxide ink as a watercolor to help them blend into the scene better. I do this by smearing a spot on my Glassboard and added water to get the shade I wanted. 

Then I decided to add a 2nd pink to the mermaid's hair. 


I also wanted her skin color to be a light pink. 

For the sentiment, part will be inked, then embossed and the other part is made by using a die. I cut that part 3 times and glued them together to give a raised texture. 


The stamped part gets stamped in clear embossing ink and then embossing in a purple color directly on my background. 


I glue that on and also the jelly fish. Here is he under my fishy paperweight so he dries flat to the background. In the set was also a stamp of a school of fish. I added that twice in a faint color to give the illusion that they are further back from the mermaid.


I add the mermaid, popped up with foam strips. I added some glittery bubbles too. Finally, I added splatter of light and white gold to add to the watery and magical scene. 


I really adore how this came out and love that I was able to find the perfect scene for my marbled paper.

Let me know in the comments if you like it too!

~Paula


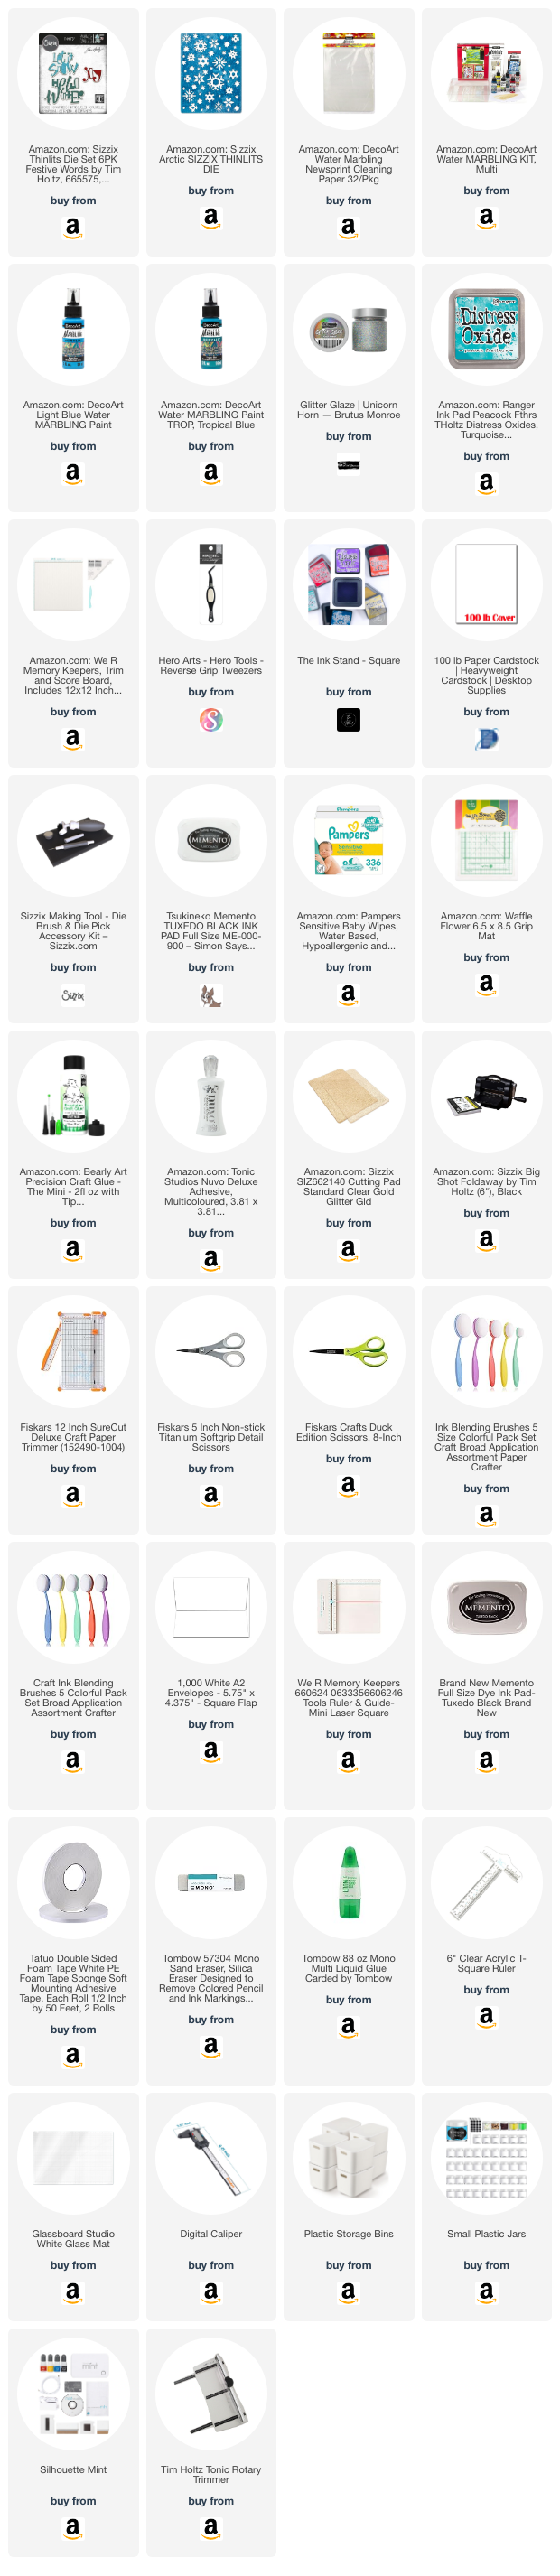
Please Note: This post contains product links so you can easily find any supplies and/or tools you may be interested in. As an Amazon Associate, I may be compensated for a purchase made using my link. However, no additional cost is extended to you. The other links are just to help guide you in the right direction. I am not affiliated with those companies but I encourage you to shop small businesses as much as possible.