Showing posts with label Tim Holtz. Show all posts

Wednesday, October 29, 2025

Day 30: 31 Days of Halloween Cards

 Hi there friends!

This card might be one of my favorites of the month and it was quite easy to make. 


 I just picked a 6x6 patterned paper from my collection, sorry I don't have any idea where I got it. 

I glued it to a card base and trimmed it.

I shaded the edges in black ink. 


I used a rectangle die big enough for my chosen sentiment and cut the shape out of the center of the front of the card base.


I stamped and heat embossed the sentiment in the center of the piece that was cut out. I adhered it to the inside of the card so it lines up when card is closed.

I attached a die cut that I previous stamped, cut, and colored.

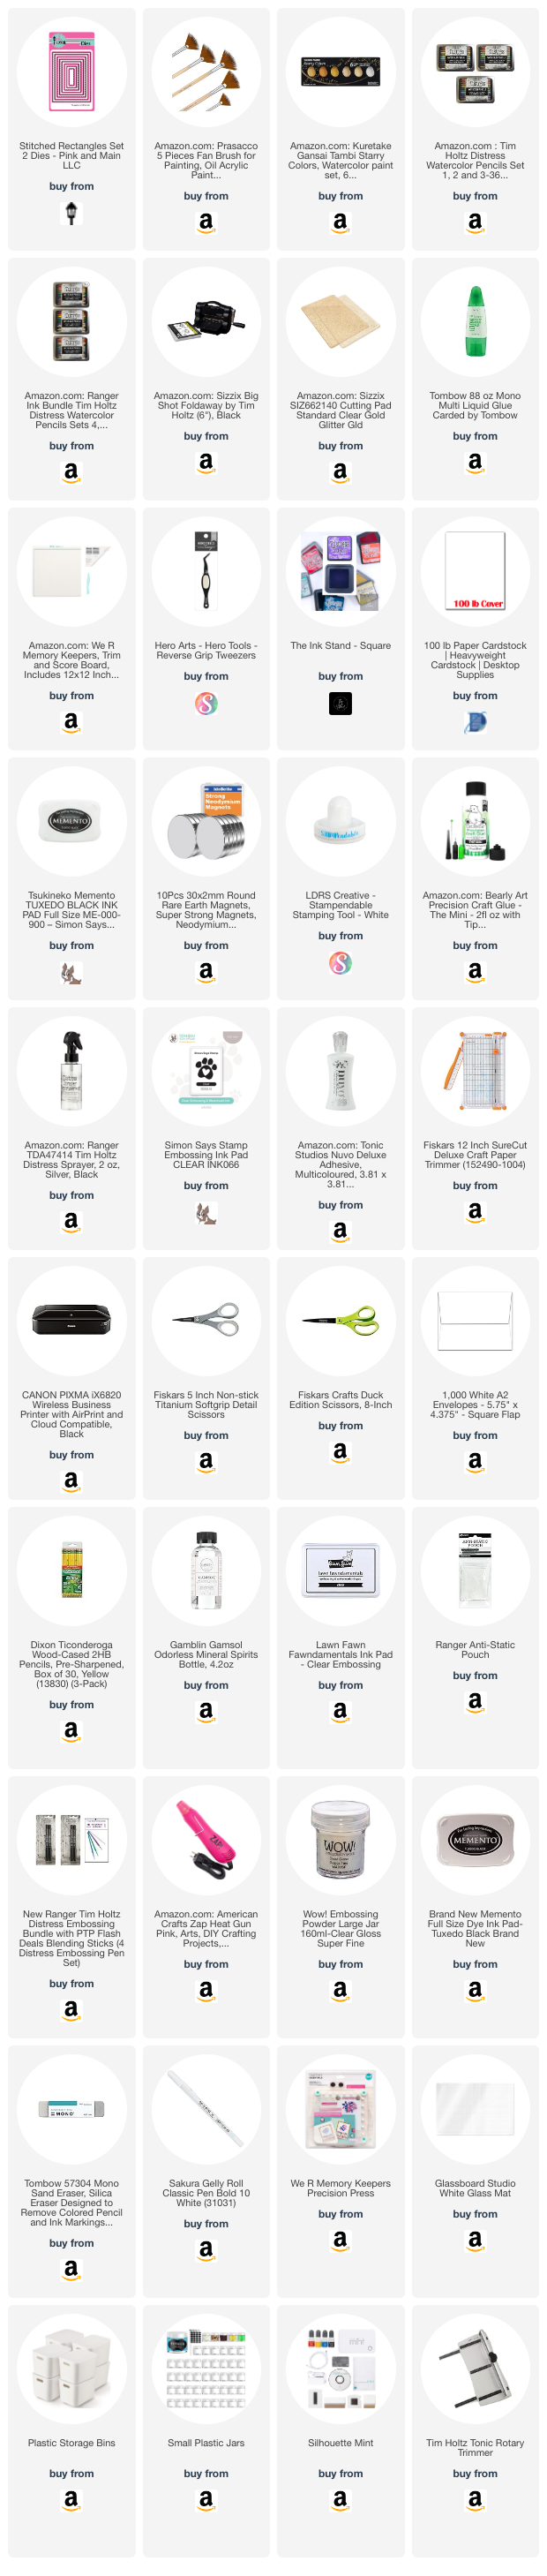
 My supply list is listed below.

~Paula

If you’d like, please follow me:

Please follow this blog, you can find the Follow button in the right column ===> 

Facebook: Paula's Studio

Instagram: PaulasStudioMI


Please Note: This post contains product links so you can easily find any supplies and/or tools you may be interested in. As an affiliate, I may be compensated for a purchase made using my links. However, no additional cost is extended to you. The other links are just to help guide you in the right direction. I am not affiliated with all companies but I encourage you to shop small businesses as much as possible. I only share product information of products I am familiar with and use in my own studio.

Papers are just from my collection. I always grab from my scraps first and I don’t keep track of where they came from. Use what you have!

 

Friday, October 24, 2025

Day 25: 31 Days of Halloween Cards with Tim Holtz

 Hi there friends! 

Today's card is highlighting products by Tim Holtz. 


  1.  Place moon mask circle in desired place on card panel. 

     
  2. Use a gray ink to add a halo effect around the round mask. 
  3. Use a combination of dark blue and dark purple ink to blend out rest of panel as desired. 

     
  4. Remove moon mask and add moon detail stencil and ink with a darker gray then used before. Remove mask.

  5.   Use a black splatter paint and splatter over panel.

  6. Cut a haunted house and adhere to panel.
  7. Cut pumkins and add brown shading to them and adhere to panel.

  8. Add any little details with white or black pens to elements of each.

  9. Add a sentiment with clear embossing ink and black embossing powder. 

     
  10. Adhere to card base.
My supply list is below. 

~Paula

If you’d like, please follow me:

Please follow this blog, you can find the Follow button in the right column ===> 

Facebook: Paula's Studio

Instagram: PaulasStudioMI


Please Note: This post contains product links so you can easily find any supplies and/or tools you may be interested in. As an affiliate, I may be compensated for a purchase made using my links. However, no additional cost is extended to you. The other links are just to help guide you in the right direction. I am not affiliated with all companies but I encourage you to shop small businesses as much as possible. I only share product information of products I am familiar with and use in my own studio.

Papers are just from my collection. I always grab from my scraps first and I don’t keep track of where they came from. Use what you have!

Tuesday, September 17, 2024

Spinner choice

 Hi Friends! 

Today I used two methods of creative motivation for help to create this card. The first is the spinner. I created a digital spinner that has all products, themes, techniques, etc. that I can think of on it. I spin the wheel and go with that. It can help with creative block but most importantly it helps me not to do the same thing with the same products all the time. It helps to use things I have. 


The spinner gave me: flower 


The second thing I used is this basket of card panels. These are left over from previous projects or I sat down and just made a whole of bunch of panels using a certain method. 


 I picked the first flower stamp set I saw and sat down with the basket to pick out the perfect panel. 


I chose this pink watercolored background.


I stamped the design on. I could have just left it at that but I was in the mood to add some color to it. I used Tim Holtz's watercolor pencils. I love how pigments these are and they are a dream to use. 


I wasn't sure how well they would cover the pink and they did well. The black ink that I stamped with claims to be waterproof when dry. I heat set it before painting and it still tried to smear. I just tried very hard to keep the brush from dragging through it. 


Now to add a little bling. I love Kuretake Gansai Tambi watercolors too. This palette is one of my most used art supplies and look at how new it still looks!


Just add some water, grab a brush. The fan brushes work very well but you can use others. 

Little specs of gold, so pretty. 


I decide to use the sentiment that came with the flower stamp. I stamped it in black and then in clear so I could add clear embossing powder. 

I love the beauty of heat embossing!

It adds texture and shine.


I used a black background panel and a white card base. 


~Paula

If you like, please follow my Facebook page: https://www.facebook.com/paulasstudiomi

Please Note: This post contains product links so you can easily find any supplies and/or tools you may be interested in. As an Amazon Associate, I may be compensated for a purchase made using my link. However, no additional cost is extended to you. The other links are just to help guide you in the right direction. I am not affiliated with those companies but I encourage you to shop small businesses as much as possible.

Papers are just from my collection. I always grab from my scraps first and I don’t keep track of where they came from.

The stamp set is by Honey Doo Crafts in the UK. I bought it at a trade show but I cannot find this set on their website. They have many really beautiful sets to check out at Honey Doo Crafts