Showing posts with label spring. Show all posts

Wednesday, April 15, 2026

CRAFT Challege Blog #778

 Hi there friends!

The latest challenge over at CRAFT Challenge Blog has a theme of Anything Goes. The sponsor that I working with is Star Stampz and the design is Spring Rain


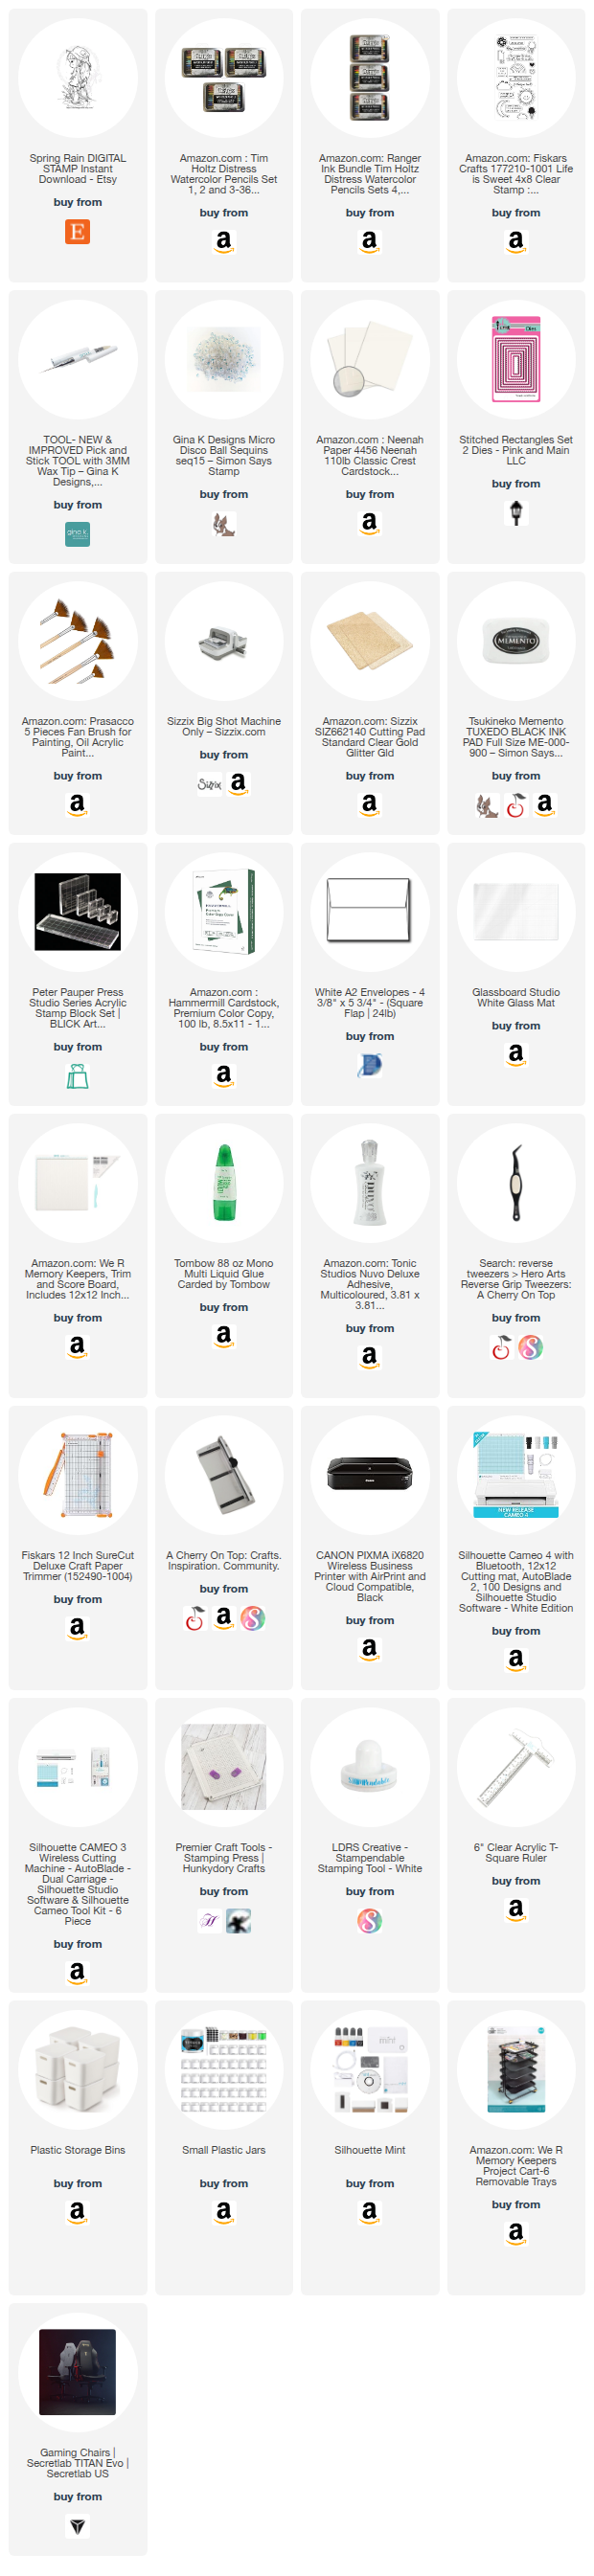
 I colored it with Tim Holtz watercolor pencils, added some gems and a sentiment by Fiskars.


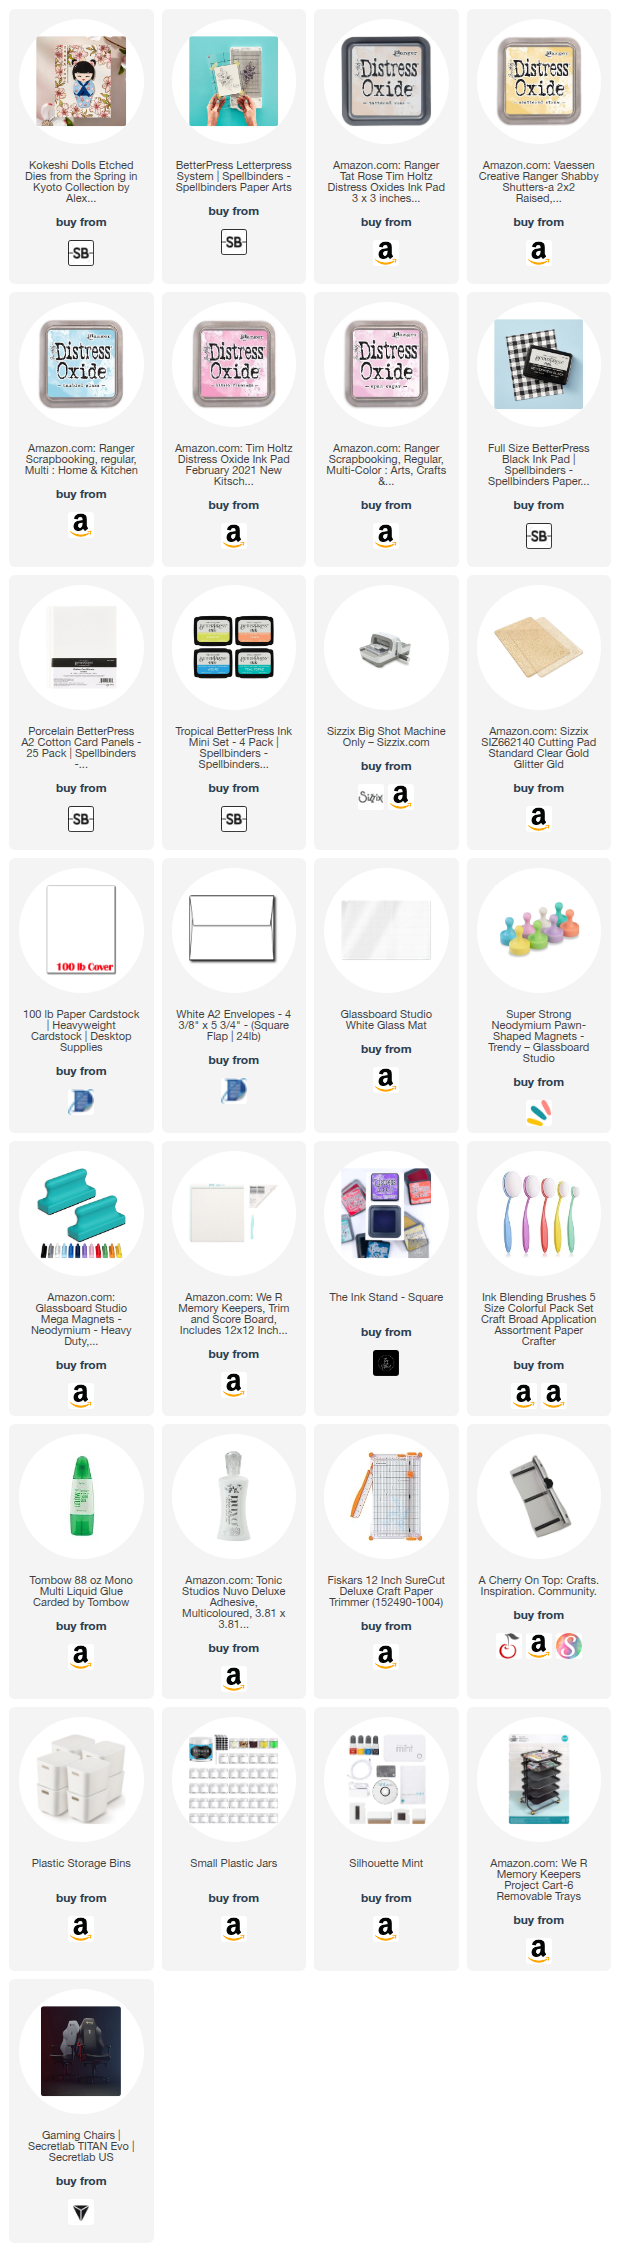
Check out the supply list below for all that I used to make this card. 

~Paula

If you’d like, please follow me:

Please follow this blog, you can find the Follow button in the right column ===> 

Facebook: Paula's Studio

Instagram: PaulasStudioMI


Please Note: This post contains product links so you can easily find any supplies and/or tools you may be interested in. As an affiliate, I may be compensated for a purchase made using my links. However, no additional cost is extended to you. The other links are just to help guide you in the right direction. I am not affiliated with all companies but I encourage you to shop small businesses as much as possible. I only share product information of products I am familiar with and use in my own studio.

Papers are just from my collection. I always grab from my scraps first and I don’t keep track of where they came from. Use what you have!
Monday, March 9, 2026

Spring Blessing with Spellbinders

 Hi there friends!

Today I am sharing a card I made that started with the background and worked its way forward.


 You see the background is made using a Betterpress Plate from the Betterpress Society. A Betterpress Plate is a metal plate used with the Spellbinders Betterpress System. It is a letterpress plate and the design is debossed or indented into the paper. The Betterpress Society is a "secret" or not so secret subscription program that is only available through select small business shops that sell Spellbinder products. I get through Stamplistic. When I found out about it all those appealed to me. I support small biz as much as I can and the Betterpress Society is just something extra special about Spellbinders that I love so much. 

This is February 2026 set and as soon as I saw it revealed, I knew I wanted the Kokeshi dolls set to go with it. This February set also came with stencils that made colors the flowers a dream. 


Instruction (supply list at bottom):

  1. 1. Tape an A2 card panel to the clear plate of the Betterpress system in the rectangle outlined on it. For best impression use Spellbinders Cotton Card Panels. You can use any paper but the thicker papers will leave a better impression. You can use any ink as well. 

  2.  Put the plate on the magnetic grid. Add ink in your choice of color. I used Teal Topaz. Cover with the clear plate and run through your die cutting machine. Set aside.

  3. Clean the plate and any ink that got on the Betterpress system plates.
  4.  Make prints of the sentiments to fill a panel. I like to make extras in different colors and most get saved for a future project. 

  5. Die cut out all those sentiments. 

  6.  Tape or secure the background down and use the stencils to color the flowers. I did 3 shades of pink.

  7. Color the flower centers with yellow.

  8. Color the fan part of the background, stencil #4, with a pale blue. 

  9. Cutout all the pieces of the Kokeshi out in the colors of your choice and assemble. 

  10. Cut the panel down to 3.75 x 5".
  11. Cut a panel in the color of your choice to 5.25 x 4". The gives a border.
  12. Glue the two panels together and glue the doll on the top panel towards the left.
  13. Attach a sentiment with adhesive foam.
  14. Add some bling with sequins or gems.

 Check out the supply list below for all that I used to make this card. 

~Paula

If you’d like, please follow me:
Please follow this blog, you can find the Follow button in the right column ===> 
Facebook: Paula's Studio 
Instagram: PaulasStudioMI


Please Note: This post contains product links so you can easily find any supplies and/or tools you may be interested in. As an affiliate, I may be compensated for a purchase made using my links. However, no additional cost is extended to you. The other links are just to help guide you in the right direction. I am not affiliated with all companies but I encourage you to shop small businesses as much as possible. I only share product information of products I am familiar with and use in my own studio.

Papers are just from my collection. I always grab from my scraps first and I don’t keep track of where they came from. Use what you have!


Tuesday, April 8, 2025

White Spruce Floral Card

 Hi friends!

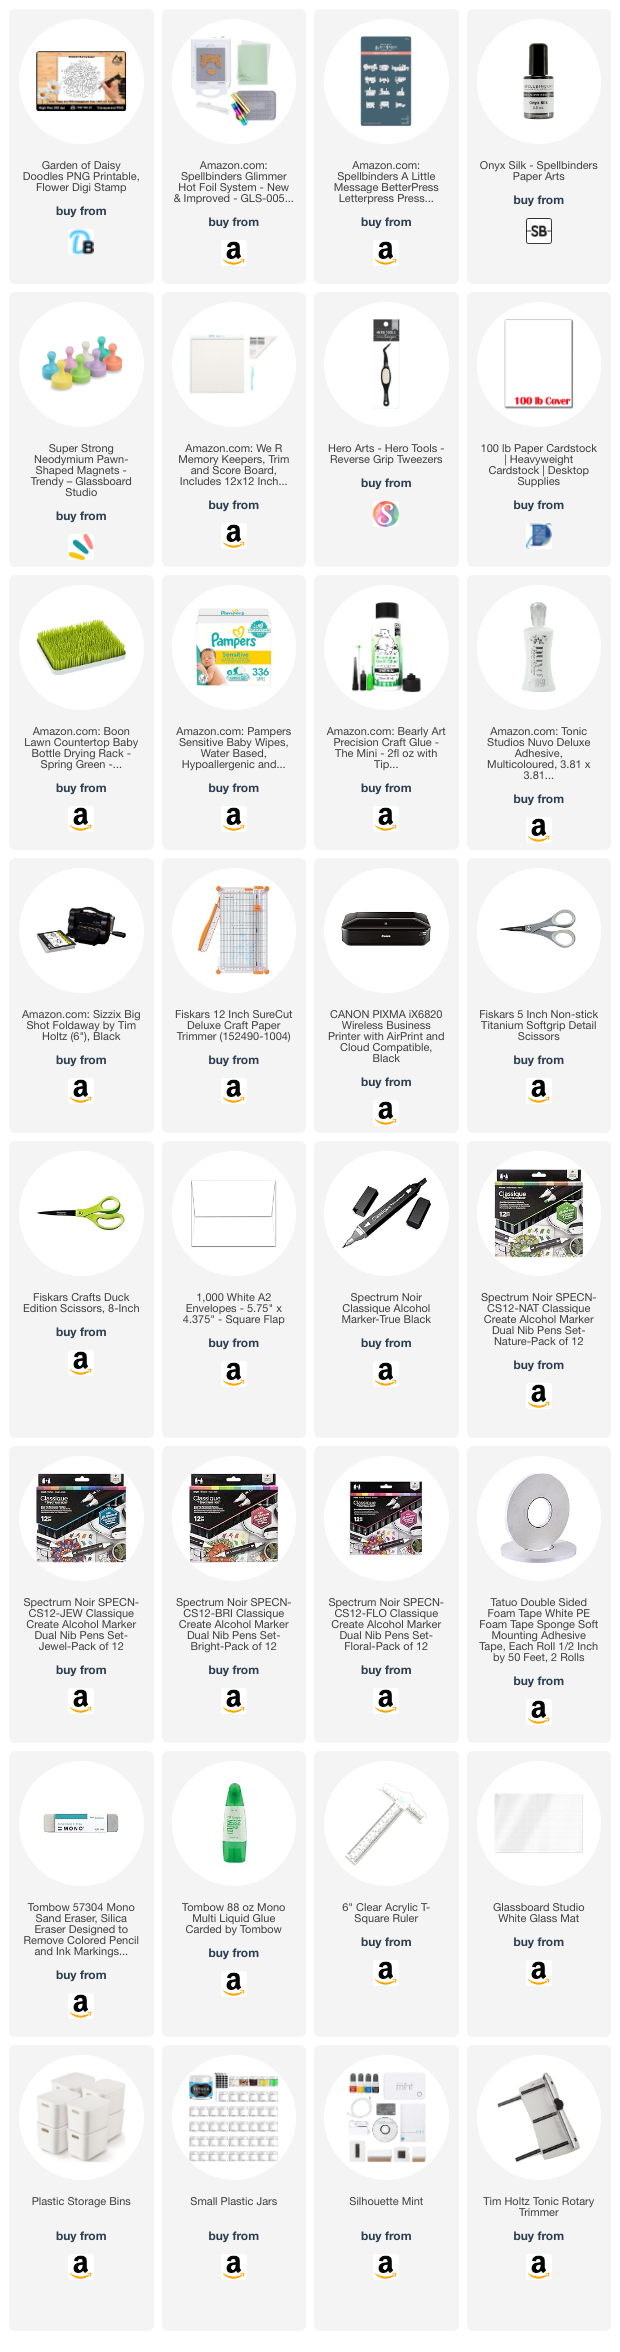
Today I am sharing this colorful spring birthday card.  I am using a design by White Spruce Studio called Garden of Daisy Doodles

Instructions to make this card: 

1. Print design out on cardstock. I usually put 2 on the same page in case I mess up. If I don't mess up, I have another one for another card. 

2. Color the flowers with your choice of medium. I used alcohol markers.


 3. Stamp a sentiment. I opted to use the Spellbinders Glimmer machine to foil on pink paper. When I foil, I do the whole package of plates at once and save the leftovers for another project. I am using BetterPress plates for their letterpress system. They can also be used for hot foiling.


4. Use a frame die to cut the artwork down to 4x5.25 inches. 

5. Use another frame die to cut another panel in a complimentary color. This die should be 4.25x5.5 inches.

6. Attach the sentiment with foam adhesive. 


5. Add some black spatter paint and clear sequins for more interesting embellishment.


~Paula

If you’d like, please follow me:

Facebook: Paula's Studio

Instagram: PaulasStudioMI


Please Note: This post contains product links so you can easily find any supplies and/or tools you may be interested in. As an affiliate, I may be compensated for a purchase made using my links. However, no additional cost is extended to you. The other links are just to help guide you in the right direction. I am not affiliated with all companies but I encourage you to shop small businesses as much as possible. I only share product information of products I am familiar with and use in my own studio.

Papers are just from my collection. I always grab from my scraps first and I don’t keep track of where they came from. Use what you have!

Sunday, March 30, 2025

White Spruce Studio Easter Card using hot foiling on the Silhouette Cameo

 Hi friends!

This week I have joined the design team for White Spruce Studio! I will be sharing projects made with their designs.

My first card is made using  Single Line Spring Bunny.


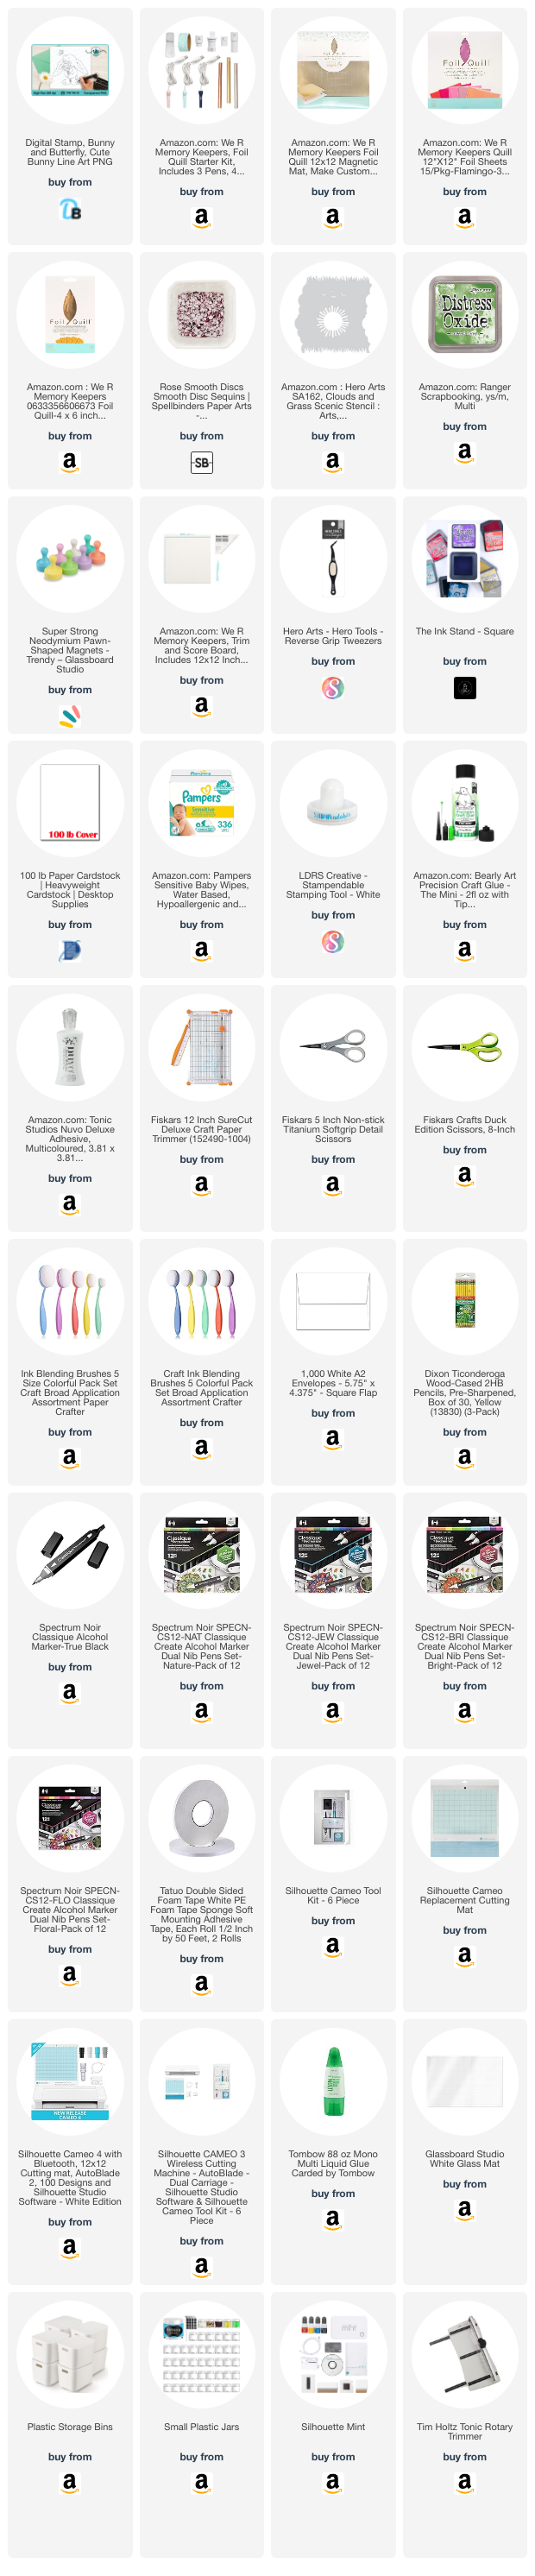
 I drew the bunny on cardstock using the Foil Quill with my Silhouette Cameo and hot foil. 

I have bought a few rolls of hot foil off eBay from sellers that use it in commercial printing and foiling. They start with a larger width roll and cut it down and sell the piece left over. This piece works great for small projects like mine. The quality is really good and it saves waste so I am happy to keep it from a landfill.

That is a lot of foil on these little rolls! They can be used for hot foil plates as well.

For this project I am using it with a We R Makers Foil Quill. The quill is design to be used in an electronic cutter such as a Silhouette Cameo or Cricut that can sketch.You plug the quill into the blade housing as if you were going to sketch. The quill plugs into a USB outlet to allow it to heat up. 

Single line SVG files are perfect for this process. 

For the quill to work it's best you will need a metal mat for your machine. I have attached mine to a regular mat for my machine and leave it attached always. This allows for easy feeding in the machine. 


After plugging the quill in, allow it to warm up. I give it about 10 minutes meanwhile
tape your paper to the metal mat. I use washi tape. Then tape your choice of foil over the paper securely. Always use a larger dimension of foil than you need. It will work better that way. 

Once the quill is warm, have the cutter sketch the design. Once done, remove the foil and proceed to decorate your project. I had the cutter sketch the sentiment using a sketch pen. 

I used alcohol markers to color the design. I cut it out and adhered to a card base. 

I used a rainbow oil slick foil.

This roll is from eBay but in my supply list below I have added foils made specifically for the foil quill for you to try. There are different types of foils that all have different application processes. Foil quills use hot foil.


~Paula

If you’d like, please follow me:

Facebook: Paula's Studio
Instagram: PaulasStudioMI

Please Note: This post contains product links so you can easily find any supplies and/or tools you may be interested in. As an affiliate, I may be compensated for a purchase made using my links. However, no additional cost is extended to you. The other links are just to help guide you in the right direction. I am not affiliated with all companies but I encourage you to shop small businesses as much as possible. I only share product information of products I am familiar with and use in my own studio.

Papers are just from my collection. I always grab from my scraps first and I don’t keep track of where they came from. Use what you have!