Showing posts with label Silhouette Cameo. Show all posts

Friday, July 3, 2026

Christmas in July Day 3

 Hi friends! Today is Day 3 in Christmas in July. I am making a shaped card using an SVG. I am using a Silhouette Cameo and Silhouette Studio. You can use whatever resources you have. 


  1. Load the design into the design software.
  2. Draw a rectangle the size of the card you would like. I prefer A2 cards so I drew a rectangle 4.25 x 5.5 inches. 
  3. Group all the pieces of the design together and size them to fit inside that rectangle. Move the rectangle aside.
  4. Using the trace tool, Trace the design. You only want the outside border. Duplicate this outline. This two pieces are your cards base. 
  5. Ungroup the design and cut each piece in your choice of papers, including the traced pieces.


  6. Score one of the card pieces about an inch from the top. Add glue to the paper above the scored line and adhere the other card piece to it. Now you have a card base.
  7. Piece together an adhere all the pieces of the gnome to the front of the card base.
  8. Use a white marker or pen, add some embellishments.

  9. Add a sentiment or message on the inside.


 ~Paula

If you’d like, please follow me:

Please follow this blog, you can find the Follow button in the right column ===> 

Facebook: Paula's Studio

Instagram: PaulasStudioMI


Please Note: I am a big advocate of using supplies you already own but I understand that readers might be interested in specific products that they might not already own. This post contains product links so you can easily find any supplies and/or tools you may be interested in. As an affiliate, I may be compensated for a purchase made using my links. However, no additional cost is extended to you. The other links are just to help guide you in the right direction. I am not affiliated with all companies but I encourage you to shop small businesses as much as possible. I may even include eBay listings for products that are available there at the time this is posted. I only share product information of products I am familiar with and use in my own studio. Papers are just from my collection. I always grab from my scraps first and I don’t keep track of where they came from. Use what you have!

Wednesday, March 4, 2026

CRAFT Challenge Blog #775

 Hello friends! This week's challenge with CRAFT Challenge Blog has a theme of Spring or Easter. The sponsor is The Paper Shelter. The design i am working with is Adorable Easter Bunny Digital Stamp.


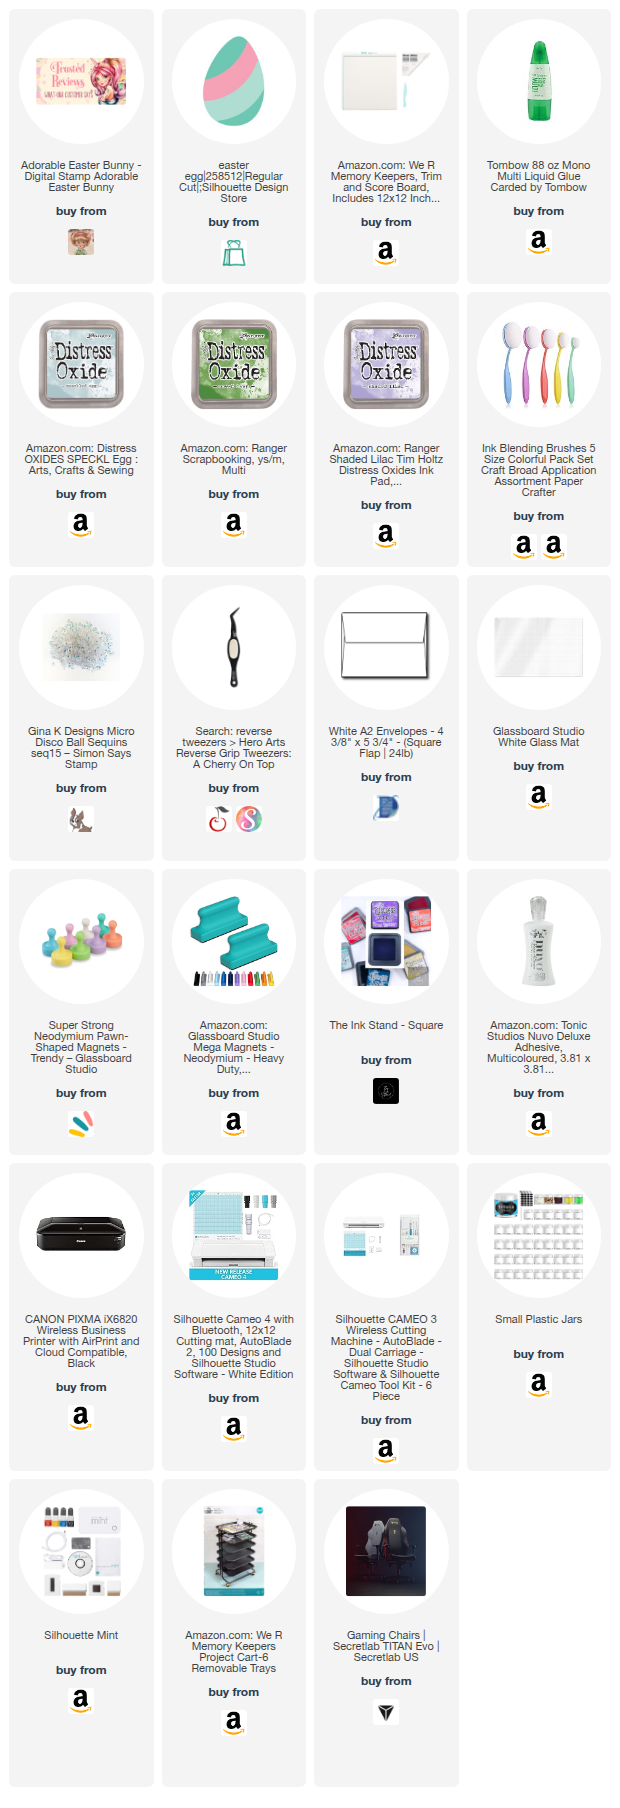
 Supply list is found below. 

Instruction: 

  1. Open an egg design in the electronic cutter software. I am using Silhouette Studio with a Cameo.
  2. Size the egg to be about the size of the card that you would like. I am using A2 size; 4.25" x 5.5".
  3. Duplicate the egg shape. You don't need the stripes, just the egg as it will be the inside/back of the card. Move all shapes off to the side of the on-screen mat.
  4. Open the Easter bunny design in the software.  I am using the colored PNG file.
  5. Size the bunny to fit the egg including the little butterflies. 
  6. Turn on the registration marks for the print & cut feature.
  7. Print the page on to cardstock.
  8. Cut the design using the cutting machine.
  9. Choose the colors of cardstock for the egg and the stripes.
  10. Cut all egg pieces out.
  11. Score a line 1" from the top of the egg piece that will be the inside of the card. 

  12. Add glue above the scored line and attach to front glue. Let dry. This is your card base. 
  13.  Assemble the egg and adhere the stripes. 
  14. Using ink and a blending brush, add a soft touch of ink on the edges. I did for all 3 colors I used. This just adds some dimension. 
  15. Adhere the bunny and butterflies to the egg.
  16. Embellish with sequins or gems.

Enjoy! I would love to see your version of this card. I used papers I had on hand.


~Paula

If you’d like, please follow me:

Please follow this blog, you can find the Follow button in the right column ===> 

Facebook: Paula's Studio

Instagram: PaulasStudioMI


Please Note: This post contains product links so you can easily find any supplies and/or tools you may be interested in. As an affiliate, I may be compensated for a purchase made using my links. However, no additional cost is extended to you. The other links are just to help guide you in the right direction. I am not affiliated with all companies but I encourage you to shop small businesses as much as possible. I only share product information of products I am familiar with and use in my own studio.

Papers are just from my collection. I always grab from my scraps first and I don’t keep track of where they came from. Use what you have!

Friday, January 23, 2026

Craft Challenge Blog #772

 Hi there friends!

This week's challenge on the CRAFT Challenge Blog has a theme of: Christmas. The sponsor is: Dr. Digi's House of Stamps and I using the design called: Last Tree in the Shop


 I decided to use a Color Cube card to guide me with the color choices.

I brought the design into Silhouette Studio.  I sized it to fit onto an A2 sized card and a little smaller. I used the trace tool to trace the design. It had a very jagged result and would not simplify to my liking. Therefore, I used the Offset tool to make slight offset around the shape and that did the trick for a smooth outline. I cut the design on my Silhouette Cameo.

I colored it with pencils.  

I chose pencil colors and background papers to fit The Color Cube card I am using: 


 I added silver splatter.


I then added sequins for sparkle and a sentiment outside and inside. I am bad about finishing the insides of my cards as I make them. One goal for the new year is to stop making cards with blank insides! I think I met the color challenge.


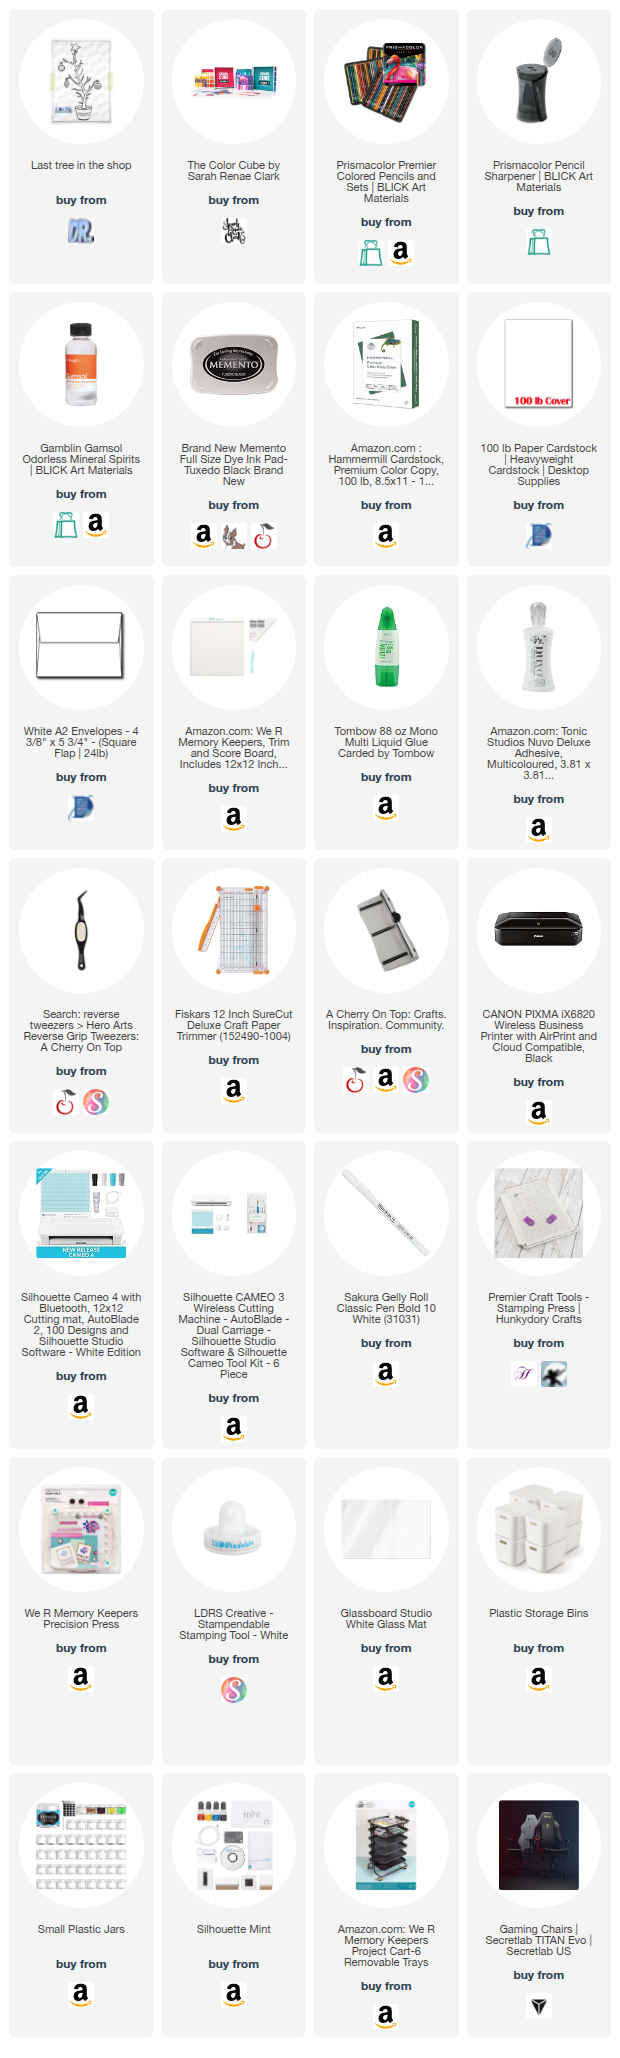
Check out the supply list below for all that I used to make this card. 

The stamp set is: https://www.scrapbook.com/store/sbc-ds24-10.html


~Paula

If you’d like, please follow me:

Please follow this blog, you can find the Follow button in the right column ===> 

Facebook: Paula's Studio

Instagram: PaulasStudioMI


Please Note: This post contains product links so you can easily find any supplies and/or tools you may be interested in. As an affiliate, I may be compensated for a purchase made using my links. However, no additional cost is extended to you. The other links are just to help guide you in the right direction. I am not affiliated with all companies but I encourage you to shop small businesses as much as possible. I only share product information of products I am familiar with and use in my own studio.

Papers are just from my collection. I always grab from my scraps first and I don’t keep track of where they came from. Use what you have!

Monday, November 24, 2025

Blog Hop with Printable Cuttable Creatables!


Hi friends! Welcome to the Printable Cuttable Creatables Blog Hop! Please visit all of our blogs (links below) and check out all the great inspiration the design team has to offer.

 I am totally on-board with the pink Christmas trend and I just had to include this nutcracker. It really brightens my mood and is so sweet and sparkly. 


Supplies Used:

  • Nutcracker SVG File (use can use my code: paulasstudio15 to get a 15% discount!)
  • Heavy cardstock for the slimline card base 
  • Cardstock for the nutcracker in choice of colors 
  • Patterned paper for background 
  • Adhesive 
  • Cutting machine, such as a Cricut machine or Silhouette Cameo 
  • Scoring board with bone folder 
  • White acrylic paint for splatter (optional) 
  • Adhesive foam for dimension (optional) 
  • Size 10, letter envelope for mailing 


 1.  Bring the separated version of the SVG file into your cutting machine software. I often bring in the assembled version too. I use it as a visual assembly guide.
2.       Resize the image as desired for a slimline card. Slimline cards are 3.5” x 8.5”
3.       Color the pieces on screen to what you would like for the paper. This helps make it easier to group pieces together in each color. 


4.    4. Cut all shapes in the desired papers.

 
5. I had decided that I wanted the nutcracker to have gray hair instead of white. This means the base nutcracker piece is cut in gray. However, this would make the whites of his eyes to be gray too. To change his eyes to white I cut a piece of white cardstock and adhered to the back of the face piece to it shows through as white.


6.       6. This design has many small pieces that are easy to work with using reverse tweezers. They are tweezers that stay closed on their own making it easier to hold a piece for applying glue a placing on the design.


7.       7. Assemble and adhere all pieces of the nutcracker.

8.       8. Choose a patterned paper for the background and splatter with white paint for a snowy effect. Glue to front of card base.


9.       9. To add some dimension, use adhesive foam to attach the nutcracker to the card base.


Happy Holidays to you and your loved ones! I hope you give this card a try!

Please visit each of the blogs in our hop by clicking on the names below! We appreciate all of you and hope you enjoy our inspiration.

Aarthi

Latoya

Dorlene

Michi

Printable Cuttable Creatables Main Blog
 

If you’d like, please follow me:

Please follow this blog, you can find the Follow button in the right column ===> 

Facebook: Paula's Studio

Instagram: PaulasStudioMI

 Thanks for stopping by! ~Paula

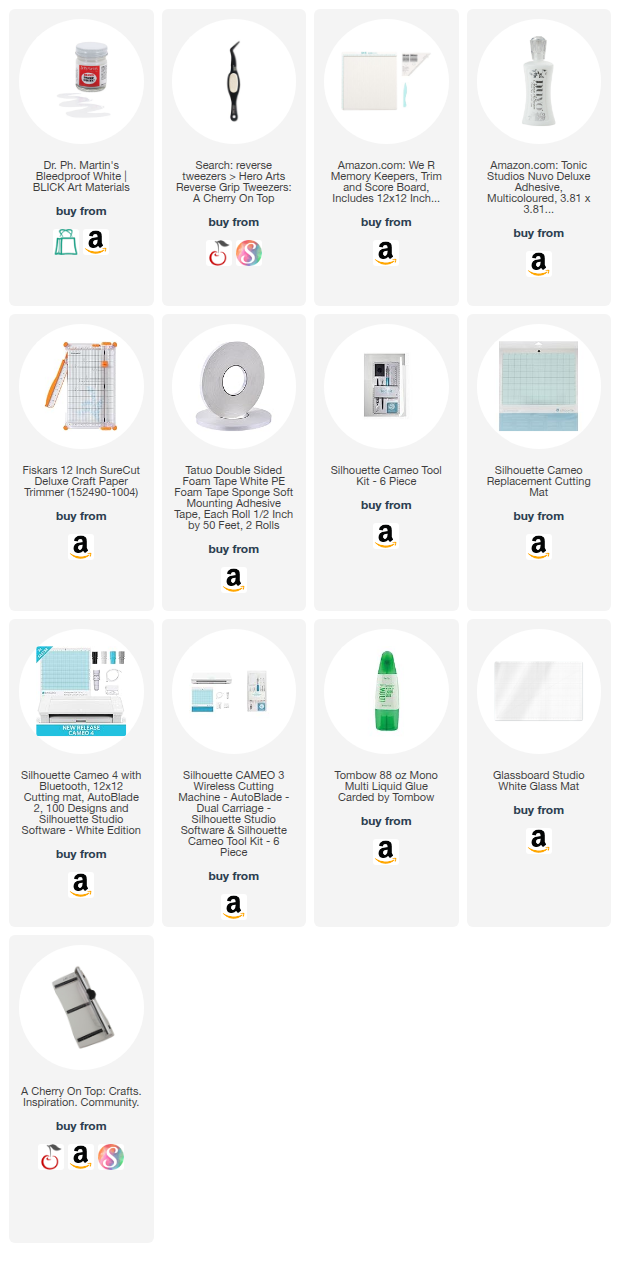
Please Note: This post contains product links so you can easily find any supplies and/or tools you may be interested in. As an affiliate, I may be compensated for a purchase made using my links. However, no additional cost is extended to you. The other links are just to help guide you in the right direction. I am not affiliated with all companies but I encourage you to shop small businesses as much as possible. I only share product information of products I am familiar with and use in my own studio.

Papers are just from my collection. I always grab from my scraps first and I don’t keep track of where they came from. Use what you have!