Showing posts with label Crafter's Companion. Show all posts

Sunday, July 12, 2026

Christmas In July Day 13 with Crafter's Companion

 Hi there friends! Today is Day 13 in Christmas in July. 


Yes, I skipped Days 11 and 12. It is the first time I skipped. I keep things real as I don't like to be flaky about things. I actually made this card, just didn't write it up. I grow a massive garden that sometimes needs priority over other things and it is harvest week for onions, garlic and finishing up the raspberries. I preserve my whole garden unless something is eaten right away. I grow about 100 onions and 400+ garlic plants so it takes me a bit to get this set to cure. I also do not get along with the summer heat and humidity at all. I get sick to my stomach, headaches -- it's a whole thing and worst of it is that I am actually an outdoor person and want to be outside! My body just hates it and I have to listen to what it says. I typically do my gardening in the last 1-2 hours before sunset if it is too hot earlier in the day. Even then it can be challenging but the sun is calming down that can help. So many people tell me I fill my days with so much, and I do, but I also have days that I need to stop and just be or at least just be a little less. I hope that makes sense.

Back to card making...

Another easy card.-- I colored the penguin stamp with alcohol markers. I framed it with a rick rack frame. I used a sentiment that came with the stamp and added candy canes as an embellishment.  


 ~Paula
If you’d like, please follow me:
Please follow this blog, you can find the Follow button in the right column ===> 
Facebook: Paula's Studio
Instagram: PaulasStudioMI 

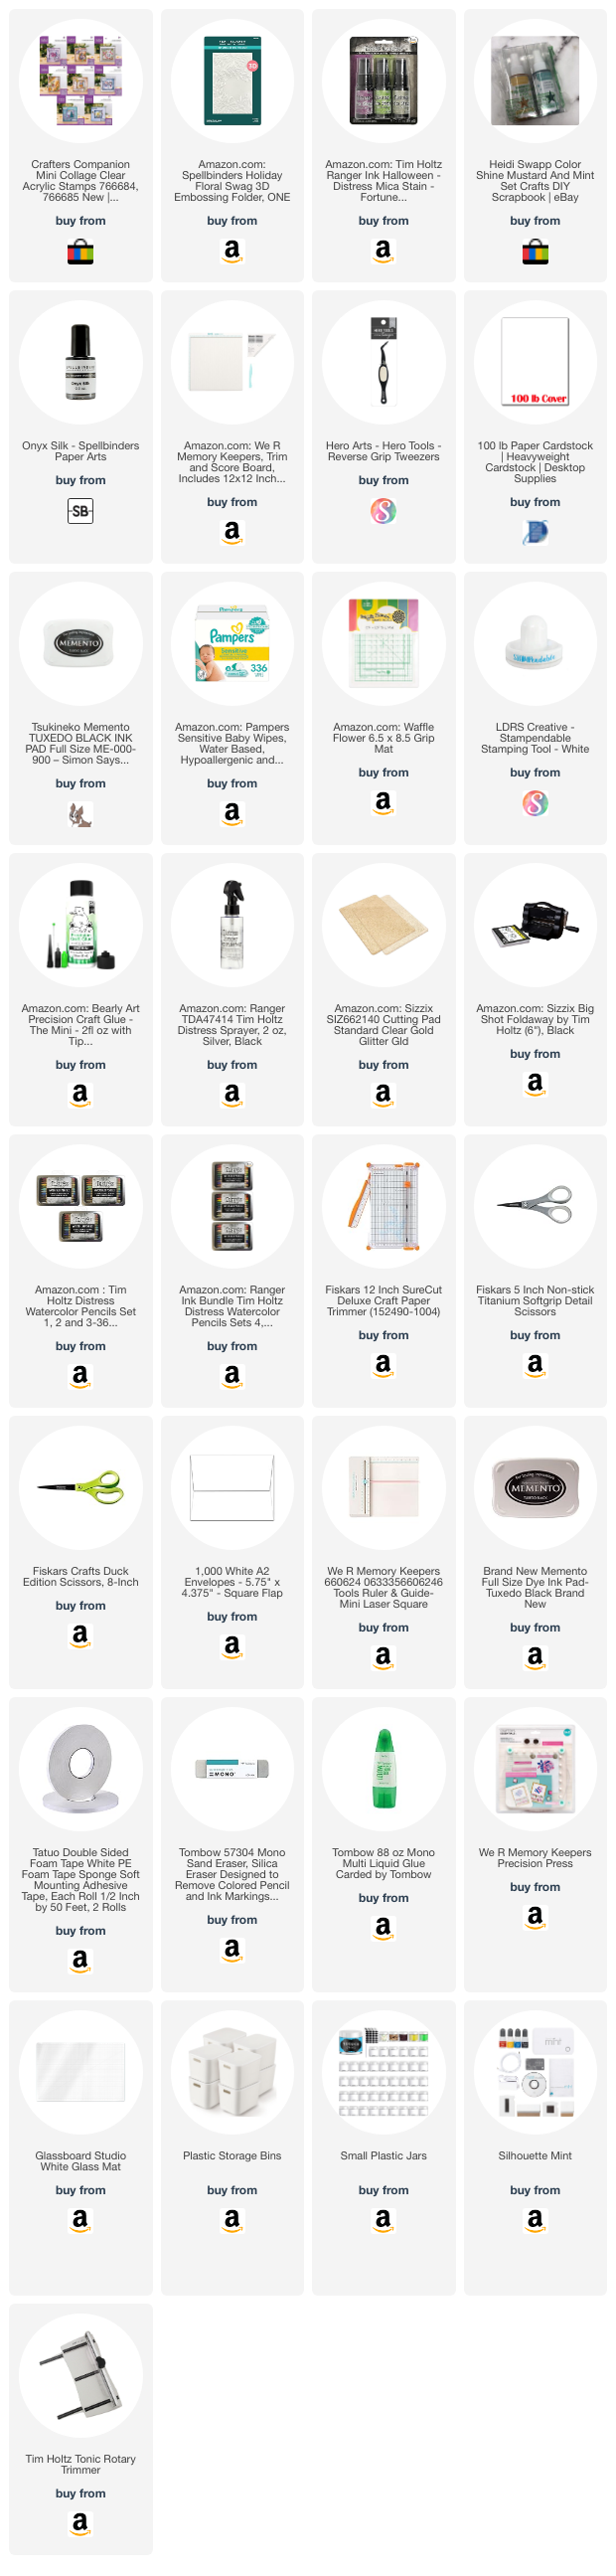
Please Note: I am a big advocate of using supplies you already own but I understand that readers might be interested in specific products that they might not already own. This post contains product links so you can easily find any supplies and/or tools you may be interested in. As an affiliate, I may be compensated for a purchase made using my links. However, no additional cost is extended to you. The other links are just to help guide you in the right direction. I am not affiliated with all companies but I encourage you to shop small businesses as much as possible. I may even include eBay listings for products that are available there at the time this is posted. I only share product information of products I am familiar with and use in my own studio. Papers are just from my collection. I always grab from my scraps first and I don’t keep track of where they came from. Use what you have!

The stamps set is by Crafter's Companion and called Special Penguin. It is discontinued but any penguin will do.
Wednesday, October 15, 2025

Day 15: 31 Days of Halloween Cards with dry embossing

 Hi there friends!

Today's Halloween card is made by using an embossing folder by Crafter's Companion. I used the original Crafter Companion's Gemini machine to run the 3D embossing folder. I don't link up that in my supplies because there is a new model available that I don't own. I also own a Sizzix Big Shot Foldaway. This one still works great and I see no need to replace it -- use what you have!


 If you run the embossing folder through the die cut machine it comes out like this:


 I think this is a beautiful design just as it is but i was in the mood for some color. To color the flat background, swipe an ink pad along the folder on the inside side that the features are indented. 

I do and run through the machine and repeat for more coverage. You likely won't get a perfectly crisp result and that's okay, I don't always want that. 


Now color can be added to the parts that didn't get inked. I used alcohol markers. I almost colored the "Trick or Treat" gray or black but then I chose to leave it white because it is the rarest color (if you consider white a color) used. I really love how it turned out. I added some holographic stars for sparkle and matted on a orange glitter paper. 

You can view my card at Scrapbook.com 


~Paula

If you’d like, please follow me:

Please follow this blog, you can find the Follow button in the right column ===> 

Facebook: Paula's Studio

Instagram: PaulasStudioMI


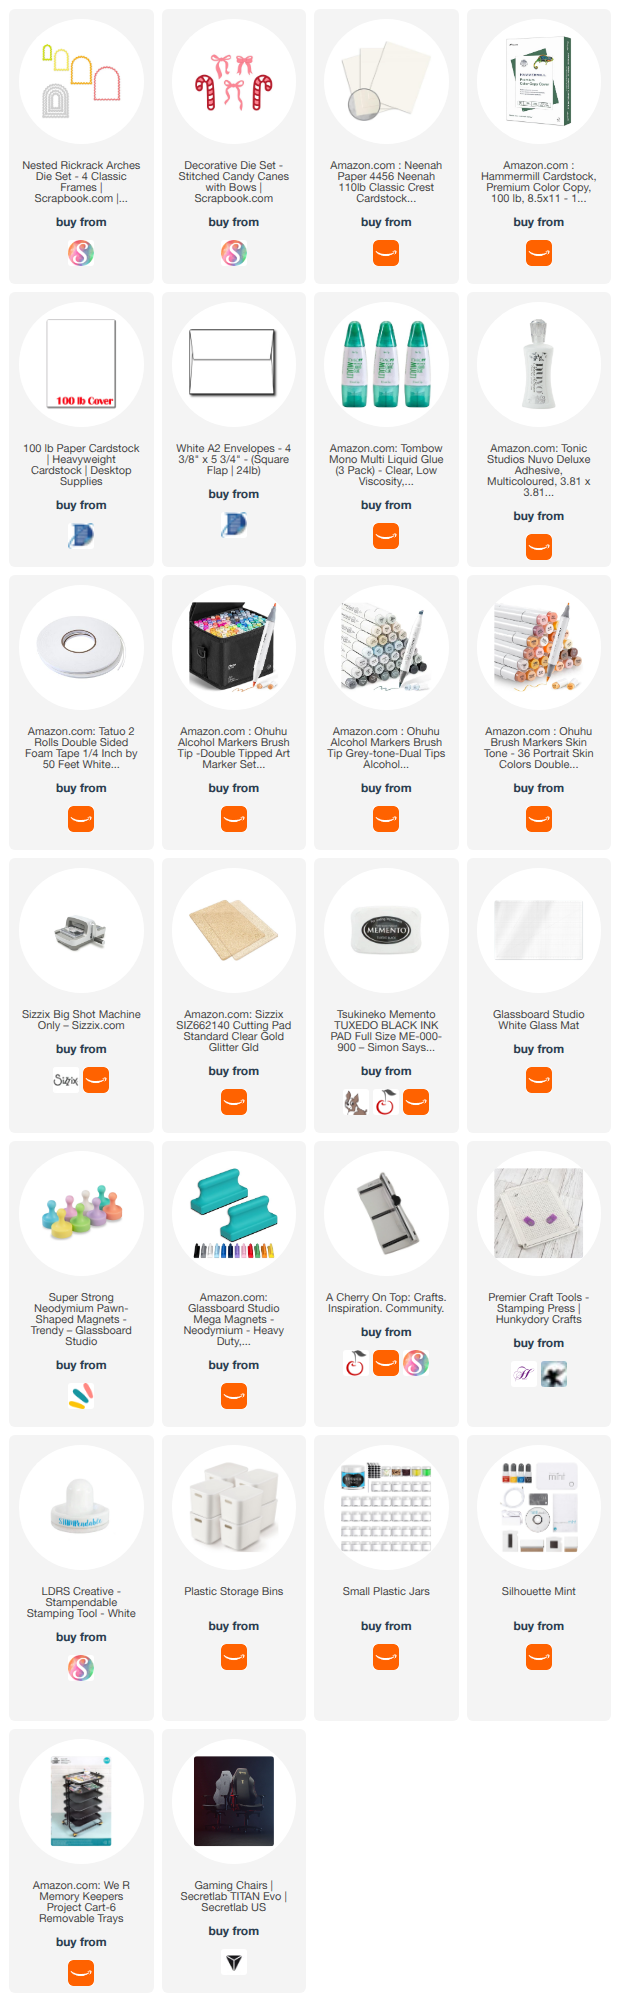
Please Note: This post contains product links so you can easily find any supplies and/or tools you may be interested in. As an affiliate, I may be compensated for a purchase made using my links. However, no additional cost is extended to you. The other links are just to help guide you in the right direction. I am not affiliated with all companies but I encourage you to shop small businesses as much as possible. I only share product information of products I am familiar with and use in my own studio.

Papers are just from my collection. I always grab from my scraps first and I don’t keep track of where they came from. Use what you have!


Monday, August 5, 2024

Christmas Poinsettia Card

 Hi friends!

Today I show you how to make this Christmas card.

I call this a mini slimline sized card. Mini slimline cards should be 3.5 x 6 inches. I don't make them that size because I have a giant pile of papers that are 6x6 in and also 12x12 inch papers that can be cut to make 4. That makes my mini slimlines a little bit smaller than the norm. I think that's perfectly fine and makes more sense. 


I use this set by Crafter's Companion to make the poinsettia and also the sentiment.This set is discontinued but there are listings for it on eBay and I have linked one of them below.


I start with the background panels so that I give them time to dry before assembly. I used a holiday floral embossing folder (link below) to add interest and texture. 

I use these two sprays to color two separate panels. The green for the embossed one and the yellow for a plain one. 

Some people have a dedicated splatter box to do the spraying in so paint doesn't go everywhere. I just use my garbage can. I don't toss food or other gross things in there so it works fine. Either before spraying or after they have dried these need to be cut down. The yellow goes in the back and if you see I have some splotches from painting. No big deal. The perimeter is what will show the most and even if a splotch shows, it is really okay. 

Yellow piece gets cut down to: 2.75x5.5"

Green piece gets cut down to: 2.5x5.25"

I stamp the poinsettia flower two times on white cardstock. If the impression is not perfect, it is probably okay. 

I use watercolors to paint one red with a yellow center and the other green. They do not need to be perfect. I don't want the paint to be perfectly even. I didn't paint the green one in its entirety. This flower is to be cut down and used as leaves so I picked some that I felt made sense for that.

Glue the yellow and green panels to the card base.


I glue the green leaves to the back of the red flower and mostly on one side. As you can see in the above photo I place it so it is hanging off the edge of the card and I don't want to waste the ones I painted.

I used foam adhesive tape to attach the flower to the card. Flip the card over and use scissors to trim off the parts that are hanging over the edge.


I used a circle die to cut out a circle that fits the sentiment and I glue that to the card. I position the sentiment and the flower in a way to let the embossed panel show some too. I then used a black spatter paint to finish the card.


~Paula

If you like, please follow my Facebook page: https://www.facebook.com/paulasstudiomi

Please Note: This post contains product links so you can easily find any supplies and/or tools you may be interested in. As an Amazon Associate, I may be compensated for a purchase made using my link. However, no additional cost is extended to you. The other links are just to help guide you in the right direction. I am not affiliated with those companies but I encourage you to shop small businesses as much as possible.

Papers are just from my collection. I always grab from my scraps first and I don’t keep track of where they came from.