Showing posts with label heat embossing. Show all posts

Saturday, July 18, 2026

Christmas in July Day 18

 Hi there friends! 

I hope this Saturday finds you well. 

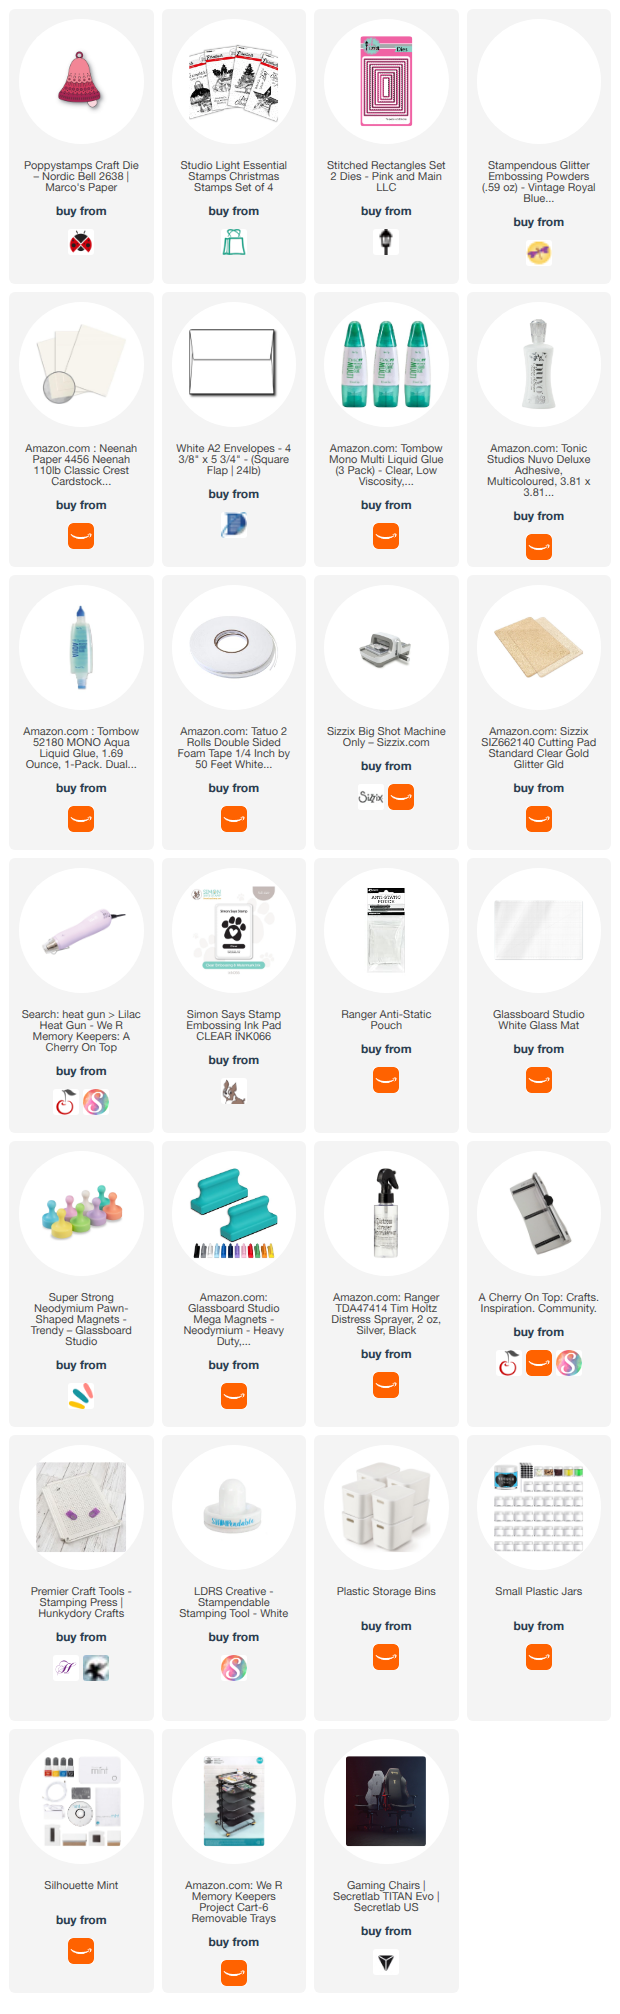
Today's card is a monochromatic one and I am using a Nordic die from Poppy Stamps. Their Noridic line is so beautiful. Although I am using this for a holiday card, I could see this die set being used for a wedding card as well.  

I cut the bells in 3 different shades of blue and mixed up the colors for each bell. The sentiment is stamps and heat embossed in a dark blue glitter all on a patterned paper from my stash. It is that simple. The only thing I wished I had done differently is not line of the bells on the left so much in a vertical line. I like things to not be aligned. I prefer wonky and crooked and this wasn't enough of that.


~Paula

If you’d like, please follow me:

Please follow this blog, you can find the Follow button in the right column ===> 

Facebook: Paula's Studio

Instagram: PaulasStudioMI


Please Note: I am a big advocate of using supplies you already own but I understand that readers might be interested in specific products that they might not already own. This post contains product links so you can easily find any supplies and/or tools you may be interested in. As an affiliate, I may be compensated for a purchase made using my links. However, no additional cost is extended to you. The other links are just to help guide you in the right direction. I am not affiliated with all companies but I encourage you to shop small businesses as much as possible. I may even include eBay listings for products that are available there at the time this is posted. I only share product information of products I am familiar with and use in my own studio. Papers are just from my collection. I always grab from my scraps first and I don’t keep track of where they came from. Use what you have!
Thursday, July 2, 2026

Christmas in July Day 2

 Hi friends! Today is Day 2 in the 31 days of Christmas in July. I decided I am not going to stress designs. I am going to pre-plan what techniques or products I am going to use. I am just going to work with the things I already have and mix it up. The techniques will depend on the day and the time. Let's get real -- I have real life outside the studio too. 😀 

Here is Day 2: 


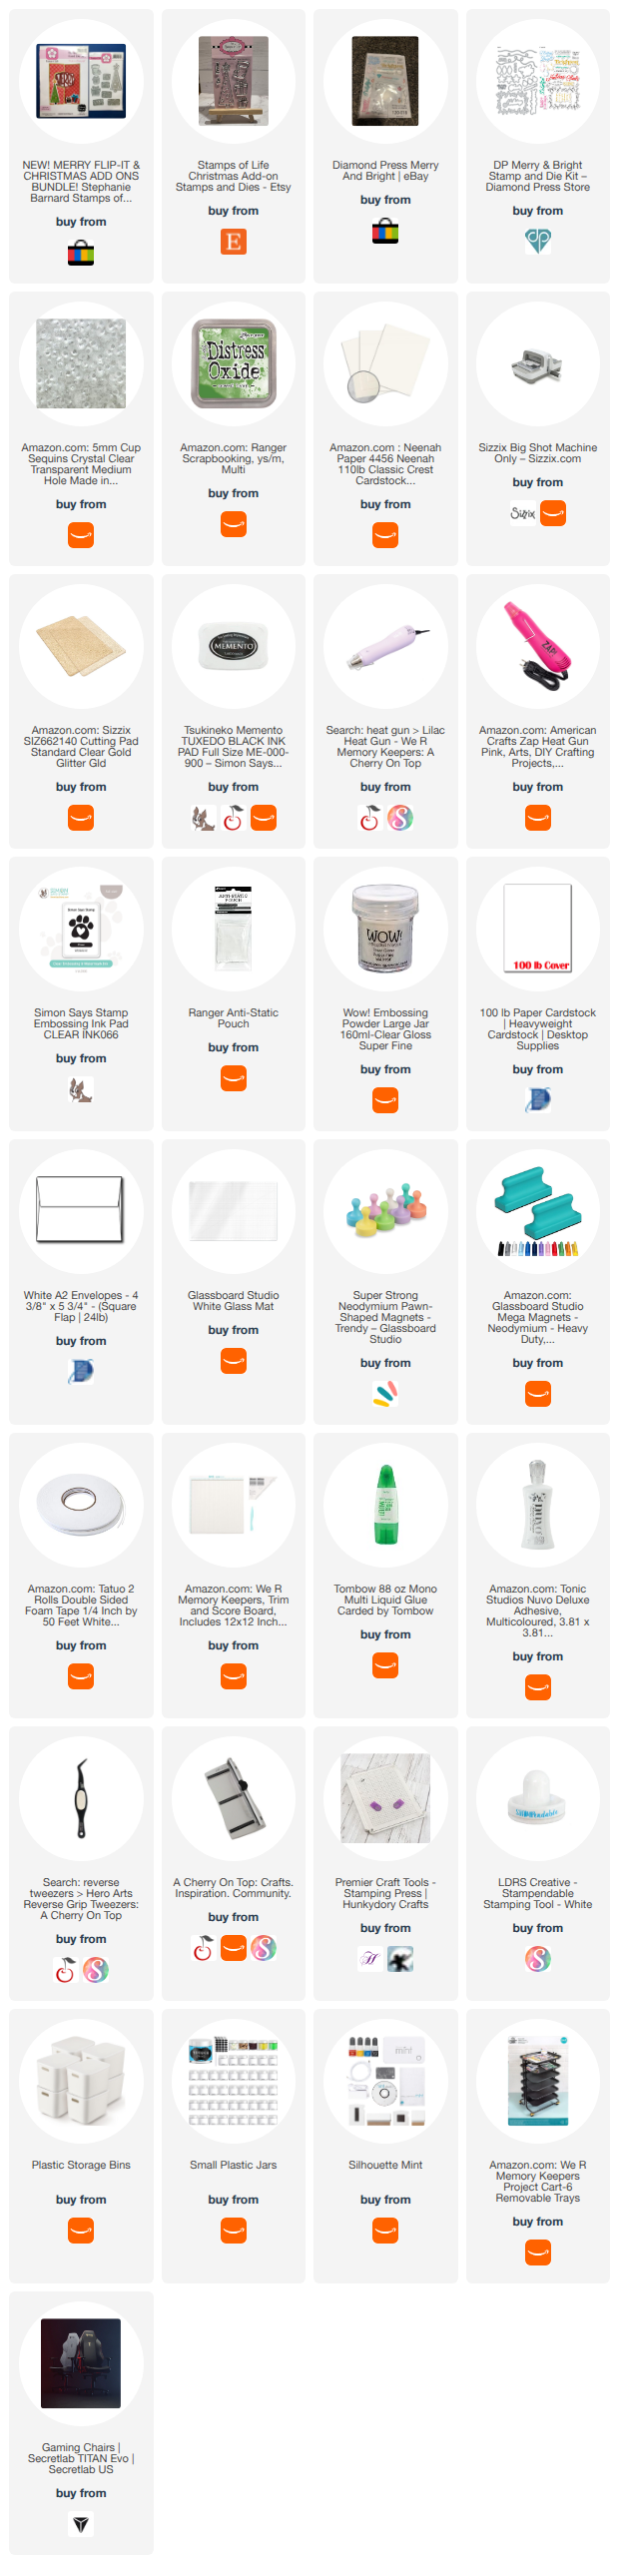
 Supply list is listed below. I am making an A2 card with an A2 card base and a 4 x 5.25 inches card panel to work on. 

Stamps and Dies are by Stamps of Life Christmas Add-on to the Flip-It Merry set. It is available on their site but I found some eBay and etsy listings and are listed below. 

Instruction:

  1. Cut the layered Christmas tree out in a gold layer and green layer. Adhere them together. Also cut the solid tree out in any paper to be used as a mask.


  2. Using the matching stamp, stamp a few trees in green. I used the mask made in step 1 to layer them. 

  3. Stamp a sentiment in black. Use clear embossing ink and powder to add that embossed shine to the sentiment.

  4. Use adhesive foam to adhere the colored tree to the panel. 

  5. Adhere the card panel to a card base. 


 ~Paula
If you’d like, please follow me:
Please follow this blog, you can find the Follow button in the right column ===> 
Facebook: Paula's Studio
Instagram: PaulasStudioMI 

Please Note: I am a big advocate of using supplies you already own but I understand that readers might be interested in specific products that they might not already own. This post contains product links so you can easily find any supplies and/or tools you may be interested in. As an affiliate, I may be compensated for a purchase made using my links. However, no additional cost is extended to you. The other links are just to help guide you in the right direction. I am not affiliated with all companies but I encourage you to shop small businesses as much as possible. I may even include eBay listings for products that are available there at the time this is posted. I only share product information of products I am familiar with and use in my own studio. Papers are just from my collection. I always grab from my scraps first and I don’t keep track of where they came from. Use what you have!

Sunday, October 5, 2025

Day 5: 31 Days of Halloween Cards with a mixed media fun fold card

 Hi friends!

Today I am showing a Halloween card I made for a dancer in my witch group. I am part of a dance group for Halloween where we dress as witches and perform a dance at Halloween events around our community. We do not practice witchcraft. It is all in good Halloween fun that brings joy to people of all ages. One of our witches needed some love and support and I made this fun fold card that all could sign.


 Once opened there are two additional flaps that open. 

These flaps not only add interest but they allows more space for people to leave a message. 

I won't go into complete detail as how I painted the cover. When I make a custom card for particular person or event, my mind acts different and it becomes more about the recipient than anything else.

I did start with a white piece of cardstock for the front panel. The background is painted with a shimmery mica paint.

The witch on the left is cut with a die into non-adhesive foam. The witch on the right is stenciled with a glitter glaze. The cauldron is a die and is colored with ink. Stencils are used for background elements. A stamp and embossing powder are used for the sentiment. 

The inner flaps have stamped images, colored with acrylic markers and sentiments stamped and embossed with glitter embossing powder. Black splatter paint and holographic stars are embellishments. 

You can find all products used below. 


~Paula

If you’d like, please follow me:

Please follow this blog, you can find the Follow button in the right column ===> 

Facebook: Paula's Studio

Instagram: PaulasStudioMI


Please Note: This post contains product links so you can easily find any supplies and/or tools you may be interested in. As an affiliate, I may be compensated for a purchase made using my links. However, no additional cost is extended to you. The other links are just to help guide you in the right direction. I am not affiliated with all companies but I encourage you to shop small businesses as much as possible. I only share product information of products I am familiar with and use in my own studio.

Papers are just from my collection. I always grab from my scraps first and I don’t keep track of where they came from. Use what you have!

Products used that are not listed below:

Fiskars Clear Stamps Halloween 
Stamps By Me "Hocus Pocus" Stamps
Stamps By Me "Spell On You" Stamps 
Diamond Press "Witches Paper Dolls" Stamp & Die Kit
Brutus Monroe Glitter Glaze: Gunmetal
Brutus Monroe Halloween Night embossing powder 


Thursday, February 15, 2024

Bingo Challenge #4 with Fifi the Papercrafter

 The 4th week of the Bingo challenge with Fifi the Papercrafter is: 

B: Crayons or Scribble Sticks

I: Slow Stitch

N: Die Cuts

G: Napkin

O: Heat Embossing

We are to incorporate all of those on a tall journaling card or pocket card.

These bingo projects are intended to be saved and put into a junk journal later. I am not very good at junk journaling or scrapbooking. I love making all the elements but I don't love saving the books so I generally don't go that route. My projects are often geared towards the potential of becoming a greeting card later. I really love making cards and I love sending them too. 

My tall journal card is the size needed for a slimline card in case I want to turn it into one later. 

B: Crayons or Scribble Sticks: I used a Tim Holtz Distress Crayon in Winterberry

I: Slow Stitch - I used embroidery floss to do some stitiching and add a pink button. I have jars of buttons that have gotten handed over to me throughout the years. 

N: Die Cuts - I used several. The pink pink flower is one I cut with my ** Silhouette Studio Software and Silhouette Cameo and is from the Silhouette Design Store Design #258281. The square underneath and the triangle at the bottom are ** Tim Holtz Sizzix Thinlets Die Set Geo Frames. The hot pink medallion was made using ** Tim Holtz Sizzix Switchlets Embossing Folder – Seal. The moth was just a purchased die cut in my collection. The bouquet of flowers is from the Silhouette Design Store and is Design ID # 433257. It was cut using the print and cut feature. 

G: Napkin - I used an everyday plain white napkin for the background to add a soft fabric-like texture.

O: Heat Embossing - I added thick clear embossing powder by Brutus Monroe to the moth to add texture and shine. 

I also added Pot of Gold Embossing Powder by Brutus Monroe to the pink medallion to give it some sparkler. If you've never tried Brutus Monroe embossing powders, they are wonderful! So sparkly and pretty. 


I love to take photos of my work table while I'm working on project. I think it's fun to see what all goes on there.


~Paula


Please Note: This post contains product links so you can easily find any supplies and/or tools you may be interested in. Any product denoted with a ** is a link on Amazon. As an Amazon Associate, I may be compensated for a purchase made using my link. However, no additional cost is extended to you. The other links are just to help guide you in the right direction. I am not affiliated with those companies but I encourage you to shop small businesses as much as possible.