Hello there! Welcome to the Spring Blog Hop for Printable Cuttable Creatables. Every member of our design team is part of the hop. Be sure to visit each member's blog and then leave a comment on the main blog stating your favorite post from the hop. You'll have a change to win a Virtual Wallet prize!
The main blog post to leave a comment is Printable Cuttable Creatables
The blogs on the hop are found at the links below. Check them all out and let them know what you like about their projects.
The hop will be open until May 22nd. Look for an awesome birthday sale to celebrate the 11th Anniversary at Printable Cuttable Creatables!
Now to share my project:


We are quickly approaching the busiest time of year for weddings. I thought I would share a nice thank you card that a bride could give to her bridesmaids. It is also suitable for a bridal shower or bacheloratte card. I just adore this dress. Doesn’t it remind you of the one Baby wore in Dirty Dancing?? It’s so pretty. (PS I'm watching that movie right now!)
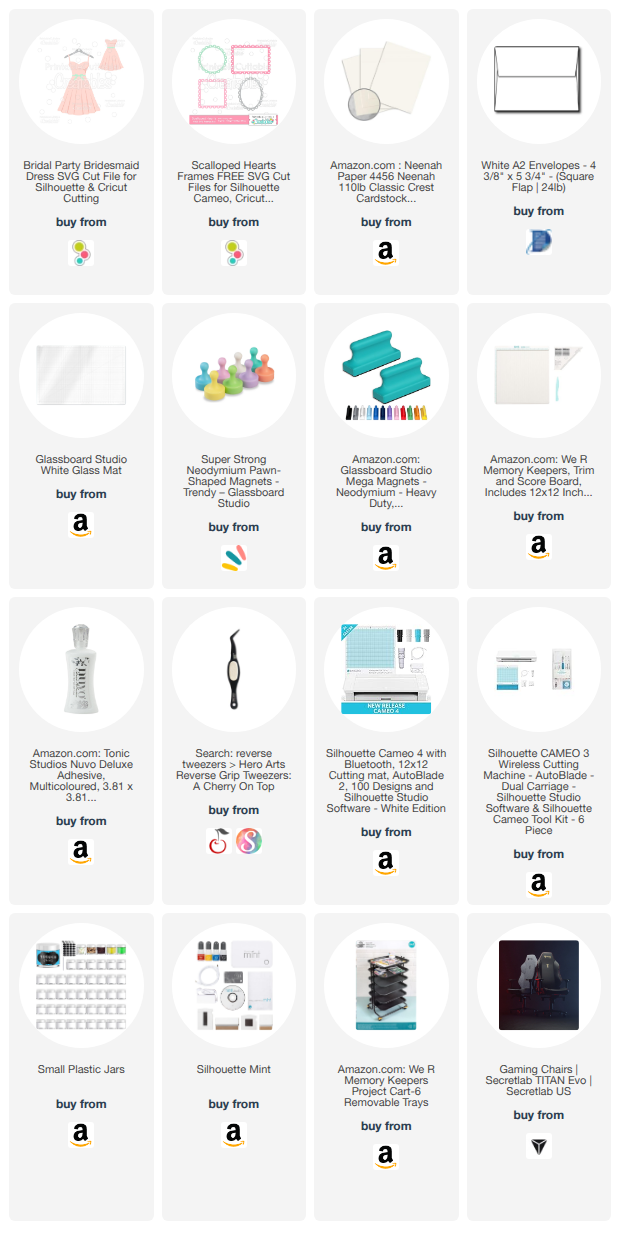
Supplies: More details of products at the end
Bridal
Party Bridesmaid Dress SVG Cut File
Scalloped
Hearts Frames Set FREE SVG Files
Cardstock in various colors
Adhesive
Electronic Cutting Machine and software (I am using
Silhouette Studio with a Cameo)
Embellishments
1. Download the files listed.
2. Open the Frames file in the design software. Choose the rectangle and move the others aside or delete.
3. Resize the rectangle to be as close to 4.25 x 5.5” as possible by keeping the proportions the same – use the corners -- do not stretch the sides as it will distort the hearts.
4. Draw a rectangle to match the interior rectangle of the heart frame. Make it slightly bigger. We will glue the heart frame to this so we need to make it bigger for that. I want the scalloped part to hang off so the heart can be seen through.

5. Move the frame to the side. Duplicate the rectangle and position above it. This is creating the card base. Make sure these are touching.

6. Select both rectangles and right-click and choose Weld. If they don’t become one large rectangle, move them slightly closer and try again until they become one shape. This is the card base.

7. Open the SVG file with the dress. Choose the dress you prefer. I like the one with the hanger.
8. Size the dress to fit fully inside of the heart frame.

9. Ungroup the dress design and separate the layers.
10. Cut the dress parts, frame and card base in desired colors of cardstock. Also cut a rectangle the same as the inside of the frame for a background for the dress. Note: I chose the gold glitter paper and it is much flimsier than cardstock. Therefore, I cut 2 frames and glued them together. The other frame is of dark blue cardstock of which I used the center for the background behind the dress.
11. Fold the card base in half. Adhere the frame to the front of the base. Adhere the background panel inside the frame.
12. Assemble the dress and hanger and adhere to card.
13. Add embellishments such as pearl, sequins or gems.

14. Add a personal message to the inside of the card.
I hope you enjoyed this project! I would love to see your version of one. You can use my coupon code to get a 15% discount off your purchase! My code is: paulasstudio15
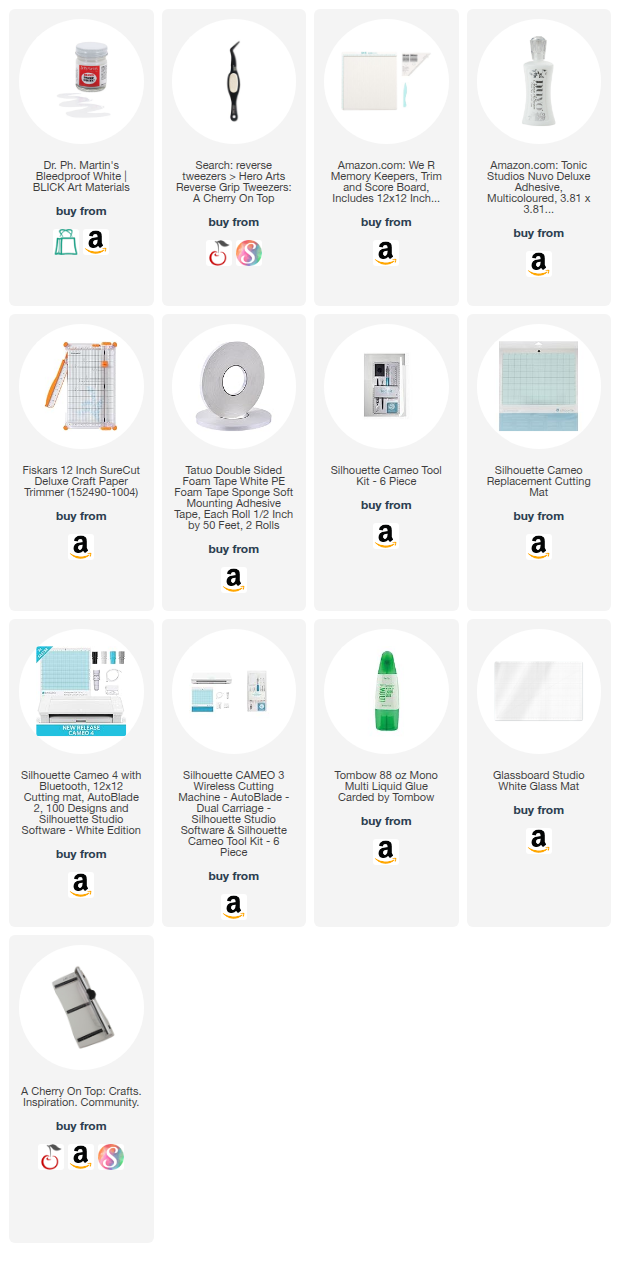
Check out the supply list below for all that I used to make this card.
~Paula
If you’d like, please follow me:
Please follow this blog, you can find the Follow button in the right column ===>
Facebook: Paula's Studio
Instagram: PaulasStudioMI
Please Note: I am a big advocate of using supplies you already own but I understand that readers might be interested in specific products that they might not already own. This post contains product links so you can easily find any supplies and/or tools you may be interested in. As an affiliate, I may be compensated for a purchase made using my links. However, no additional cost is extended to you. The other links are just to help guide you in the right direction. I am not affiliated with all companies but I encourage you to shop small businesses as much as possible. I may even include eBay listings for products that are available there at the time this is posted. I only share product information of products I am familiar with and use in my own studio. Papers are just from my collection. I always grab from my scraps first and I don’t keep track of where they came from. Use what you have!