Sunday, April 28, 2024

Hello Sunshine!

 Hi there friends,

I will be trying to get more posts out there that are beyond the design team work but you know...life makes the rules.


This card is inspired by the return of Sparkleberry Ink! The small American business came into my life back when All Things Silhouette Conferences were in-person. Once owned by Mandy, her business was all about patterned heat transfer and adhesive vinyls. She had a monthly project subscription box with weekly videos. It progressed over time to include paper and sublimation prints. Eventually Mandy got a corporate job and put Sparkleberry on hold. Then very recently her bestie Megan bought it and is bringing it back to life with the subscription box too. Here is a referral link if you're interested in it: Referral Code Here

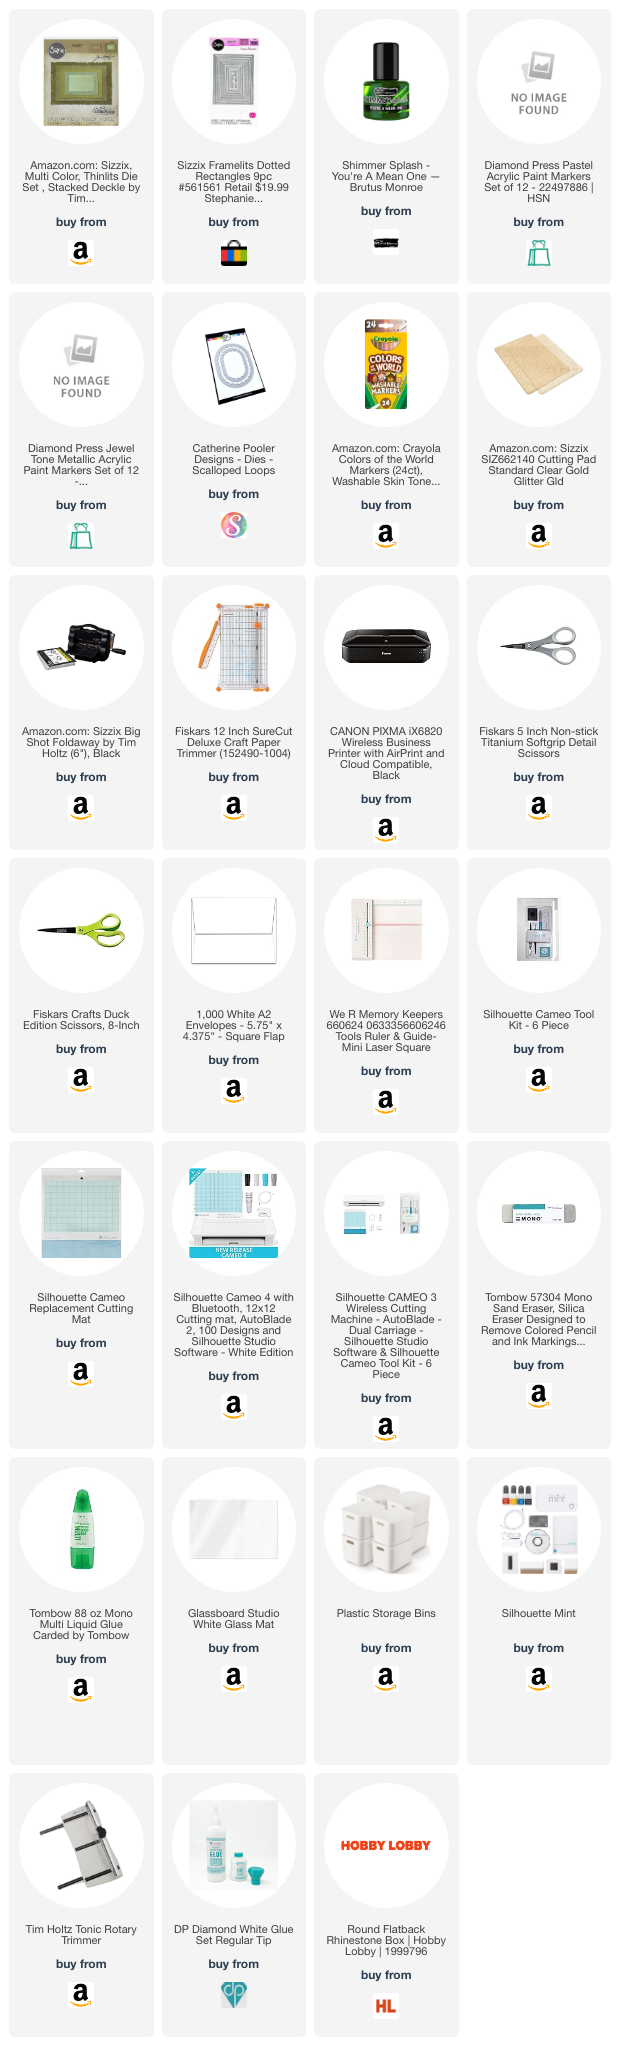
 This card is pretty simple to make. I used a Tim Holtz die (see links below for supply list) to construct the rosette but you can get an SVG. The Silhouette Design Store has design #141299 (<== that's a link) that I think is the most like what I used. I will use it soon as I have a project on the schedule for it.


For the die, I cut out 4 of the pieces to make a circle. I made sure to line of the stripes of the paper so they would make sense as a circle. I used this paper by Sparkleberry Ink: Ombre - SparkleBerry Vacay


You can use any striped paper to get this look. I was in the mood for some bright summer colors. Fold each segment as shown so make the pleats.

Once all pieces are cut out, glue the end tabs together. I secure mine with clothespins and let the glue set real good before going on to the next step. 

Then you want to complete the circle and apply glue. Again let it set good.


Once dry, lay it flat and play with it a little to see how big you want it. I wanted it to fit on an A2 size card so I put the rosette in tight so that the center hole closed as much as it could. It is best to use hot glue to secure as the glue easily gets in all the folds and sets very well and sturdy. 

The back of the rosette and you can see the glue has nicely filled the hole. 


Traditionally, for a rosette you would cut and place a small medallion on the center in the front. I think the purpose is to help with the glue for the center and also hides it and dresses it up. I originally did do this but when I moved along in the design I tore it off because I didn't want it to show behind the sentiment I chose.

Next I used this cute sentiment die and thought it would look perfect on the medallion itself. I cut one layer in pink glitter cardstock and the bottom layer in the same yellow as the background. I added some matching sequins too. I'm pretty pleased with how it came out!

~Paula

Please Note: This post contains product links so you can easily find any supplies and/or tools you may be interested in. As an Amazon Associate, I may be compensated for a purchase made using my link. However, no additional cost is extended to you. The other links are just to help guide you in the right direction. I am not affiliated with those companies but I encourage you to shop small businesses as much as possible.

Thursday, April 25, 2024

CRAFT Challenge #717

 Hi friends,

This week on the CRAFT Challenge Blog the theme is: Anything Goes or Recycle.

The sponsor is SheepSki Designs <=== please check them out

I chose to use My Pad  <=== you can purchase it here


I printed out the design and used Silhouette Studio's Print & Cut feature to cut it out on my Cameo.

I had the idea to emboss the background paper with a wavy design but when I did I felt it was kind of boring so I came up with this layered design just to add some interest. The embossing folder is by Darice.


I decided to use watercolors for the frog and lily pad. I'm pretty excited with all the shading. I added some details with pens. 


The sentiment is embossed with a glitter embossing powder but I totally forgot to use anti-static powder and the glitter went a little haywire. I always have the stuff right by me when I am embossing and I forget to use it most of the time and usually regret it. I decided to be okay with it here as it adds some pizzazz to the sentiment banner. 

I think it turned out to me a super cute summer birthday card. What do you think?

~Paula


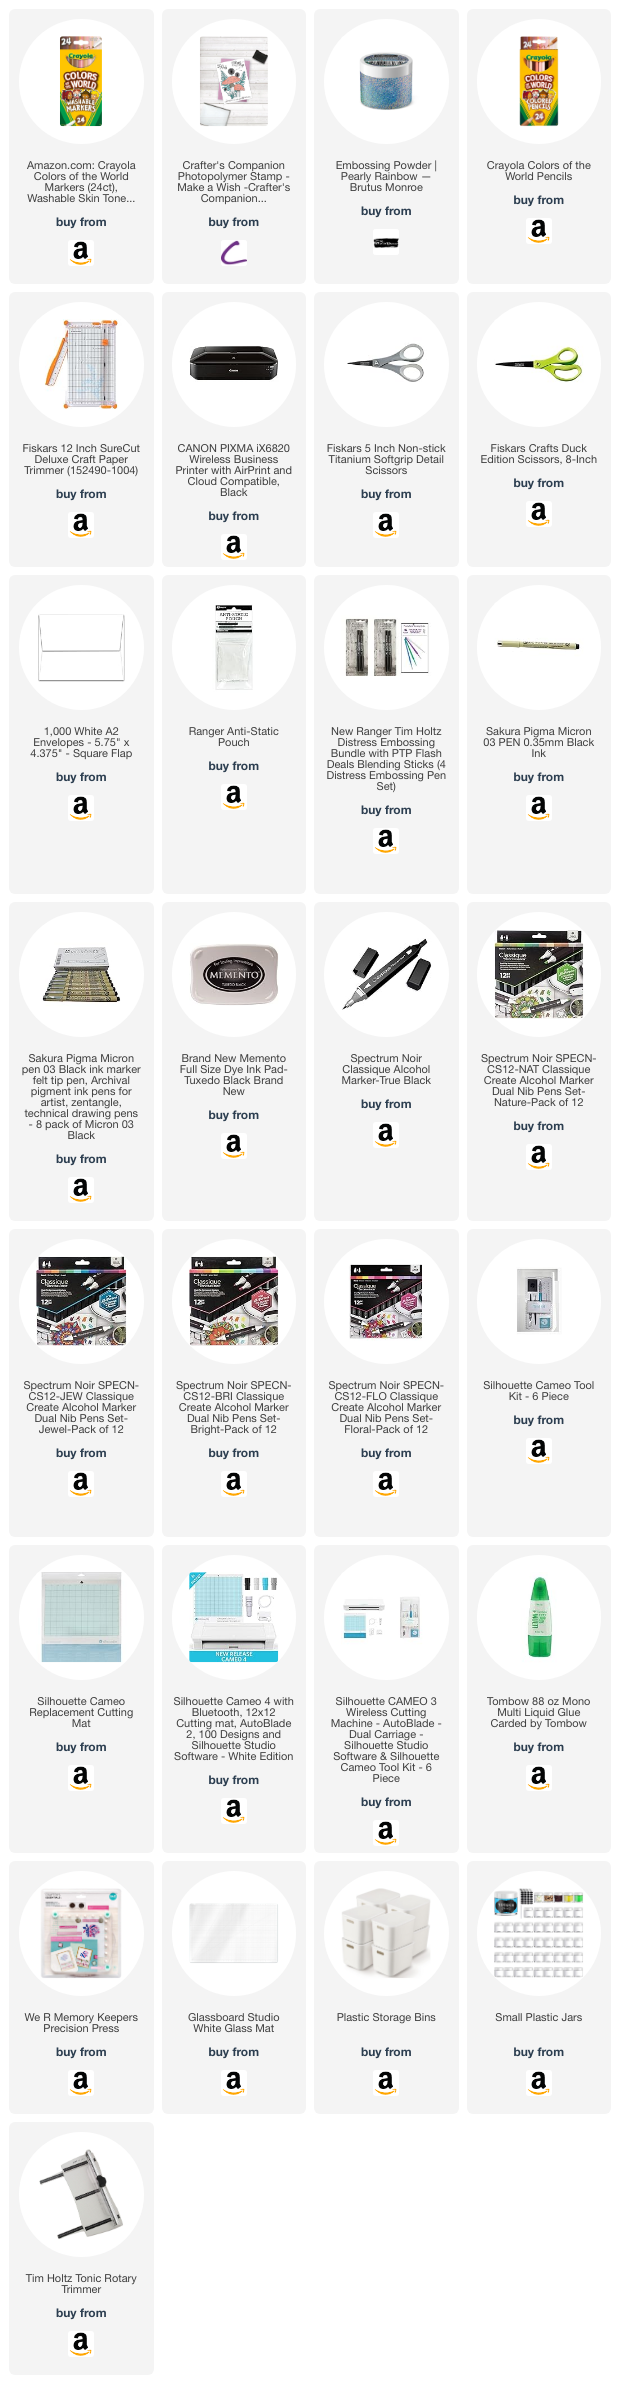
Please Note: This post contains product links so you can easily find any supplies and/or tools you may be interested in. As an Amazon Associate, I may be compensated for a purchase made using my link. However, no additional cost is extended to you. The other links are just to help guide you in the right direction. I am not affiliated with those companies but I encourage you to shop small businesses as much as possible.


Thursday, April 18, 2024

CRAFT Challenge #716

 Hi friends!

I'm currently attending a conference this week and having a grand time so this entry will be short and sweet.

This week's CRAFT Challenge Blog's theme is: Christmas

This week's sponsor is: The Cutting Cafe

I used the file: Christmas Elisha Jean

I used the print and cut feature in Silhouette Studio and cut it out with my Silhouette Cameo.

I colored Elisha Jean and her outfit with acrylic paint makers by Diamond Press and Crayola Colors of the World markers.   

For the background, I use a double-sided patterned paper. I cut the center out with an oval die by Catherin Pooler and flipped it over to reveal the other side. 

I used green splatter paint by Brutus Monroe to add some Christmas green to the background. The gems came from Hobby Lobby. The sentiment came with Elisha Jean's file. Isn't she the cutest?

You can visit the CRAFT Challenge blog here: CRAFT Challenge to see other project in this category or submit your own.

~Paula

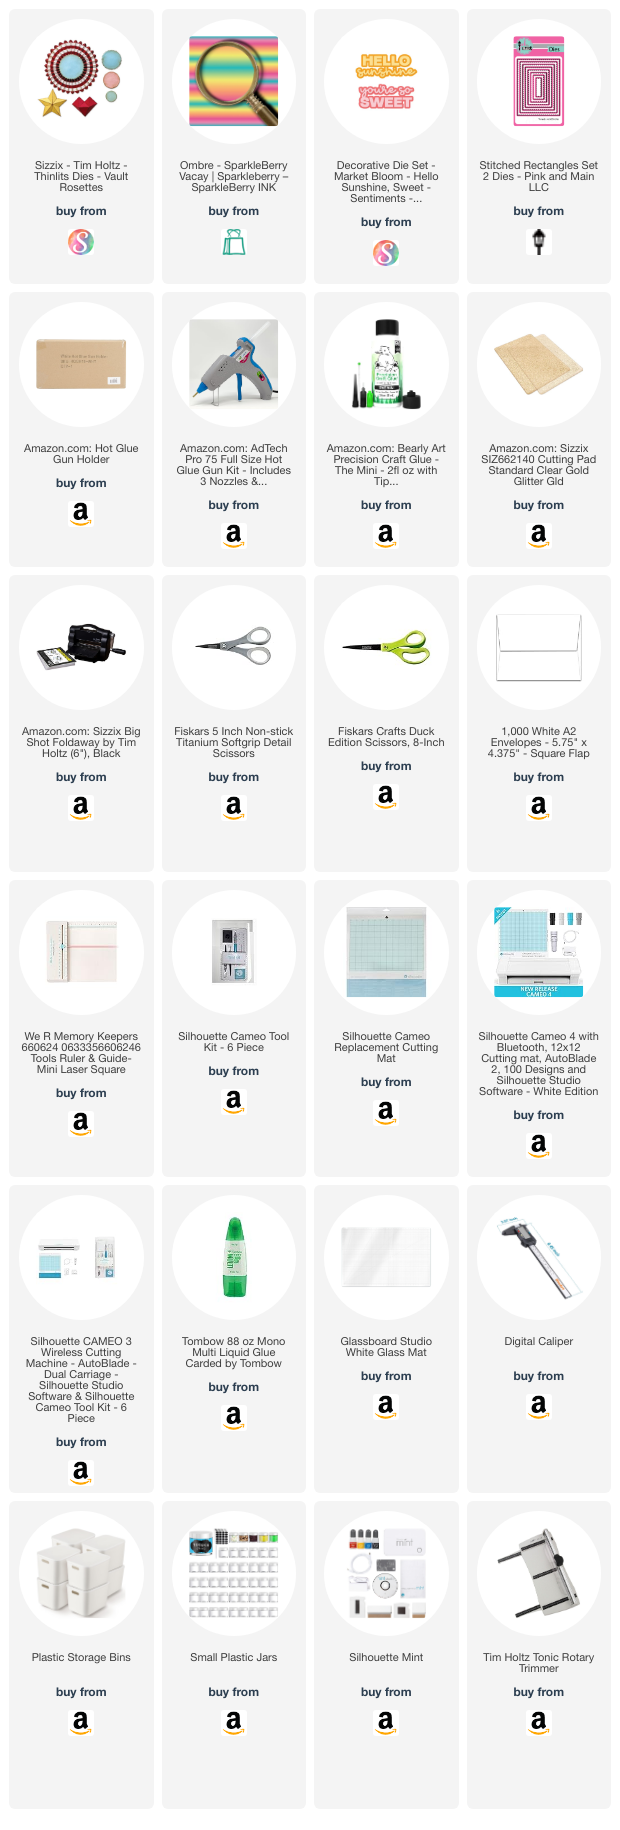
Please Note: This post contains product links so you can easily find any supplies and/or tools you may be interested in. I encourage you to shop small businesses as much as possible. As an Amazon Associate, I may be compensated for a purchase made using my provided link. However, no additional cost is extended to you. Products by other sellers are not affiliate links. I provide them so you can easily find something I used.


Thursday, April 11, 2024

Craft Challenge Blog #715

 Hi friends!

I know, I've been quiet. I do that sometimes and when do I am usually still here. This is the time of year that I am planning my garden and often taking some online or in-person workshops/conferences, etc. I love to learn and make it a priority not to stop. 

The Craft Challenge Blog is finishing up a 2-week challenge which mean I get a week off which is kind of nice. This week the theme is: Inspired by a movie and the sponsor is: Dr. Digi's House of Stamps and let me tell you, it was so hard to narrow down a choice for this theme as there are some really great choices. I was in the mood for some magic and chose: Wizz Doodles as he looked really fun and made me think of Dumbledore from the Harry Potter stories.

I used the print and cut feature in Silhouette Studio to print and cut the image to my desired A2 size with my Silhouette Cameo. This allows me to size the image and place it just exactly as I want it. My next step is to color. I brought up an image of Dumbledore to use as inspiration and started...

I colored most of the design using alcohol markers but for skin tones I really love using Crayola's Colors of the World sets. I think they're perfect and easy to use. 

Of course, magic needs to have some sparkle in there. I using embossing powder to add a rainbow of glittery sparkle. 


And finally, a fun sentiment to match...

I hope you enjoyed a little bit of magic.

~Paula

Please Note: This post contains product links so you can easily find any supplies and/or tools you may be interested in. I encourage you to shop small businesses as much as possible. As an Amazon Associate, I may be compensated for a purchase made using my provided link. However, no additional cost is extended to you.