Thursday, November 14, 2024

Craft Challenge Blog #740

 Hi Friends!

This week's CRAFT Challenge Blog's theme is: Christmas for Children

The sponsor is: Sweet N Sassy Stamps

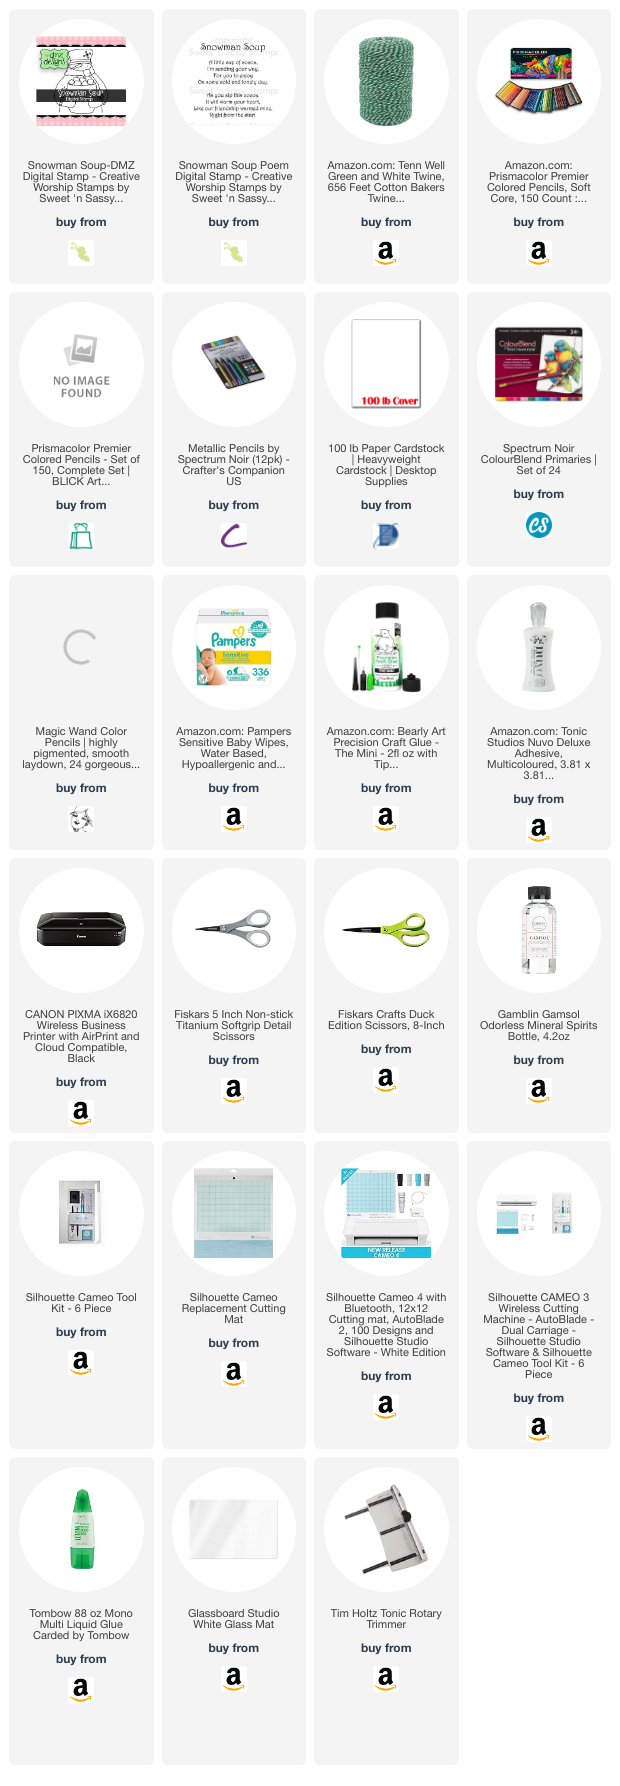
The design I am working with is: Snowman Soup


This is another simple one to make. I chose it because snowman soup is always a hit with the kids at Christmas time. 

I printed out the front and the back of the design that includes the snowman soup poem. I used my Silhouette Cameo to cut each side the exact same size of circle. I made two. I colored them with colored pencils. 


These are perfect to attach to a mug or a gift bag filled with hot cocoa mix, marshamallows, and a candy cane. 

~Paula

If you like, please follow my Facebook page: https://www.facebook.com/paulasstudiomi

Please Note: This post contains product links so you can easily find any supplies and/or tools you may be interested in. As an Amazon Associate, I may be compensated for a purchase made using my link. However, no additional cost is extended to you. The other links are just to help guide you in the right direction. I am not affiliated with those companies but I encourage you to shop small businesses as much as possible.

Papers are just from my collection. I always grab from my scraps first and I don’t keep track of where they came from. 
 

Monday, November 11, 2024

Craft Challenge Blog #739

 Hi friends! 

I'm a little late posting this card as my house was under construction last week. This week's CRAFT Challenge Blog theme is: Christmas present.

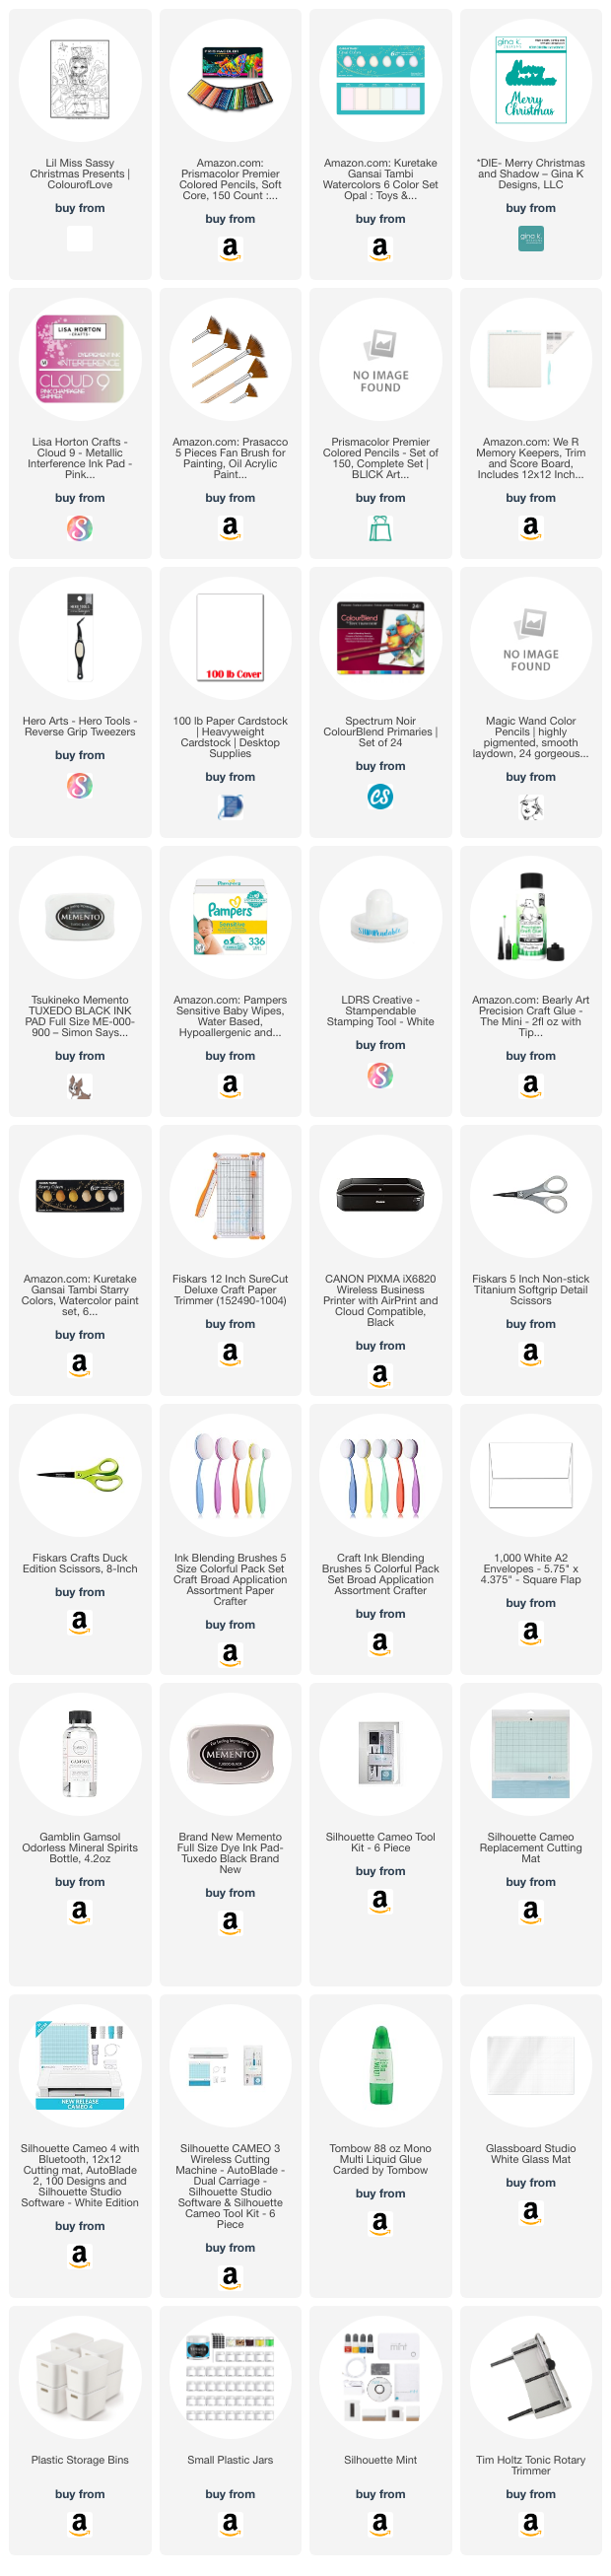
The sponsor for this week is: Colour of Love and the design I am working with is: Lil Miss Sassy Christmas Presents


 This one is intricate with the coloring but the overall design of the card is simple. I used colored pencils to color the design. 

I used pink ink to add to the edges and added s few gems and some spatter of opal watercolors to give it some sparkle. 

You can easily turn your coloring pages into greeting cards!


~Paula

If you like, please follow my Facebook page: https://www.facebook.com/paulasstudiomi

Please Note: This post contains product links so you can easily find any supplies and/or tools you may be interested in. As an Amazon Associate, I may be compensated for a purchase made using my link. However, no additional cost is extended to you. The other links are just to help guide you in the right direction. I am not affiliated with those companies but I encourage you to shop small businesses as much as possible.

Papers are just from my collection. I always grab from my scraps first and I don’t keep track of where they came from.

Sunday, November 3, 2024

Watercolor Autumn leaves card

 Hi friends! I decided to get some fall cards made before I dive into holiday cards. I have a friend that had major surgery this week and I made her this card for well wishes. I love to use the seasons as the theme for cards for any occasion. Let's face it, who sends a card to someone simply because it's fall? Not likely, so let's use that to combine them with life's events. 

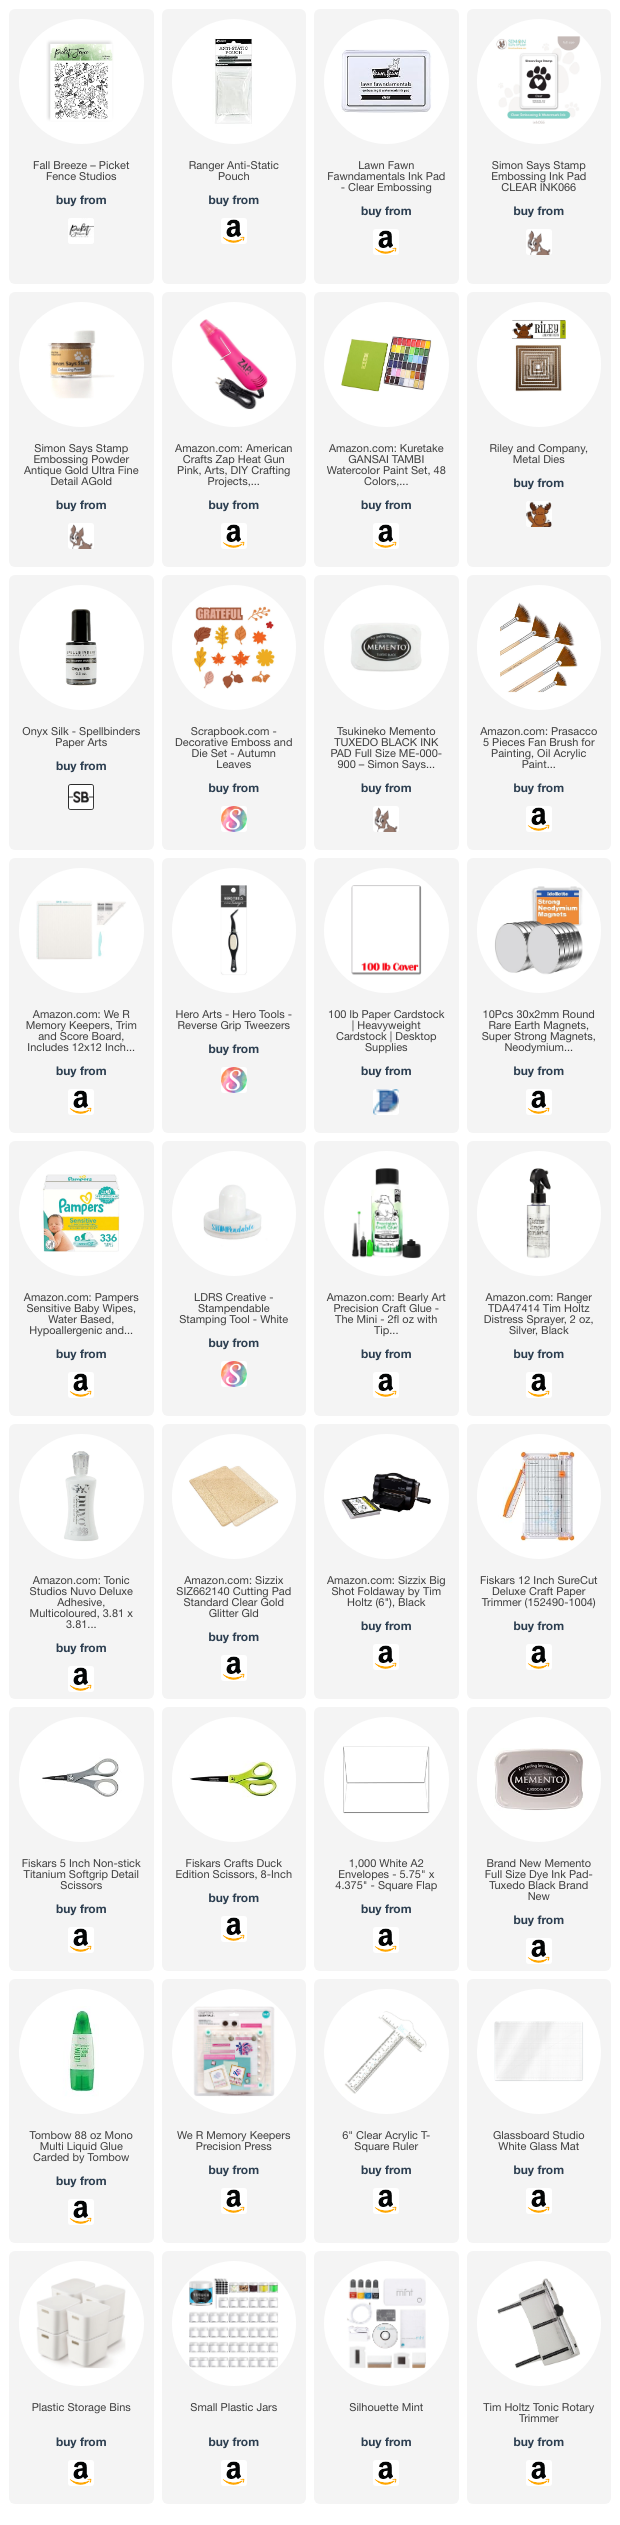
I was in the mood for a little watercoloring. I chose this stamp.

I picked a white scrap from the bin I keep the scraps in and figured out that I could stamp this image 3 times on that scrap. I know that I only want one today but I can prepare more for a future use. It's just how I do things. 


I stamped with clear embossing ink because I am going to emboss them in gold. 


I embossed in gold. I love gold in the fall and for Christmas too. Here are two images embossed in gold. You can see the top image isn't perfect. There are bits and pieces of gold that don't really belong. I knew this would happen and I'm okay with it for this design but I wanted to show you the difference between using anti-static powder and not using it. The bottom image had the paper treated with anti-static powder prior to stamping the clear embossing powder. It is nearly perfect. This very important when stamping and embossing sentiments. Sometimes I actually like it a little messy and sometimes it just isn't at all what I want. 


The gold embossing resists the colors. I am watercoloring so I don't need any of it to be perfect. 

Once all painted, I let dry for a bit. 


I choose a black card base and cut the water color design out with a square die. 


I added a sentiment. The inside sentiment will be specific to the purpose of the card but the front doesn't actually need to be. I added some pre-cut leaves that were in my box of extras. I sprinkle some black splatter ink. 


I originally thought the painted square would be a background but it is cheery and bright and I decided not to cover it up to much and let it shine.


~Paula

If you like, please follow my Facebook page: https://www.facebook.com/paulasstudiomi

Please Note: This post contains product links so you can easily find any supplies and/or tools you may be interested in. As an Amazon Associate, I may be compensated for a purchase made using my link. However, no additional cost is extended to you. The other links are just to help guide you in the right direction. I am not affiliated with those companies but I encourage you to shop small businesses as much as possible.

Papers are just from my collection. I always grab from my scraps first and I don’t keep track of where they came from.