Showing posts with label Sheepski Designs. Show all posts

Thursday, July 23, 2026

Christmas in July with CRAFT Challenge Blog #785

 Hi there friends!

Here I am carrying on with Christmas in July. It's been a busy month so I have found I just cannot get one done every single day. It's okay because I actually try to make one holiday card every week and have for many years so they are all done by the time I need to mail them. 

Today's card is for the CRAFT Challenge Blog current challenge which has the theme of Christmas. The sponsor I am using is Sheepski Designs


 The image is colored with alcohol makers. The background is from an embossing folder inked up with green ink with a darker green added to the raised image of branches. The sentiment is cut from a tie and what I always say when my kitties take interest in the Christmas tree.


~Paula

If you’d like, please follow me:

Please follow this blog, you can find the Follow button in the right column ===> 

Facebook: Paula's Studio

Instagram: PaulasStudioMI


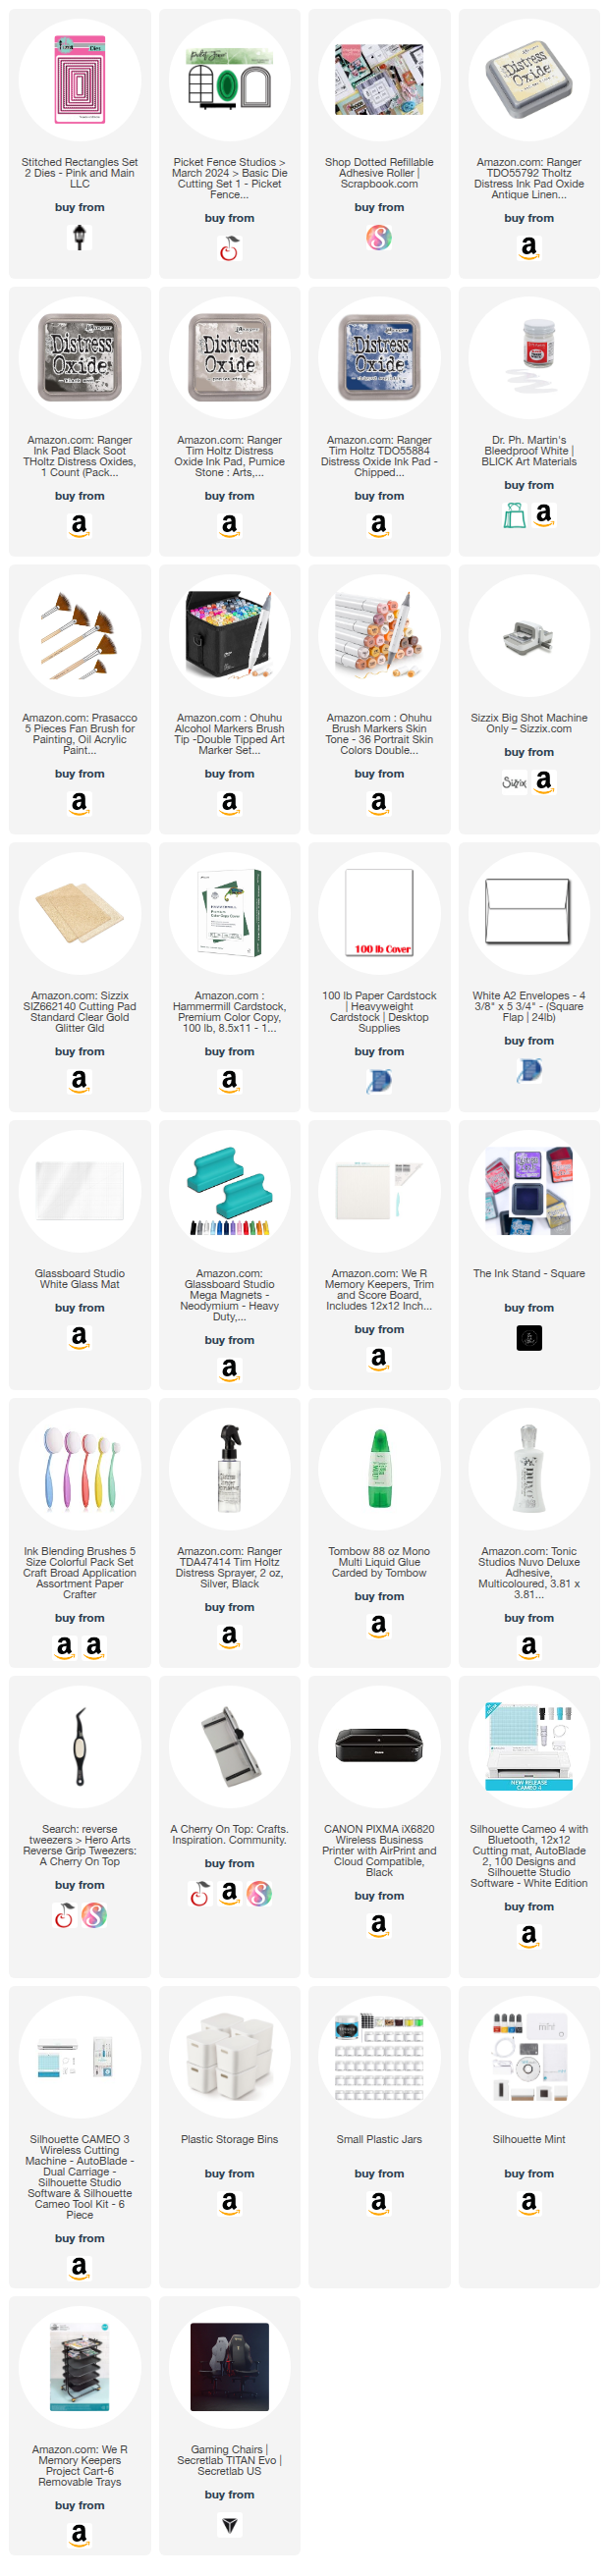
Please Note: I am a big advocate of using supplies you already own but I understand that readers might be interested in specific products that they might not already own. This post contains product links so you can easily find any supplies and/or tools you may be interested in. As an affiliate, I may be compensated for a purchase made using my links. However, no additional cost is extended to you. The other links are just to help guide you in the right direction. I am not affiliated with all companies but I encourage you to shop small businesses as much as possible. I may even include eBay listings for products that are available there at the time this is posted. I only share product information of products I am familiar with and use in my own studio. Papers are just from my collection. I always grab from my scraps first and I don’t keep track of where they came from. Use what you have!
Wednesday, March 18, 2026

CRAFT Challenge Blog #776

 Hi there friends!

This week at CRAFT Challenge Blog the theme is: Children's Christmas. The sponsor is SheepSki Designs. The design I am working with is called: Christmas Eve. 


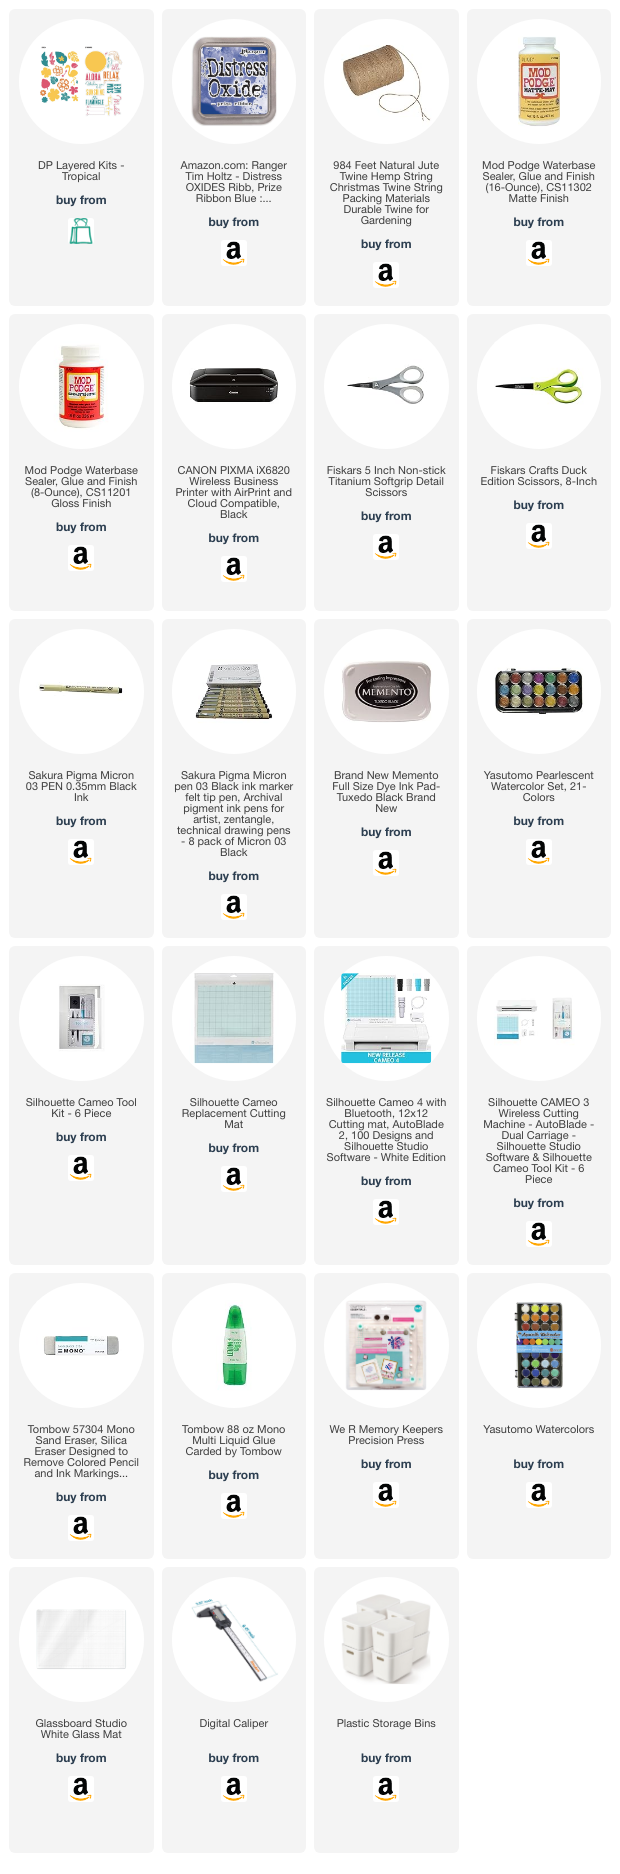
 Supply list found below.

Instruction:

  1. Bring the design into the software for your cutting machine. I am using Silhouette Studio. 
  2. Adjust the sizing for your preference. I will be using an A2 size card base. 
  3. Using the Print & Cut feature, print the design and cut the outside line of it. 
  4. Using scissors separate the moon from the boy's head. 

  5. Using ink and a blending brush, ink the moon. 
  6. On a white card panel 4x5.25" use ink and blending brushes to create a night sky. Use the same color you used for the moon to color a halo for it on the background. Use dark blue and black to add darkness for the rest of the panel.

  7. Use a white splatter paint and splatter on the night sky -- this can be stars but I was going for snow. 
  8. Use alcohol markers to color the boy and the dog. 

  9. Using a window die set or a window SVG in your cutting software to cut a window. I used a die by Picket Fence Stamps but I couldn't find it for sale at this time. 

  10. Using the window that you just cut, cut the outline shape of it out of patterned paper that will become the wallpaper of the room. 

  11. Cut a bench for them to sit on. This can simply be a rectangle with two rectangle legs. I used patterned paper that has wood grain.  

  12. Adhere all finished pieces in this order -- 
    1. Night sky panel 
    2. Wallpaper panel

    3. Moon - position this so it will line up perfectly with boy's head

    4. Window 
    5. Boy and dog -- line the boy's head up to moon and slightly over the edge that you previously cut with scissors to hide that separation. I used adhesive foam to pop it up and left space at the bottom for the bench.

    6.  Bench
  13. I did not add a sentiment to the front of the card. I felt that it is a beautiful scene that didn't need that distraction. Next time I might add a little holiday decor to the room. 

 Check out the supply list below for all that I used to make this card. 

~Paula

If you’d like, please follow me:
Please follow this blog, you can find the Follow button in the right column ===> 
Facebook: Paula's Studio 
Instagram: PaulasStudioMI


Please Note: This post contains product links so you can easily find any supplies and/or tools you may be interested in. As an affiliate, I may be compensated for a purchase made using my links. However, no additional cost is extended to you. The other links are just to help guide you in the right direction. I am not affiliated with all companies but I encourage you to shop small businesses as much as possible. I only share product information of products I am familiar with and use in my own studio.

Papers are just from my collection. I always grab from my scraps first and I don’t keep track of where they came from. Use what you have!


Thursday, April 25, 2024

CRAFT Challenge #717

 Hi friends,

This week on the CRAFT Challenge Blog the theme is: Anything Goes or Recycle.

The sponsor is SheepSki Designs <=== please check them out

I chose to use My Pad  <=== you can purchase it here


I printed out the design and used Silhouette Studio's Print & Cut feature to cut it out on my Cameo.

I had the idea to emboss the background paper with a wavy design but when I did I felt it was kind of boring so I came up with this layered design just to add some interest. The embossing folder is by Darice.


I decided to use watercolors for the frog and lily pad. I'm pretty excited with all the shading. I added some details with pens. 


The sentiment is embossed with a glitter embossing powder but I totally forgot to use anti-static powder and the glitter went a little haywire. I always have the stuff right by me when I am embossing and I forget to use it most of the time and usually regret it. I decided to be okay with it here as it adds some pizzazz to the sentiment banner. 

I think it turned out to me a super cute summer birthday card. What do you think?

~Paula


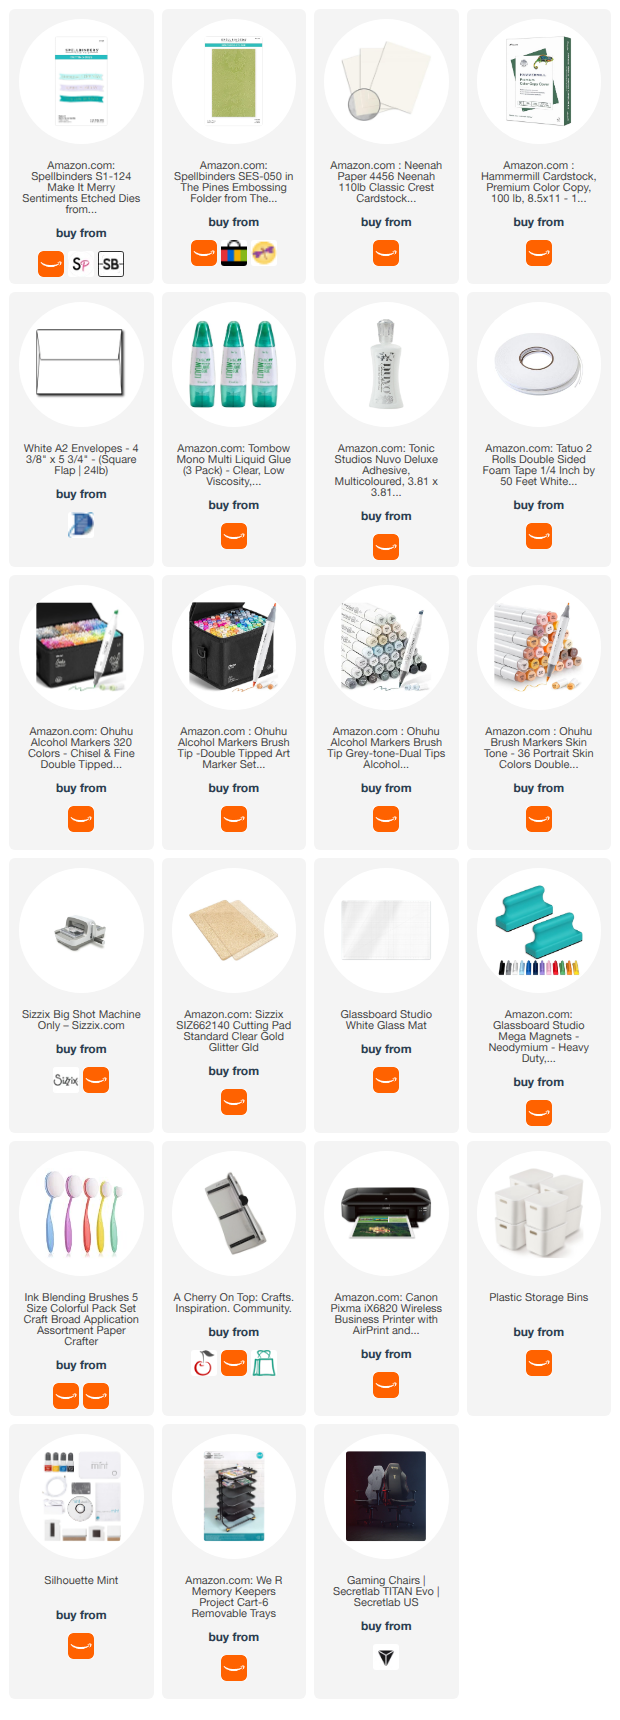
Please Note: This post contains product links so you can easily find any supplies and/or tools you may be interested in. As an Amazon Associate, I may be compensated for a purchase made using my link. However, no additional cost is extended to you. The other links are just to help guide you in the right direction. I am not affiliated with those companies but I encourage you to shop small businesses as much as possible.


Thursday, March 28, 2024

Craft Challenge Blog #714

 Hi Friends!

This week's challenge for the CRAFT Challenge Blog is: Not A Card

The sponsor I was assigned for this week is Sheepski Designs <== check out their Etsy shop. 

I chose to work with their design ===> Beach Hut Holiday


 I had a few ideas for a non-card project for this design but one goal I have in my studio this year is to use supplies that I have in my room. I have a stack of wood pieces that I cut up to make things out of and this is the perfect project for one. 

I started the project off by bringing the design in Silhouette Studio. I made a rectangle box in the software that is the exact size of the wood block. I size the graphic to fit as best as I could. I set up the registration marks for the Print & Cut feature. 


I have them rotated on the screen because the paper is 8.5"x11" inches and will be placed on the cutting mat in this orientation. Yes, I could have done it landscape but it just seems easier to me to do it this way. The red rectangle is where the Cameo will cut the paper. The white portion of the graphic does not need to fill the rectangle because it will not be printed. I center the graphic how I would like it and sent it to the printer. Once printed I had the Cameo cut it out. I verified that the cutout design fits on the wood block as I would like and it does. 


I decided to use watercolor to paint this and I just feel that medium works well with the scenery in the image. I did not print this out on watercolor paper which is really the best paper for the job. However, I know I will have some issues and will still be able to make them work for the project. 

The graphic does not fill the whole cut out so to make up for it I just used the paints to extend the sand and water to the left and right edges. The issues from not using watercolor paper is that the paper can sort of pill from the moisture which I had happen in the sky. I was adding different shades of blue and some white to break of the solid color a bit. Once dry, I used a sand eraser to sand off the rough spots. The other issue with the paper is that it will curl and become wavy. I have fixed this sometimes but just running it through a die cut machine (Not to be confused with a Cricut or Cameo as they are not die cutting machines but rather electronic cutters.) A die cut machine with a firm sandwich can flatten really well. Just take care to not have the image against a plate with cut marks in it as it will add texture to your picture. In this case, I didn't do that at all. I used Mod Podge to adhere to the block with glue and used a brayer to roll it down smooth. 


I decided to add a phrase to it before I glue it to the block.


Once this was set to dry for a few hours, I simply tied some twine that seemed appropriate for a beach scene around the block to serve as a hanger. 

I will spray it with a sealer another day. It's still really cold here and I will wait until the warm temperatures arrive to spray it outside. 


There you have it!

~Paula

Please Note: This post contains product links so you can easily find any supplies and/or tools you may be interested in. Any product linked in the above description is NOT an affiliate link. I am not affiliated with those companies but I encourage you to shop small businesses as much as possible. The links below could be affiliate links. As an affiliate, I may be compensated for a purchase made using my link. However, no additional cost is extended to you