Showing posts with label woodland. Show all posts

Wednesday, September 16, 2026

Autumn Thank You Card with Polkadoodles

 Hi there friends!

Today's card is an Autumn Thank You Card with a hot beverage theme. The inside has a place to attach a gift card for their favorite coffee shop.

Don’t forget to join the Digi Choosday Anything Goes challenge over at Polkadoodles - we’d love to see what you create! You can use my coupon code for 10% off: PAULAPORTELLI at: Polkadoodles

I will say that I am thrilled to have switched over to Ohuhu alcohol markers. I previously had the original Spectrum Noir markers and I thought those were great. They are probably over 10 years old and I noticed some had changed their color over time but they still worked.The Ohuhu markers are beautiful and blend so well. I ended up buying the whole set after trying some. 

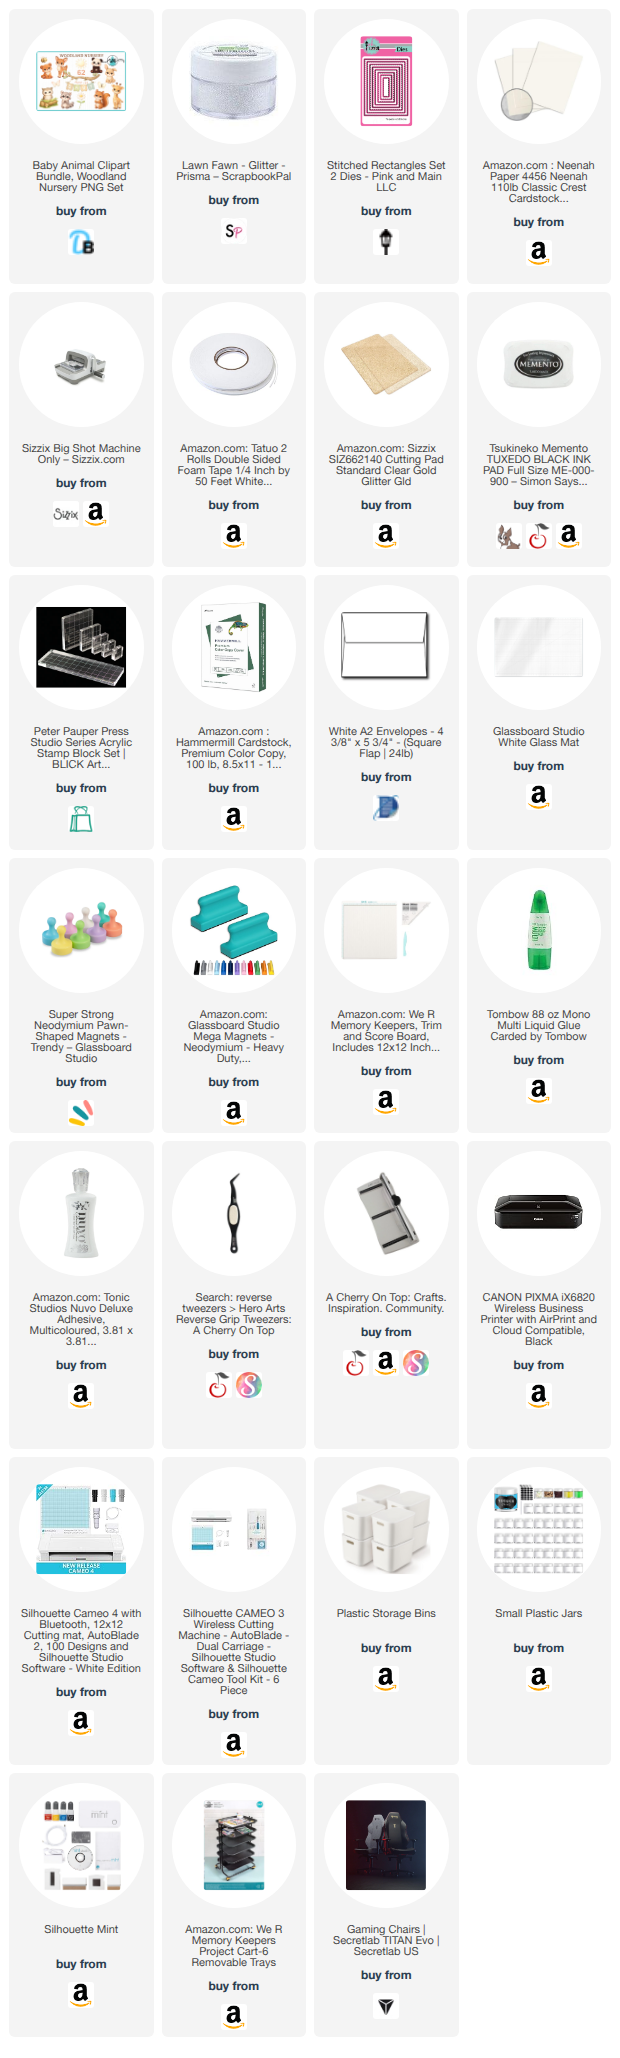
Supply list is at the end but my cutting machine is a Silhouette Cameo. 

Instruction: 

  1.  Download and unzip the design files. 
  2. Send the fox svg to your software for the cutting machine. 
  3. Size it to fit a gift card that is 3.375 x 2.125 inches.

  4. Create a polygon the same shape and size as the center section of the cup in the design.
  5. Choose a pattern paper in the design file and drag it to the polygon. Scale or pan the pattern to be how you would like it to look. Set the polygon aside.
  6. Draw a rectangle  4.2 x 0.88 inches. Fill this with patterned paper. Scale or pan the pattern to be how you would like it to look. 

  7. Duplicate the cut border around the fox, but not the fox itself, two times. 
  8. On one of the duplicates, add a sentiment from the sentiment set. Set it not to cut in the send panel. 
  9. Using the Print & Cut feature. print then cut the fox and the inside piece with the sentiment on a heavy cardstock. Print and cut the rectangle and the polygon with patterns in the them but can be a lighter weight cardstock.
  10. Cut the other duplicate. This doesn't have to be a heavier weight.
  11. Color the fox design with alcohol markers.


  12. Adhere the polygon to the center of the cup on the design.

  13. Adhere the non-printed card panel to the back of the colored fox panel.
  14. Score the panel with the sentiment at 1.5 inches from the top. 

  15. Add glue above the line and adhere to the blank panel on the back of the fox. This creates the shaped card.


  16. Adhere the rectangle to the blank inside panel. Be sure the glue placement allows for a gift card.

  17. Color the text on the inside. 
    You are finished!

~Paula

If you’d like, please follow me:

Please follow this blog, you can find the Follow button in the right column ===> 

Facebook: Paula's Studio

Instagram: PaulasStudioMI


Please Note: I am a big advocate of using supplies you already own but I understand that readers might be interested in specific products that they might not already own. This post contains product links so you can easily find any supplies and/or tools you may be interested in. As an affiliate, I may be compensated for a purchase made using my links. However, no additional cost is extended to you. The other links are just to help guide you in the right direction. I am not affiliated with all companies but I encourage you to shop small businesses as much as possible. I may even include eBay listings for products that are available there at the time this is posted. I only share product information of products I am familiar with and use in my own studio. Papers are just from my collection. I always grab from my scraps first and I don’t keep track of where they came from. Use what you have!
 

Monday, May 11, 2026

A woodland baby card with graphics by White Spruce Studio

 Hi there friends!

I hope the spring season is going well for you. I have been busy in the yard again getting ready to plant for the season. We still get frost warnings so not quite ready for the whole garden yet. 

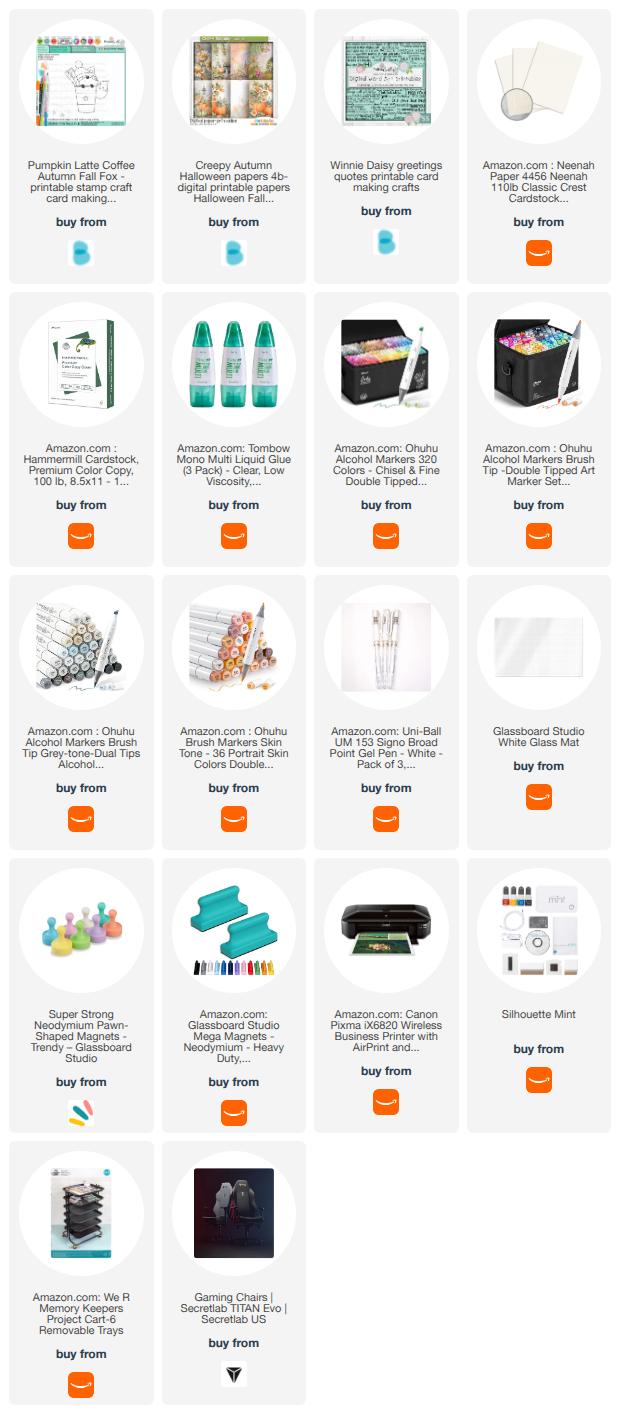
Today I am sharing, card #2 made with this set by White Spruce Studio. You can find the link and my supplies at the bottom. 


 This time I am making a baby card. There are so many cute ideas in my head for baby cards from this set. 

I love the little birds on the branch. They remind of the ones I saw at Grand Canyon National Park. They are so sweet how they huddle all together. The parents would swoop in and feed them.

Please note: I use Silhouette Studio with a Silhouette Cameo. My instruction is exactly how I made my card. You can change design elements as you please and this will work on other brands of electronic cutters. My supply list is at the bottom including the links to the design files used.


Instruction:

  1. Download the design files and unzip them. 
  2.  Draw a rectangle in the design software for your machine that is 4.25x5.5 inches. This is a guide for sizing the elements. You can cut it out to use as a card panel if you would like. 
  3. Bring in the elements:  tree, branch with hanging pieces, blue bird, hedgehog. 
  4. Duplicate the blue birds twice so you have three of them. 
  5. Size the tree so it hangs off the panel. Size the branch to stick out of the tree. Size the birds so 3 fit on the branch. Size the hedgehog fit below the tree. 
  6. Set the software to use the Print & Cut feature withe the registration marks turned on. 
  7. Arrange the elements to all fit in the boundaries. I remove the rectangle as I will use a die on paper.
  8. Send the page to print. Send the page to be cut by the machine. 
  9. Choose your card panel. I am using a blue paper cut with a die to make it 4x5.25".
  10. Arrange the cut elements on the card panel. 

  11. Add glitter to the moon and stars using a glue pen and a light colored glitter.

  12. Adhere the tree to the panel where the edge runs halfway through the trunk. Adhere the branch on the left of it.
  13. Adhere the left bird with glue. Adhere the middle bird with some slight thick adhesive foam to slightly prop it up. Adhere the right bird with glue.

  14. Adhere the hedgehog with adhesive foam.

  15. Stamp a sentiment and cut it out and adhere to panel. Alternatively, you can print one out.

  16. Turn the panel over, cut all the over hanging pieces. I cut the tree carefully so that I may use the cut off piece on a different card.

  17. Embellish with gems or sequins. 
  18. Adhere panel to a card base and add sentiment to the inside. 


    Check out the supply list below for all that I used to make this card. 

    ~Paula

    If you’d like, please follow me:

    Please follow this blog, you can find the Follow button in the right column ===> 

    Facebook: Paula's Studio

    Instagram: PaulasStudioMI


    Please Note: I am a big advocate of using supplies you already own but I understand that readers might be interested in specific products that they might not already own. This post contains product links so you can easily find any supplies and/or tools you may be interested in. As an affiliate, I may be compensated for a purchase made using my links. However, no additional cost is extended to you. The other links are just to help guide you in the right direction. I am not affiliated with all companies but I encourage you to shop small businesses as much as possible. I may even include eBay listings for products that are available there at the time this is posted. I only share product information of products I am familiar with and use in my own studio. Papers are just from my collection. I always grab from my scraps first and I don’t keep track of where they came from. Use what you have!