Showing posts with label halloween. Show all posts

Friday, October 31, 2025

Day 31: 31 Days of Halloween Cards

 Hello there friends!
Here we are on day 31!! I'm actually pretty impressed with myself as October is my busiest month of the whole year with Halloween rehearsals and performances and harvest then to add on broken toes while trying to do all that and I still managed to get 31 cards done! Yay! 


 Today I used the Spellbinders Glimmer Machine to foil this card. I am in love with the foil color that I used and knew I had to make a Halloween card with it.

Foiling with this machine is so easy! You will need a compatible die cutting machine. I am using a Sizzix Big Shot 2025 edition. 

Start by following the instructions to heat up the Glimmer with the foil plate in place. I am using a BetterPress plate as they can also foil. 


I didn't want the card to be too plain with just the foiling plate image on it so I added some pieces from my box of extras to it.


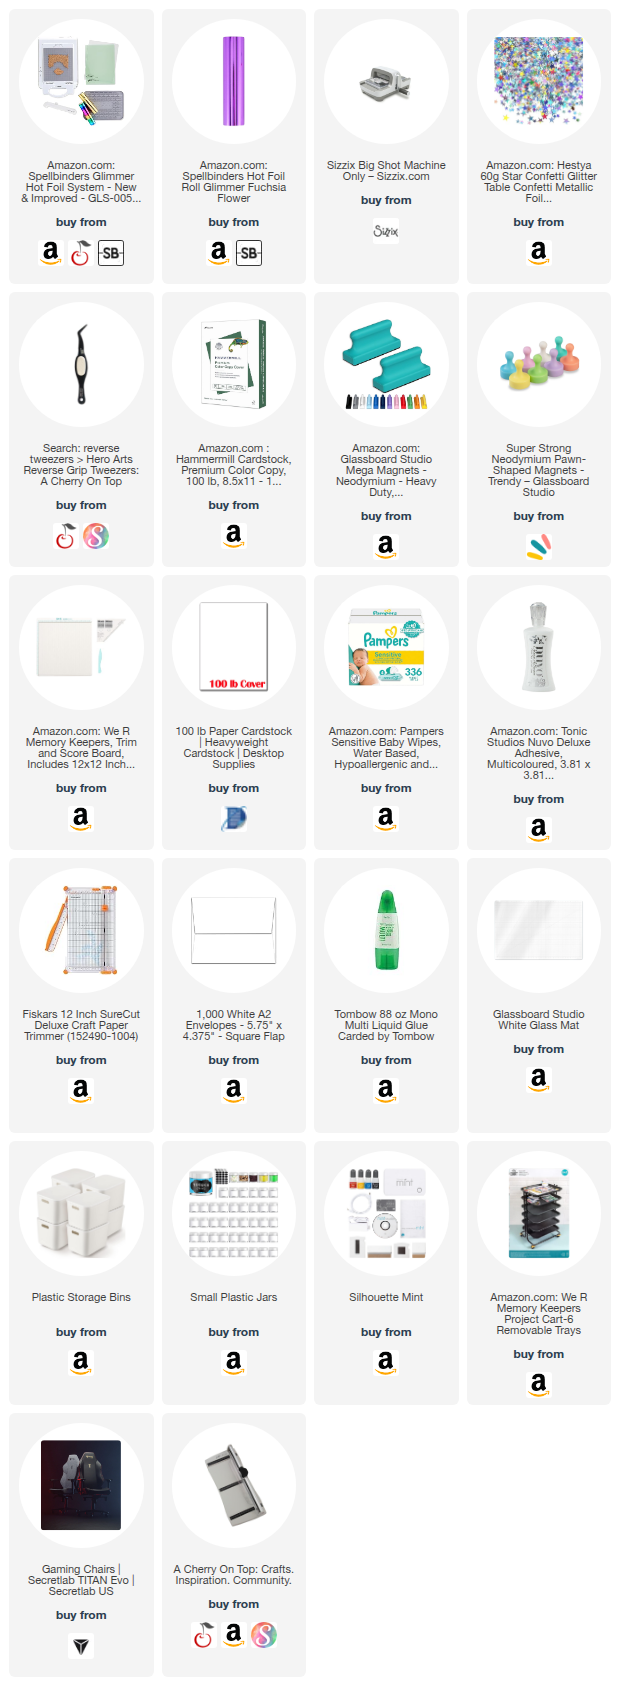
My supply list is listed below.

The plate is: Spellbinders Betterpress Pumpkins & Ghosts Background

~Paula

If you’d like, please follow me:

Please follow this blog, you can find the Follow button in the right column ===> 

Facebook: Paula's Studio

Instagram: PaulasStudioMI


Please Note: This post contains product links so you can easily find any supplies and/or tools you may be interested in. As an affiliate, I may be compensated for a purchase made using my links. However, no additional cost is extended to you. The other links are just to help guide you in the right direction. I am not affiliated with all companies but I encourage you to shop small businesses as much as possible. I only share product information of products I am familiar with and use in my own studio.

Papers are just from my collection. I always grab from my scraps first and I don’t keep track of where they came from. Use what you have!
Wednesday, October 29, 2025

Day 30: 31 Days of Halloween Cards

 Hi there friends!

This card might be one of my favorites of the month and it was quite easy to make. 


 I just picked a 6x6 patterned paper from my collection, sorry I don't have any idea where I got it. 

I glued it to a card base and trimmed it.

I shaded the edges in black ink. 


I used a rectangle die big enough for my chosen sentiment and cut the shape out of the center of the front of the card base.


I stamped and heat embossed the sentiment in the center of the piece that was cut out. I adhered it to the inside of the card so it lines up when card is closed.

I attached a die cut that I previous stamped, cut, and colored.

 My supply list is listed below.

~Paula

If you’d like, please follow me:

Please follow this blog, you can find the Follow button in the right column ===> 

Facebook: Paula's Studio

Instagram: PaulasStudioMI


Please Note: This post contains product links so you can easily find any supplies and/or tools you may be interested in. As an affiliate, I may be compensated for a purchase made using my links. However, no additional cost is extended to you. The other links are just to help guide you in the right direction. I am not affiliated with all companies but I encourage you to shop small businesses as much as possible. I only share product information of products I am familiar with and use in my own studio.

Papers are just from my collection. I always grab from my scraps first and I don’t keep track of where they came from. Use what you have!


Tuesday, October 28, 2025

Day 29: 31 Days of Halloween Cards with Betterpress

 Hello there friends!

Today I broke out one of my favorite tools and I will admit I just don't use it enough. It is the Spellbinders BetterPress System. It is basically a modern version of a letterpress and the results are absolutely wonderful. 


 The process is so simple and the BetterPress works with many brands of die cutting machines. 


 You can use any paper but the Spellbinders paper made for this or watercolor paper will give a better impression. Most inks work as well. The details in the designs that this is capable of surpasses any stamp out there. 

I am using Spellbinders paper and ink. You start by attaching the paper to the inside (bottom) of the clear piece.


Place the press plates to the gray magnetic piece in the desired position. 


 Ink up the plates really good. 


 Place the clear piece with the taped paper over the plates. They attach with magnets. Run through your die cut machine. I am using the Sizzix Big Shot 2025 edition. 

Reveal the impression. You can ink and press again. I did just the sentiment. I could have done the image but I planned on adding orange to the pumpkin and wanted that to show some.


Hard to photograph but you can see and feel the impression from the plates. Such beautiful crisp designs!

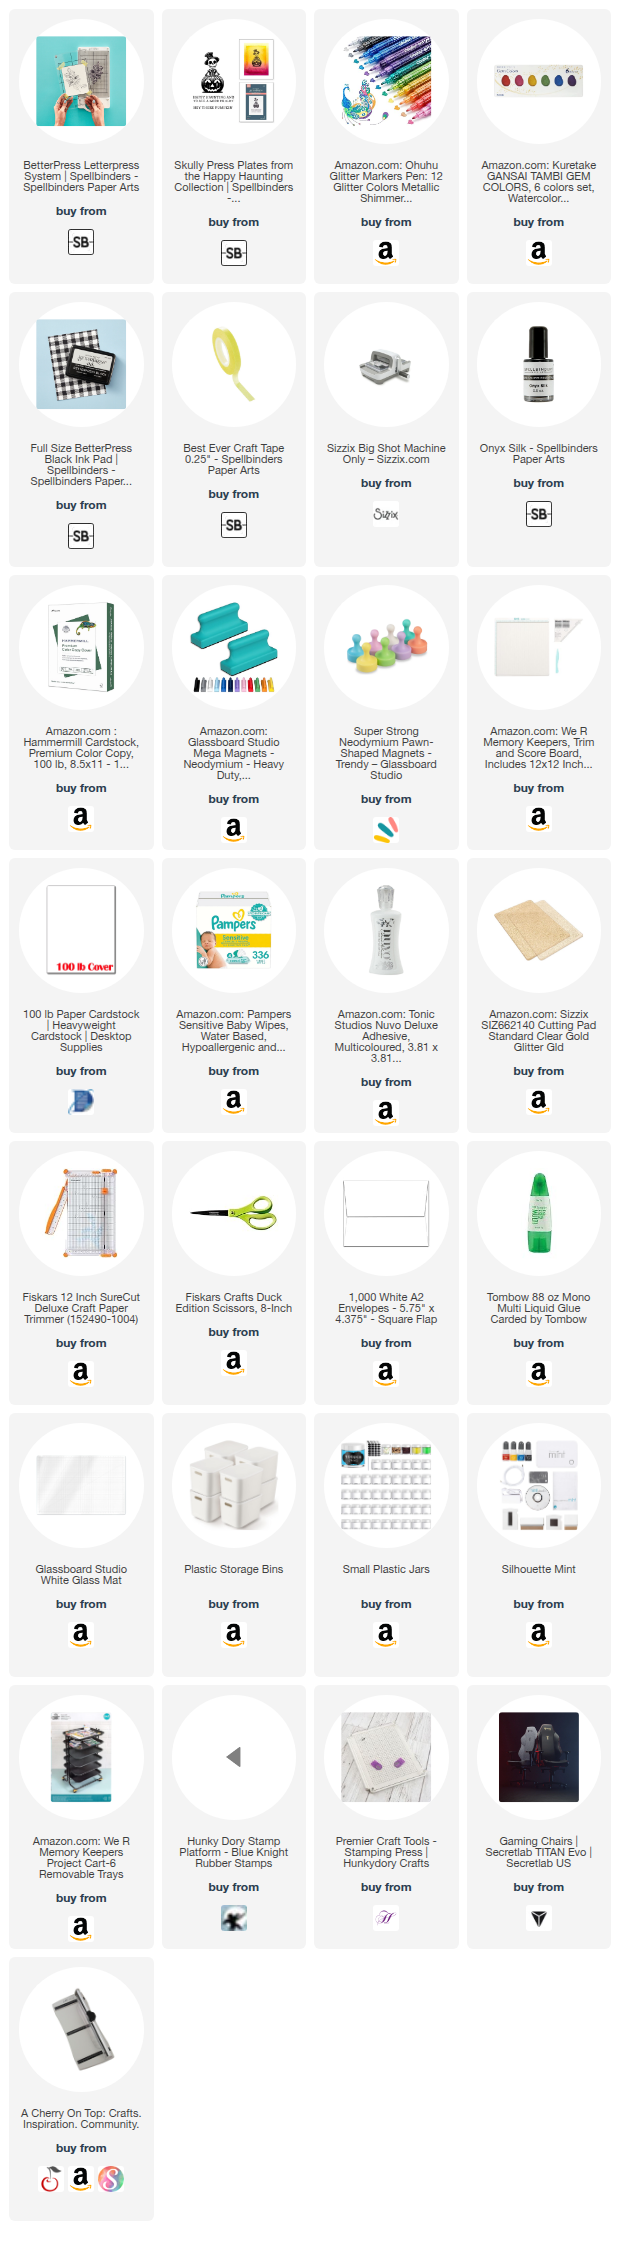
I colored parts of the design with glitter markers. They are incredible!


The sparkle is so vivid they almost glow.


 I added some shimmer and sparkle to the background with watercolors. 


 I added black splatter but didn't want it to hit the skeleton's face so I covered with a piece of paper towel. 

So pretty!

My supply list is listed below.

~Paula

If you’d like, please follow me:

Please follow this blog, you can find the Follow button in the right column ===> 

Facebook: Paula's Studio

Instagram: PaulasStudioMI


Please Note: This post contains product links so you can easily find any supplies and/or tools you may be interested in. As an affiliate, I may be compensated for a purchase made using my links. However, no additional cost is extended to you. The other links are just to help guide you in the right direction. I am not affiliated with all companies but I encourage you to shop small businesses as much as possible. I only share product information of products I am familiar with and use in my own studio.

Papers are just from my collection. I always grab from my scraps first and I don’t keep track of where they came from. Use what you have!


Day 28: 31 Days of Halloween Cards

 Hi there friends!

I am here today on day 28! I cannot believe this month is almost over! I am sharing this card using a very popular die set from Spellbinders. I am not a Spellbinders Affiliate! I am so excited as they are one of my favorite paper companies!


 There is this set and another one where a dog is wearing a pumpkin costume. They are so cute and keep selling out. 

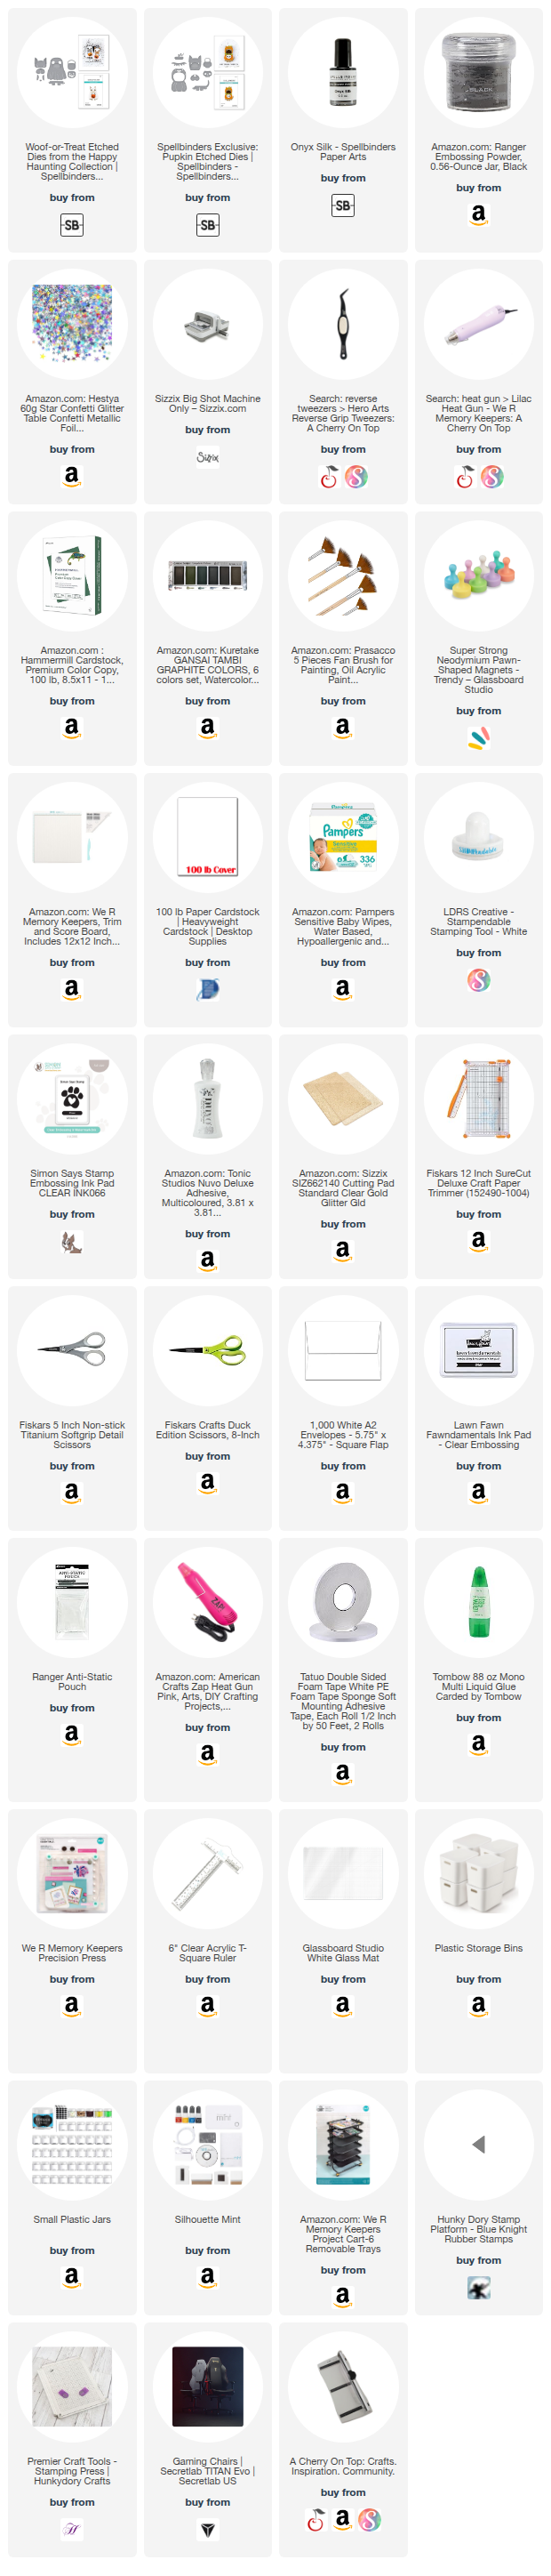
This is another simple card. I just die cut the dog set and glued together. Cut 2 circles and heat embossed a sentiment on the smaller one. 

My supply list is listed below.

Sentiment is from a stamp set by Brutus Monroe called "Trick or Treat" 

~Paula

If you’d like, please follow me:

Please follow this blog, you can find the Follow button in the right column ===> 

Facebook: Paula's Studio

Instagram: PaulasStudioMI


Please Note: This post contains product links so you can easily find any supplies and/or tools you may be interested in. As an affiliate, I may be compensated for a purchase made using my links. However, no additional cost is extended to you. The other links are just to help guide you in the right direction. I am not affiliated with all companies but I encourage you to shop small businesses as much as possible. I only share product information of products I am familiar with and use in my own studio.

Papers are just from my collection. I always grab from my scraps first and I don’t keep track of where they came from. Use what you have!