Hi friends! Today I made a wedding card using a stamp and die set by Petticoat Parlor.

I started off with the patterned paper and chose a color of crayon to coordinate.

I stamped the flowers on on heat safe vellum in clear embossing ink. I applied white embossing powder and heat set. I then cut the flowers and leaves out with the coordinating dies for the set.

I used a Gelato crayon to color 2 big and 2 small flowers and a green Distress Crayon to color the back of each leaf. I want some flowers to remain clear.

I scribble the color on the back and smear it around with a paper towel.

I glue one small flower to the top of one large flower and add a gem for the center.

I cut the patterned paper with a die. I really loved stitched border dies and right now I really love this modern rectangle.

I chose a sentiment from Diamond Press's new Mega Celebrations set.

I layout the flowers and the sentiment stamp on the patterned paper. I know that I want the flowers to be sort of billowing from the left.

I stamp the sentiment using my stamp positioner twice using clear embossing ink. I always stamp twice with clear because you can't tell how well it applied.

I had a hard time choosing a color. I felt silver and gold would be too light. I felt that a coordinating color would either get lost too or just not be the right shade. I decided to try the metallic gray to see how well it would show up.


As you can see, it just doesn't show up that well.

No worries, because I use a stamp positioner to apply the ink, I can pop the paper back on it and re-stamp with clear and it will be in the stamp position on the paper. So I did just that, applied black embossing powder directly on top of the metallic gray.

Some of that metallic shows through and I am not mad about it all. I was afraid black would be too bold, that is why I didn't start with it but I do like it now that I see it.
I glued the background paper to the card base. I purposely did not center it. I put it closer to the right and bottom. I do not always center things on my cards intentionally because I find that when I do and it is slightly "off" I can't mentally deal with that. So, I quit stressing and went with my own design style. For this card I did it because I knew the flowers were going on the left side and this way the colors of the patterned paper can show a little bit more. It's my style and preference but maybe it bothers you. You do what pleases you.

Now I work on gluing the leaves to the flowers and the flowers to the card.


Once they are all attached, I trim the over hanging flowers and leaves so that the card will properly fit in the envelope. Some people find this painful and choose to just use a larger envelope.

It is easier to flip the card and cut from the back.
All done!

~Paula
Embossing powders used are by Darice, discontinued, use any black.
Papers are from my own collection.
Gems are holographic stickers but any gem would be fine.
The stamp and die set is not showing on their site. I received it from a class at an event last week. Hopefully it is coming soon. However, you can use any flowers you may already have.
Rectangle die is: Mod Stitched Rectangle Dies <=== that's a link, I forgot to add it to the list below.
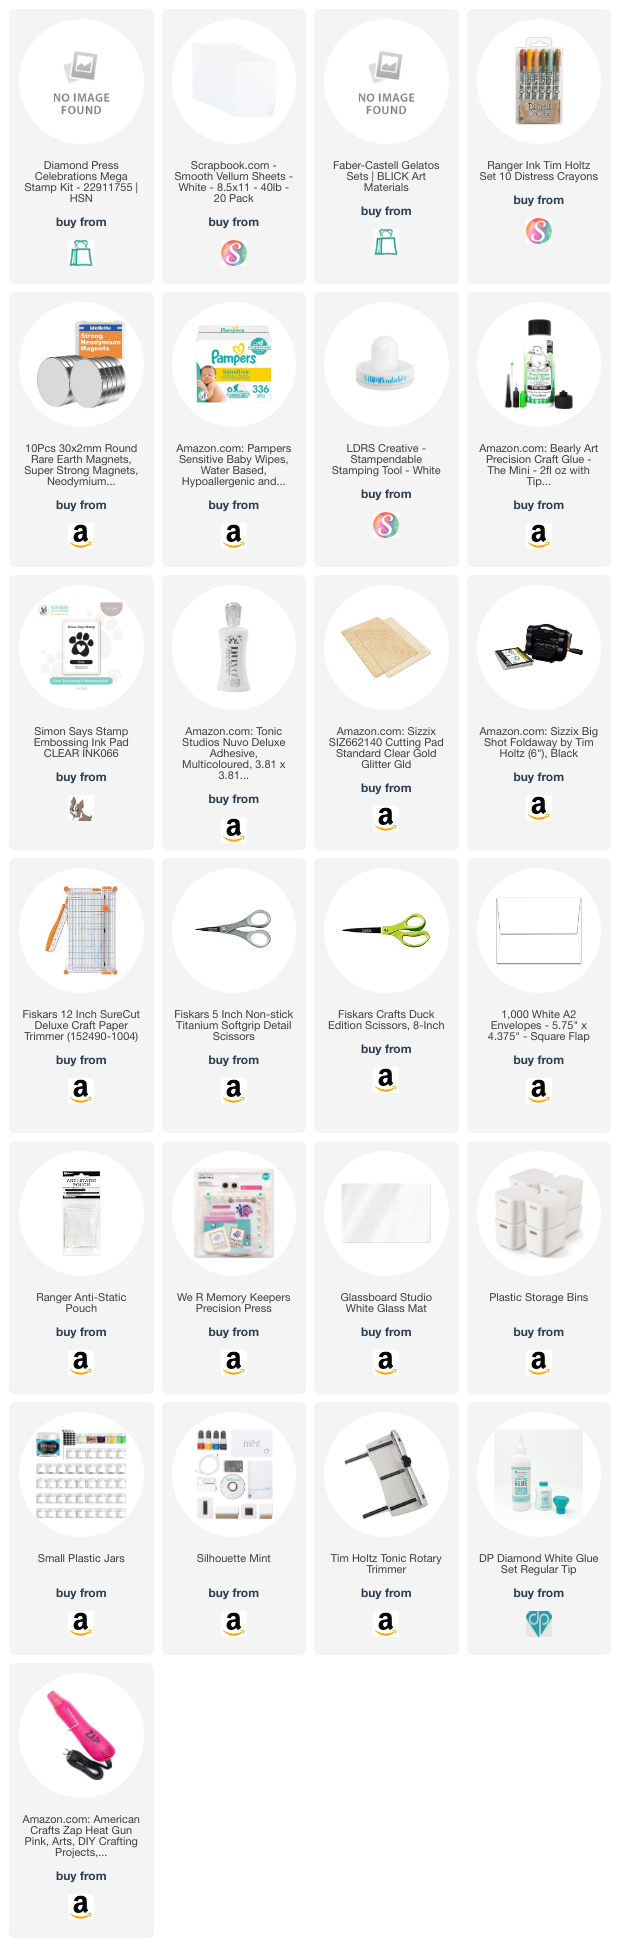
Please Note: This post contains product links so you can easily find any supplies and/or tools you may be interested in. As an Amazon Associate, I may be compensated for a purchase made using my link. However, no additional cost is extended to you. The other links are just to help guide you in the right direction. I am not affiliated with those companies but I encourage you to shop small businesses as much as possible.