Showing posts with label stencil. Show all posts

Saturday, July 11, 2026

Christmas in July Day 10

 Hi there friends! I hope your Friday has gone great. Although the calendar and clock says it is Saturday, I'm still on Friday. Today's Christmas in July card is a stocking shaped gift card holder x 2. 

My supply list is below.

Instruction:

  1. Use paper big enough to cut the 2 stocking out. I used 2 pieces of scrap paper. Don't cut them yet though.

  2. I put my two pieces side-by-side on my surface.
  3. Stencil each layer of the set. You most likely will need to use the stencil whole and a little more to get enough space.

  4.  Cut the stocking out of the stenciled paper twice.

  5. Cut two more white stocking pieces for the back.
  6. Using a gift card as a guide -- lay the gift card so it sticks out the top a little. Draw a border with a thin line of glue around the card. Lay the white stocking down. Do this for both stockings. Let dry. 

  7. Decorate the front of the stockings. I did the top cuffs in white paper. I cut a heel and toe for one stocking but let the stencil design be the whole stocking on the other. The heel and toe dies are just the curve. I cut those out and a little extra. Glue to stocking and trimmed the excess paper. For the holly berries, I used red sequins instead of cutting berries. 

  8. You can add a sentiment or a name to the cuff. I will do that when I know who is getting them. 

I hope you really love this project.

 ~Paula
If you’d like, please follow me:
Please follow this blog, you can find the Follow button in the right column ===> 
Facebook: Paula's Studio
Instagram: PaulasStudioMI 

Please Note: I am a big advocate of using supplies you already own but I understand that readers might be interested in specific products that they might not already own. This post contains product links so you can easily find any supplies and/or tools you may be interested in. As an affiliate, I may be compensated for a purchase made using my links. However, no additional cost is extended to you. The other links are just to help guide you in the right direction. I am not affiliated with all companies but I encourage you to shop small businesses as much as possible. I may even include eBay listings for products that are available there at the time this is posted. I only share product information of products I am familiar with and use in my own studio. Papers are just from my collection. I always grab from my scraps first and I don’t keep track of where they came from. Use what you have!

Monday, March 9, 2026

Spring Blessing with Spellbinders

 Hi there friends!

Today I am sharing a card I made that started with the background and worked its way forward.


 You see the background is made using a Betterpress Plate from the Betterpress Society. A Betterpress Plate is a metal plate used with the Spellbinders Betterpress System. It is a letterpress plate and the design is debossed or indented into the paper. The Betterpress Society is a "secret" or not so secret subscription program that is only available through select small business shops that sell Spellbinder products. I get through Stamplistic. When I found out about it all those appealed to me. I support small biz as much as I can and the Betterpress Society is just something extra special about Spellbinders that I love so much. 

This is February 2026 set and as soon as I saw it revealed, I knew I wanted the Kokeshi dolls set to go with it. This February set also came with stencils that made colors the flowers a dream. 


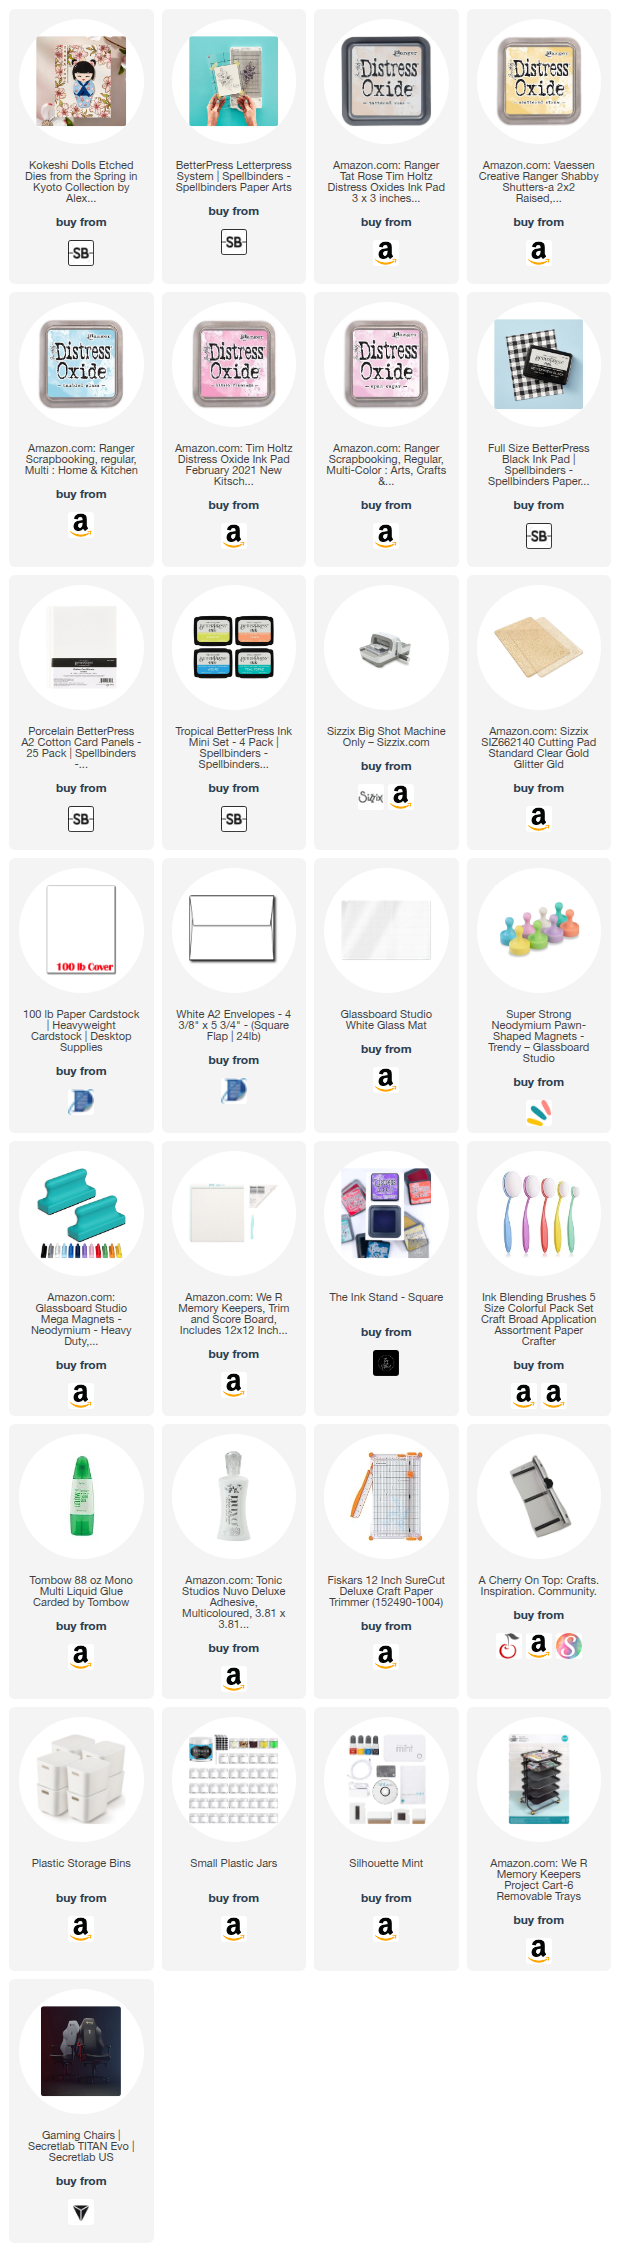
Instruction (supply list at bottom):

  1. 1. Tape an A2 card panel to the clear plate of the Betterpress system in the rectangle outlined on it. For best impression use Spellbinders Cotton Card Panels. You can use any paper but the thicker papers will leave a better impression. You can use any ink as well. 

  2.  Put the plate on the magnetic grid. Add ink in your choice of color. I used Teal Topaz. Cover with the clear plate and run through your die cutting machine. Set aside.

  3. Clean the plate and any ink that got on the Betterpress system plates.
  4.  Make prints of the sentiments to fill a panel. I like to make extras in different colors and most get saved for a future project. 

  5. Die cut out all those sentiments. 

  6.  Tape or secure the background down and use the stencils to color the flowers. I did 3 shades of pink.

  7. Color the flower centers with yellow.

  8. Color the fan part of the background, stencil #4, with a pale blue. 

  9. Cutout all the pieces of the Kokeshi out in the colors of your choice and assemble. 

  10. Cut the panel down to 3.75 x 5".
  11. Cut a panel in the color of your choice to 5.25 x 4". The gives a border.
  12. Glue the two panels together and glue the doll on the top panel towards the left.
  13. Attach a sentiment with adhesive foam.
  14. Add some bling with sequins or gems.

 Check out the supply list below for all that I used to make this card. 

~Paula

If you’d like, please follow me:
Please follow this blog, you can find the Follow button in the right column ===> 
Facebook: Paula's Studio 
Instagram: PaulasStudioMI


Please Note: This post contains product links so you can easily find any supplies and/or tools you may be interested in. As an affiliate, I may be compensated for a purchase made using my links. However, no additional cost is extended to you. The other links are just to help guide you in the right direction. I am not affiliated with all companies but I encourage you to shop small businesses as much as possible. I only share product information of products I am familiar with and use in my own studio.

Papers are just from my collection. I always grab from my scraps first and I don’t keep track of where they came from. Use what you have!


Wednesday, September 25, 2024

Thinking of you card using PET tape

 Hi friends!

I hope your autumn season is off to a great start! 

Today I decided to make a greeting card using PET tape as my inspiration and centerpiece. PET tape is a polyester tape that was creating for other purposes but it is hitting the craft industry with beautiful images printed on them.


For this card I chose the very first image on my PET tape. I colored the background with yellow ink using a round stencil and applied the image right on top. 


I totally didn't plan this out and just went with it. After I applied the PET tape and thought about what else to add.


Butterflies came to mind and I picked out a stencil. 

I could have made the butterflies in different colors but I like the green. 

I use a fan brush and some pink watercolor to add pink droplets all around.


I add a sentiment and mount on a black card base so it adds a frame to it. I added a white panel to the inside for the sender to write a message to the recipient. I did not add any sentiment there so that this could be for the right occasion. 

~Paula

If you like, please follow my Facebook page: https://www.facebook.com/paulasstudiomi

Please Note: This post contains product links so you can easily find any supplies and/or tools you may be interested in. As an Amazon Associate, I may be compensated for a purchase made using my link. However, no additional cost is extended to you. The other links are just to help guide you in the right direction. I am not affiliated with those companies but I encourage you to shop small businesses as much as possible.

Papers are just from my collection. I always grab from my scraps first and I don’t keep track of where they came from.


Thursday, March 14, 2024

Craft Challenge Blog #712

 Hi there friends!

Sorry for the quiet days on this blog and on social media. I was attending two events and have now increased my skills and friendships too. I love attending the paper crafting events and taking classes. You can learn so much even when you see someone do something you already might know about but maybe they do it a different way or have a new spin on it. It is a great way to keep creativity flowing too. 

Today kicks off the newest challenge on CRAFT Challenge Blog. This week's theme is: Christmas. You can see the blog post and enter the challenge too if you would like.

I love that we do Christmas throughout the year. It gets me ahead in my Christmas card making and gives me new ideas too. For my design team entry I submitted this: 


This week's sponsor is Polkadoodles and you can find this design available here ===> Snowdrift Friends

For this design, I used my Silhouette Studio Software and Cameo to use the Print & Cut feature to cut out the design. I chose to use colored pencils to color the animals because I wanted that pencil color look to them. I used Alabaster White Embossing Powder by Brutus Monroe to emboss the sentiment from Crafter's Companion Snow Queen Stamps. I stencils the snowflakes using a light purple Distress Oxide ink and the snowflake stencil is by Hero Arts and can be found here: Scrapbook.com

All other materials were in my collection. The links provided in my description are not affiliate links. They are just to point you in the right direction. 

Please Note: This post contains product links so you can easily find any supplies and/or tools you may be interested in. Any product linked in the above description is NOT an affiliate link. I am not affiliated with those companies but I encourage you to shop small and local businesses as much as possible. The links below are affiliate links. As an Amazon Associate, I may be compensated for a purchase made using my link. However, no additional cost is extended to you.

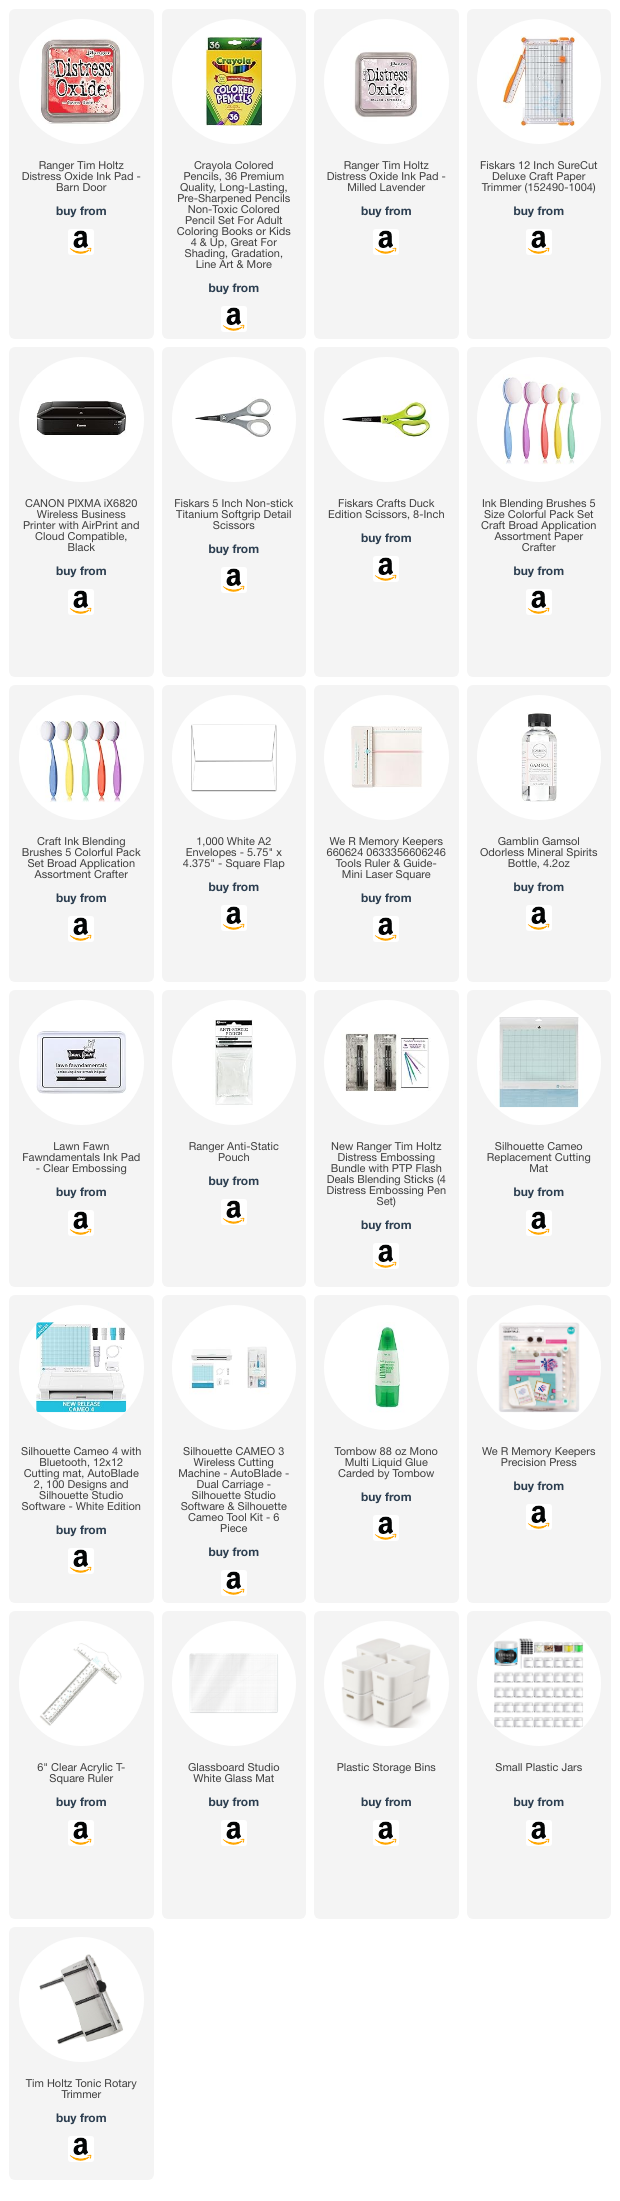
Below contains links to materials and tools I used in this project that I can find on Amazon. 

Happy Crafting Friends!

~Paula