Hi there friends!
I still cannot believe it is already September and fall is almost here. Leaves are already falling her, although it is very early. We haven't had much rain all summer and that causes some varieties of trees to just start dropping those leaves. I am hoping the autumn colors still shine bright this coming season.

Autumn always sparks my creativity -- always. I love Autumn and Halloween and then Thanksgiving and then, of course Christmas.
Please note: I use Silhouette Studio with a Silhouette Cameo. My instruction may include names of features found in Silhouette Studio but should work on the software you use. You can change design elements as you please and this will work on other brands of electronic cutters. My specific supply list is at the bottom including the links to the design files used.
General Supplies, specifics are listed at bottom
- SVG file of ghost and leaves
- Pattern paper for background
- shimmer ink and/or splatter paint
- alcohol markers I used yellow, 2 shades of orange, and a light red
- cardstock in black, white, and oranges
- adhesive foam
- white heavy cardstock for card base
- electronic cutting machine
Instruction:
- Download and unzip the SVG file.
- Open the assembled version of the SVG. You will see three different ghosts. I am using the top one. Move all of them to the side. I duplicate that top one so I can work with the duplicate but still use the other as a visual for assembly.
- Separate the pieces by color but I cut these pieces in white -
- The top layer of all the leaves
- the bottom layer of the hat
- the bottom layer of the scarf
- the top layer of the ghost
- the straw piece of the beverage (I cut mine in black, I wish I did in white.)
- Cut all pieces in various colors including the white pieces stated above.
- Cut the patterned paper and the white heavy cardstock in an arch shape in an approximate A2 size: 4.5x5.5 inches. I used a die but you can use a digital cut. If the patterned paper you are using cut an additional arch of heavy cardstock and glue the patterned paper to it.
- On the patterned paper, shade the edges with a shimmery ink with a blending brush.
- Add some splatter with gold, silver, or black paint. Set aside to dry.
- Using a low tack tape secured to work surface with tape or magnets. Add all the white pieces to it.

- Using the alcohol markers add color to each piece and blend them together.

- Assemble ghost and all leaves as shown in the file.

- To assemble the card base, score a line an inch from the top on the white heavy cardstock arch piece. This is the inside of the card. Add liquid glue above the line and attach the front of the card with the patterned paper to it. This is the card base.

- Using adhesive foam attach the ghost to the card base and adhere the leaves around it.
- You can add a sentiment on it and/or inside. I feel this could be a birthday card or thank you card with a coffee shop gift card, as an example, so I am leaving the sentiment until I know how it is being used.


NOTE: you certainly can use the alcohol markers on the white paper before cut it but I like the more control of placement after they are cut.
~Paula
If you’d like, please follow me:
Please follow this blog, you can find the Follow button in the right column ===>
Facebook: Paula's Studio
Instagram: PaulasStudioMI
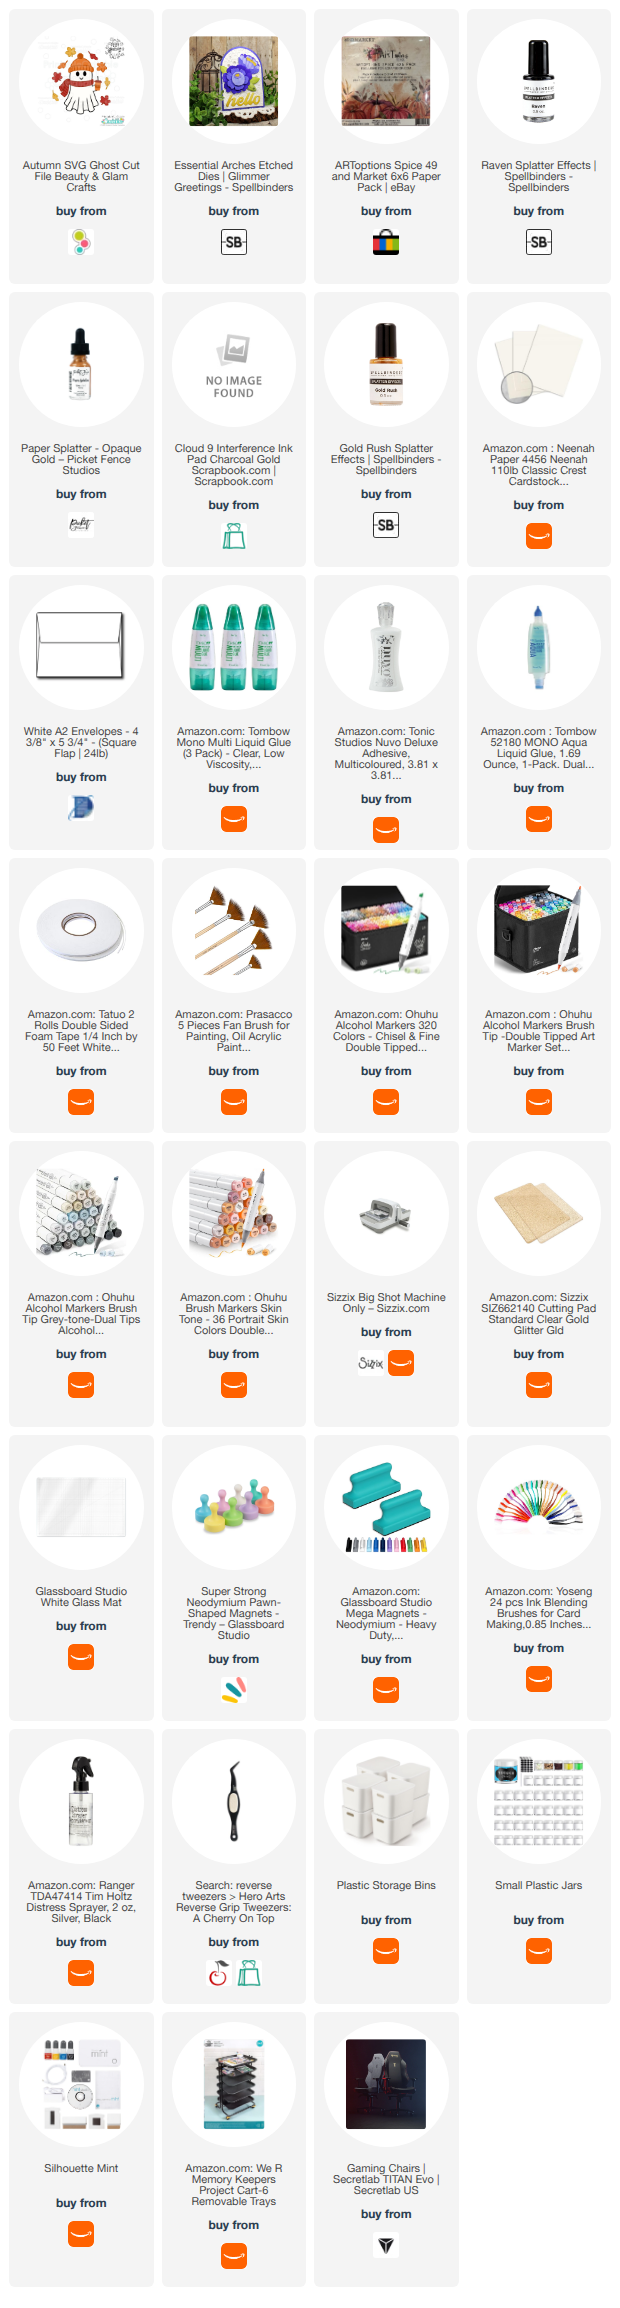
Please Note: I am a big advocate of using supplies you already own but I understand that readers might be interested in specific products that they might not already own. This post contains product links so you can easily find any supplies and/or tools you may be interested in. As an affiliate, I may be compensated for a purchase made using my links. However, no additional cost is extended to you. The other links are just to help guide you in the right direction. I am not affiliated with all companies but I encourage you to shop small businesses as much as possible. I may even include eBay listings for products that are available there at the time this is posted. I only share product information of products I am familiar with and use in my own studio. Papers are just from my collection. I always grab from my scraps first and I don’t keep track of where they came from. Use what you have!