Showing posts with label The Cutting Cafe. Show all posts

Thursday, July 24, 2025

CRAFT Challenge Blog #760

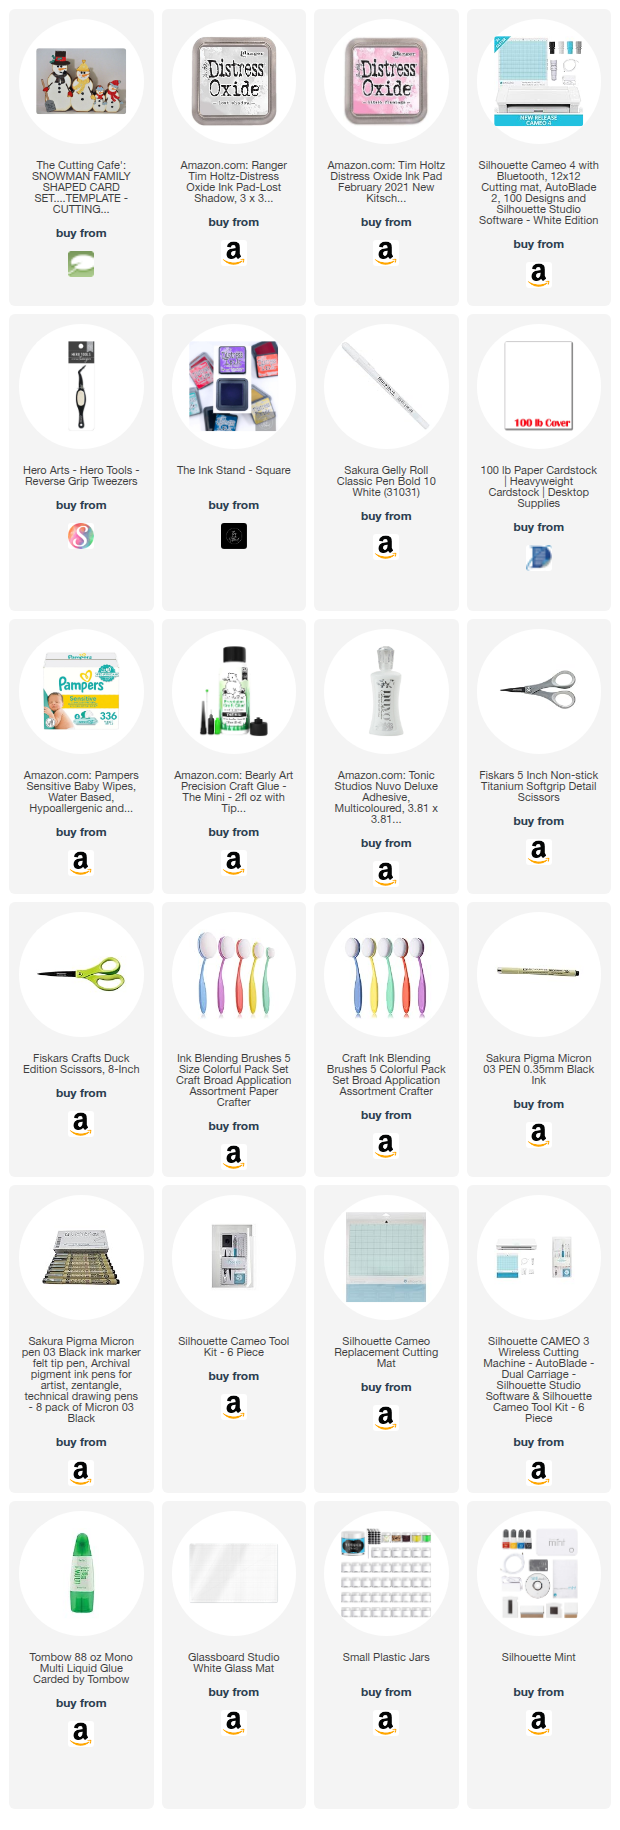
 Hi friends! This week's CRAFT Challenge Blog theme is Christmas. The sponsor is: The Cutting Cafe and the design I am working with is called: Snowman Family Shaped Card


 For this card, I cut all pieces out with white cardstock using my Silhouette Cameo. I then colored them using acrylic paint markers, white Gelly Roll pen, and some distressed ink for shading.


~Paula

If you’d like, please follow me:

Facebook: Paula's Studio

Instagram: PaulasStudioMI


Please Note: This post contains product links so you can easily find any supplies and/or tools you may be interested in. As an affiliate, I may be compensated for a purchase made using my links. However, no additional cost is extended to you. The other links are just to help guide you in the right direction. I am not affiliated with all companies but I encourage you to shop small businesses as much as possible. I only share product information of products I am familiar with and use in my own studio.

Papers are just from my collection. I always grab from my scraps first and I don’t keep track of where they came from. Use what you have!

Wednesday, July 10, 2024

CRAFT Challenge Blog #727

 Hi friends! 

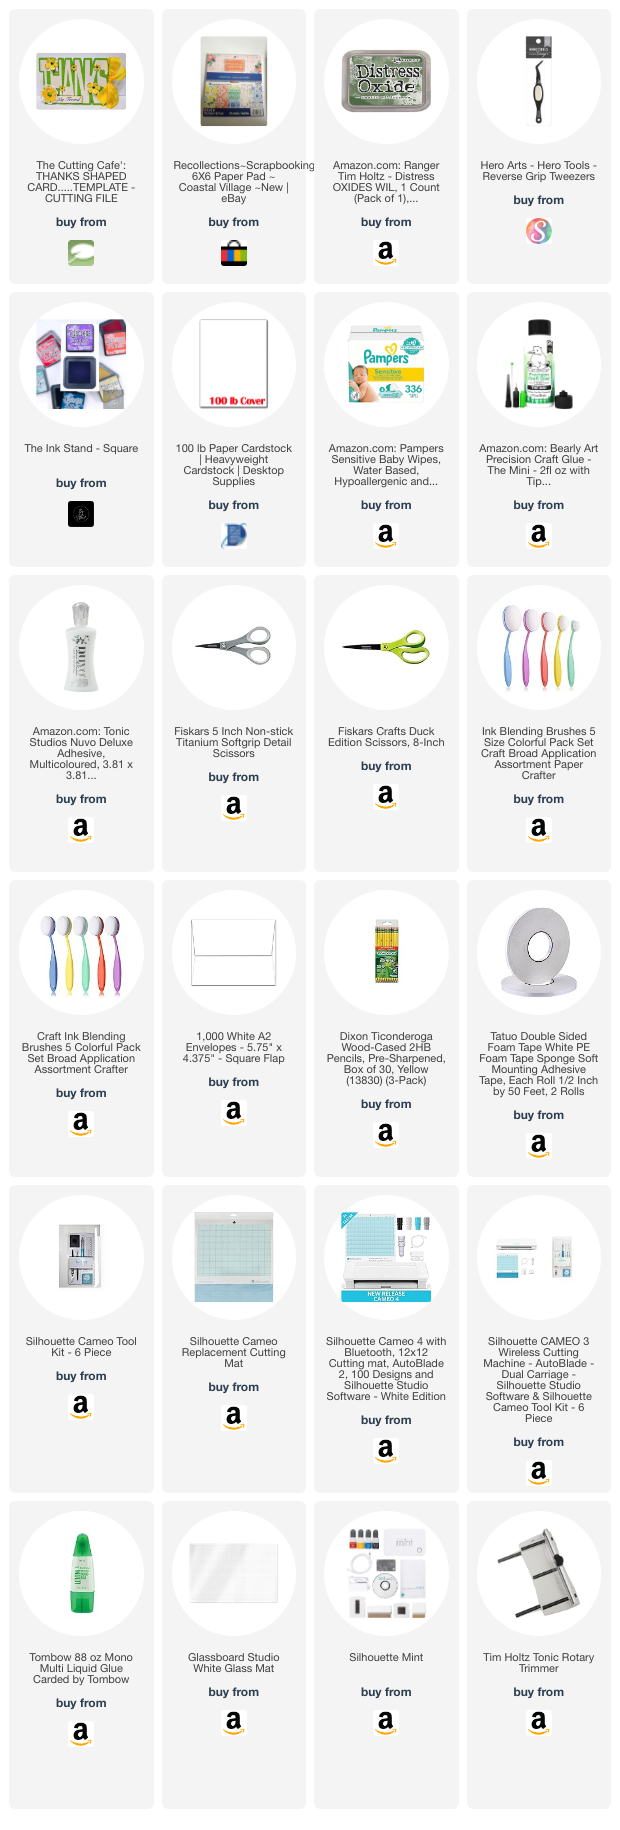
This week's theme for the CRAFT Challenge Blog is "Thank you" and the sponsor is: The Cutting Cafe. I chose to use their cutting file Thanks Shaped Card


Now if you feel that my card is hard to see the "thanks" you are correct. It's actually intentional with the technique. I used the eclipse technique here. This is when you use the same paper to cut the foreground and background at the same time. Keep reading to learn more...

I started off my loading the SVG file into Silhouette Studio. 


 I lined the word up with it's shadow piece. The red rectangle is 5.5x4.25" and is there for me to resize all the pieces properly to fit inside an A2 sized envelope. I remove the rectangle before I send the design to be cut. 

I cut out the card base in 100 lb white cardstock and I cut the work and its shadow out of the same piece of patterned paper. 


Normally for the eclipse method you do not alter either piece. I chose to with this one because the pattern is a busy foil design which makes it extra hard to see and also to photograph. 

I colored only the background piece with a green Distress Oxide.

I glued it onto the card base. 

I used 2mm foam adhesive to pop up the word piece and carefully attached in to the card base so that it lines up perfectly with the background.


You can see I have some white areas.

These are the missing pieces. They get colored too and glued in. 


As you can see, all the foiled gold lines up perfectly because it came from the same piece of paper. That is the main feature of the eclipse technique.


~Paula

If you like, please follow my Facebook page: https://www.facebook.com/paulasstudiomi

Please Note: This post contains product links so you can easily find any supplies and/or tools you may be interested in. As an Amazon Associate, I may be compensated for a purchase made using my link. However, no additional cost is extended to you. The other links are just to help guide you in the right direction. I am not affiliated with those companies but I encourage you to shop small businesses as much as possible.

Papers are just from my collection. I always grab from my scraps first and I don’t keep track of where they came from.


Wednesday, May 8, 2024

Craft Challege #719 - birthday

 Hi friends,

This week's CRAFT Challenge Blog's theme is: birthday. This week includes a birthday blog hop. 

Each designer on our team is using a different sponsor and mine is The Cutting Cafe and the design I am using is Everyday Postage Stamp Printable Set. I am excited to work with this set because currently in the card making work postage themed cards are trending. Cards are like a small work of art but adding postage stamps is like making a gallery of little art pieces. So fun!


I started off choosing which stamps they provided that I wanted to use for a birthday card. They provided some that were colored already and some that weren't. I wanted to color myself and I chose these 5 stamps. I used Silhouette Studio and the Print & Cut feature to cut out my desired stamps with my Cameo.

I colored them using Distress oxides and Distress Watercolor pencils. 

I used a stencil from Waffle Flower to add some background design to some of the stamps. 


Next, I cut out a panel to adhere the stamp to and chose a large postage stamp die from Concord & 9th.


I used confetti stencils by Gina K Designs to add some color to the background without taking over the attention towards the stamps.


I positioned the stamps where I wanted them and chose a birthday sentiment that would fit in the space too. This one is from Crafter's Companion. 


Once I had all the positions just right, I stamped the sentiment directly on to the card panel. I then grabbed my rolls of foam adhesive taps in 3 thicknesses: 1mm, 2mm, and 3mm. I glued one stamp directly to the panels. I propped one up with 1mm, 2 stamps with 2mm, and the center Hugs stamps is the highest with 3 mm. I applies the tape and adhered them to the panel. Doing this adds an interesting dimension to the card.


I then used Distress Oxide to color just the frame around the panel on the card base to add come color between the card base and the panel. 


I glued the panel on and done!

Let me know in the comments if you like it! Remember comments, likes, shares, etc. on our Facebook pages helps our pages be seen by other people and it's free!

Thanks for stopping by!

~Paula

I cannot find these items online and probably are discontinued. Although it makes me sad to not be able to share a link so you can get them too, I encourage you to shop your collection as much as possible. 

Large postage die - Concord & 9th Seaside Post die set

Birthday sentiment stamp - Crafter's Companion unknown name of set, it has a safari theme.

Please Note: This post contains product links so you can easily find any supplies and/or tools you may be interested in. As an Amazon Associate, I may be compensated for a purchase made using my link. However, no additional cost is extended to you. The other links are just to help guide you in the right direction. I am not affiliated with those companies but I encourage you to shop small businesses as much as possible.


Thursday, April 18, 2024

CRAFT Challenge #716

 Hi friends!

I'm currently attending a conference this week and having a grand time so this entry will be short and sweet.

This week's CRAFT Challenge Blog's theme is: Christmas

This week's sponsor is: The Cutting Cafe

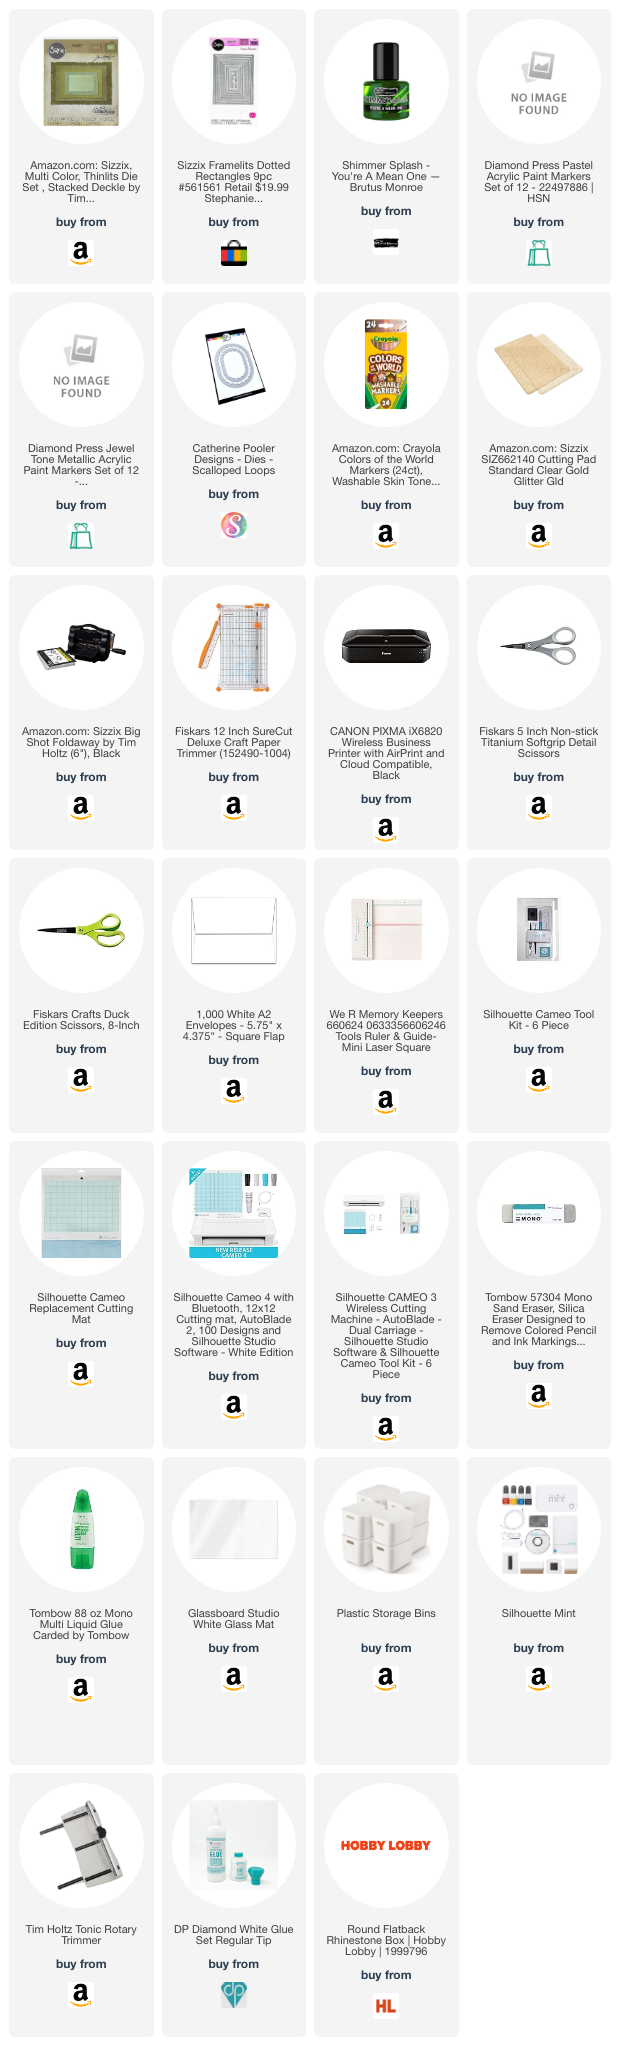
I used the file: Christmas Elisha Jean

I used the print and cut feature in Silhouette Studio and cut it out with my Silhouette Cameo.

I colored Elisha Jean and her outfit with acrylic paint makers by Diamond Press and Crayola Colors of the World markers.   

For the background, I use a double-sided patterned paper. I cut the center out with an oval die by Catherin Pooler and flipped it over to reveal the other side. 

I used green splatter paint by Brutus Monroe to add some Christmas green to the background. The gems came from Hobby Lobby. The sentiment came with Elisha Jean's file. Isn't she the cutest?

You can visit the CRAFT Challenge blog here: CRAFT Challenge to see other project in this category or submit your own.

~Paula

Please Note: This post contains product links so you can easily find any supplies and/or tools you may be interested in. I encourage you to shop small businesses as much as possible. As an Amazon Associate, I may be compensated for a purchase made using my provided link. However, no additional cost is extended to you. Products by other sellers are not affiliate links. I provide them so you can easily find something I used.