Showing posts with label Sparkleberry Ink. Show all posts

Saturday, April 26, 2025

Sublimation Slides

 Hi friends!

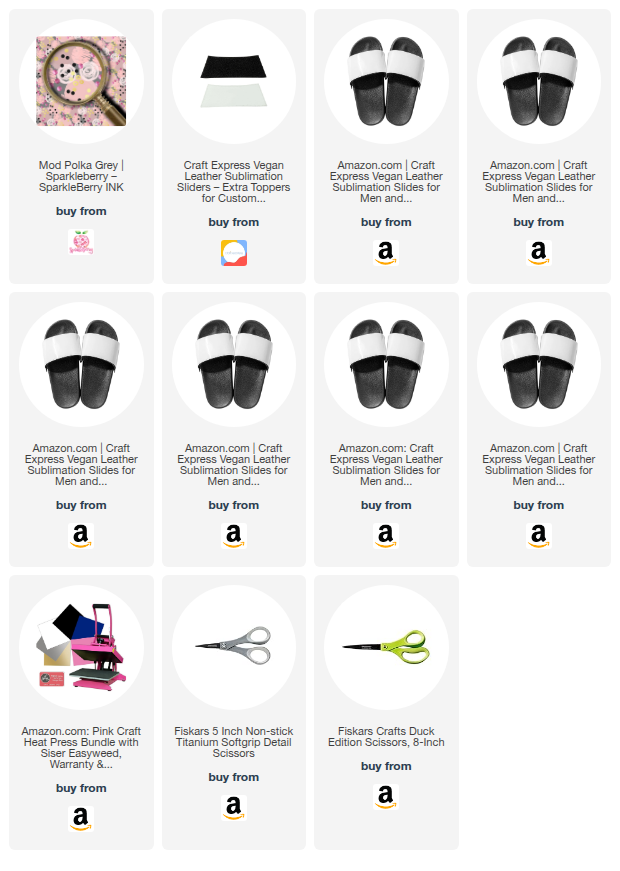
Today I decorated slides with a sublimation pattern by Sparkleberry Ink! I do not own a sublimation printer. I had decided long ago that I didn't want to store one, use one, maintain one, pay for one, vent the airspace for one and also store any supplies needed. I feel the exact same way about lasers. Both are fun and great hobbies but very expensive and takes up more space than I want to give up. Soooo, I utilize small businesses for those instead. I have a local print shop that can print sublimation for me or I buy printed patterns from Sparkleberry Ink. For laser, I use a shop for that too. I'm grateful they exist and I can do that and support them as well. 

Please note: Another option if you do not have a sublimation printer is to use Artesprix sublimation inks to create your own masterpiece. See below links. I will do another blog post about this option soon.


These are pretty simple to make. You just pick out what pattern you want. Line the slide covers on the page and tape down. 


Cut off the excess paper as you can save that for another project. Press at 365 degrees F for 60 seconds.

Do a peek test to make sure it transferred: 


 Let cool and attached to the slides.

You can purchase and make several of them for one pair of shoes! How fun is that??

~Paula

If you’d like, please follow me:

Facebook: Paula's Studio

Instagram: PaulasStudioMI


Please Note: This post contains product links so you can easily find any supplies and/or tools you may be interested in. As an affiliate, I may be compensated for a purchase made using my links. However, no additional cost is extended to you. The other links are just to help guide you in the right direction. I am not affiliated with all companies but I encourage you to shop small businesses as much as possible. I only share product information of products I am familiar with and use in my own studio.

Papers are just from my collection. I always grab from my scraps first and I don’t keep track of where they came from. Use what you have!


Tuesday, August 27, 2024

Trick or Treat with Lawn Fawn

 Hi friends! This card is ready for Halloween!

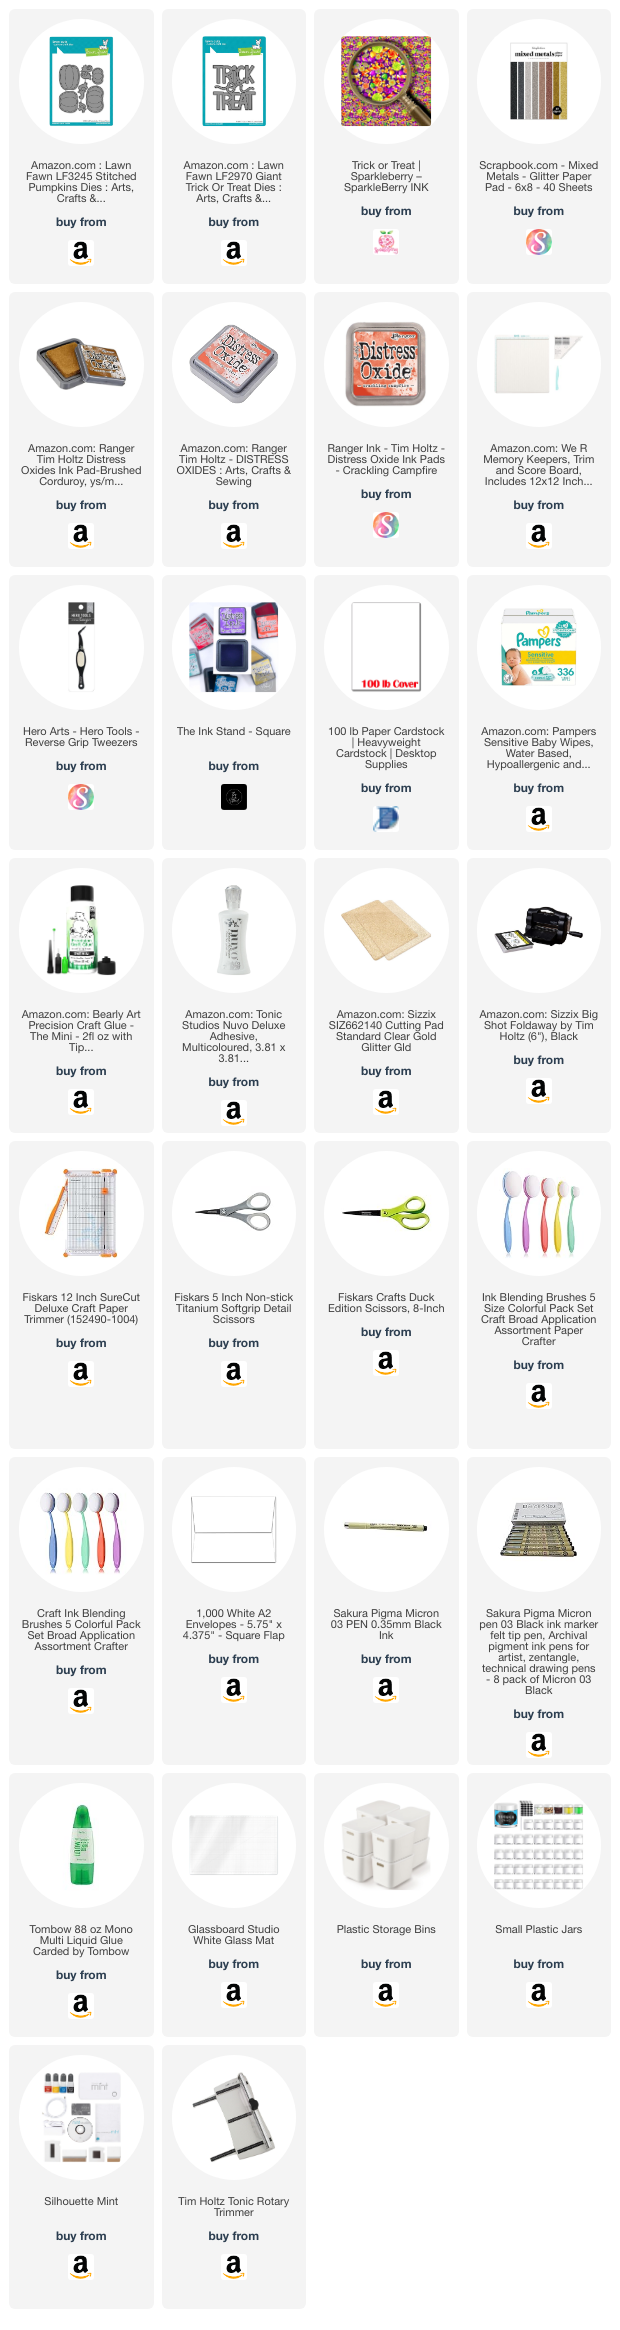
This was a quick card to make, so quick I didn't take pics while I made it. The sentiment and the pumpkins are by Lawn Fawn. I drew the faces on the pumpkins. The background paper is from Sparkleberry Ink. Supply list below.

~Paula

If you like, please follow my Facebook page: https://www.facebook.com/paulasstudiomi

Please Note: This post contains product links so you can easily find any supplies and/or tools you may be interested in. As an Amazon Associate, I may be compensated for a purchase made using my link. However, no additional cost is extended to you. The other links are just to help guide you in the right direction. I am not affiliated with those companies but I encourage you to shop small businesses as much as possible.

Papers are just from my collection. I always grab from my scraps first and I don’t keep track of where they came from.

Friday, August 2, 2024

Birthday Card using eclipse method and Sparkleberry Ink paper

 Hi friends!

Today I have this perfect-for-summer birthday card using the eclipse method. 


As you can tell it is a little difficult to see or read "Happy Birthday" against the background. This is intentional and what gives it the name of eclipse. There are two methods for it really. Both methods require that the text or shape is cut from the exact background paper so that the design lines up perfectly. They differ because you can do it the way I did here, where I have place a piece of purple paper in between. The other method is to not use a solid paper in between but rather just pop up the sentiment or shape with adhesive foam or layered paper. I like both ways. 


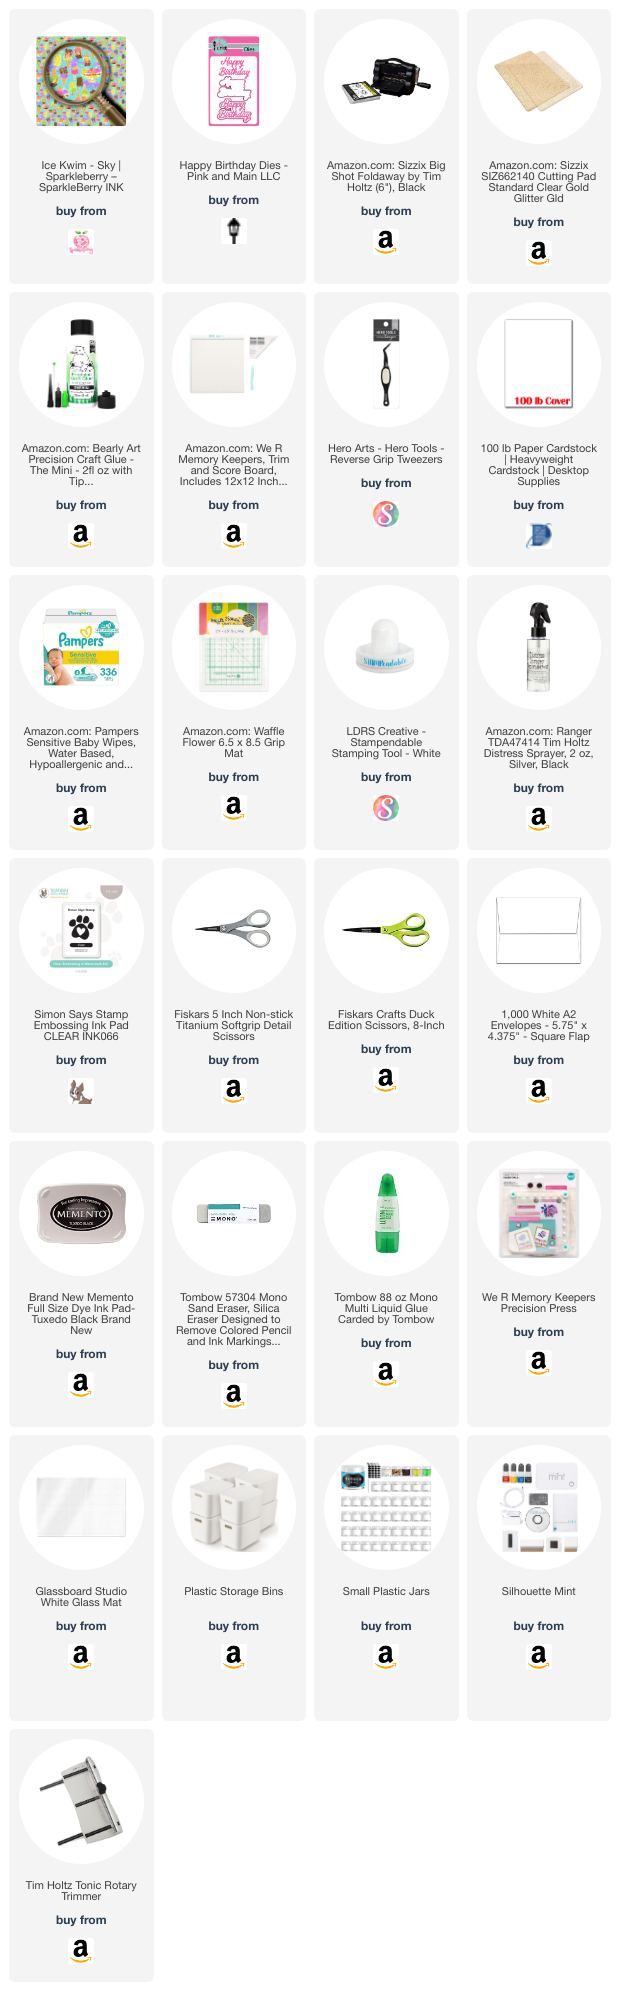
To start this project I picked a sentiment birthday die that has a shadow die with the text. I picked a patterned paper and the solid purple. The patterned paper is by Sparkleberry Ink. Link below.


 I cut the solid paper with just the shadow die. 


Here I am just making sure I like the solid color along with the pattern. The background patterned paper is cut down to 4x5.25 inches.


 This is the text die. I am positioning and figuring out how I want it placed. I want it tilted not perfectly level. 


I cut the text out of the patterned paper. Make sure to save ALL the bits and pieces as some will be used.


Place the purple piece cut out with the shadow die on top of the cut out text and adhere it.

Glue down the text that was cut from the background pattern paper. You should see that the paper lines up when placed correctly. Use this as a guide as you glue down the main letter pieces.

Another example of the pattern lining up. From the bits that were saved, it looks like I will need to find the dot to go over the lettter i. Glue to a card base and DONE.

Affiliate Message June 2024


~Paula

If you like, please follow my Facebook page: https://www.facebook.com/paulasstudiomi

Please Note: This post contains product links so you can easily find any supplies and/or tools you may be interested in. As an Amazon Associate, I may be compensated for a purchase made using my link. However, no additional cost is extended to you. The other links are just to help guide you in the right direction. I am not affiliated with those companies but I encourage you to shop small businesses as much as possible.

Papers are just from my collection. I always grab from my scraps first and I don’t keep track of where they came from.