Hi friends!
Today I am making a graduation card. When I make
one for a special person I try to use their school colors in the card. I
often create a scene of the moment that the hats fly in the air. I love
that moment and I am glad that tradition carries on.
This
graduate's school colors are light and dark blue. You can sometimes
figure that out from the graduation announcement or party invitation but
if you're still not sure you can check the school website or sometimes
wikipedia will have it listed.
I
could guess from the announcement and picked similar colors for the
paper. I didn't have the exact shades so I picked as close as I could.
It's okay, really. I just did want red or yellow or anything that was
nowhere near the school's colors.
I used a stencil to color some caps for the background.
These
go on the lighter blue paper with a darker blue ink but I don't want it
applied super dark. I want it to give the illusion that they are in the
background of the scene.
After I stencil, I clean the stencil with a baby wipe and my Glassboard too. Easy cleanup.
Then I place on the stencil drying rack. Mine was a give from an event but they are really drying racks for baby bottles!
I use a frame die to cut down this piece to 4x5.25 inches.
I chose a design from the Silhouette Design Store for a foreground of grads throwing their caps.
I take the big piece off the cutting mat but I will leave the extra caps on there for now so they don't get lost.
I put the big piece on my stamping platform and choose a sentiment to fit on it.
I apply anti-static dust so that I can get a crisp emboss on it. I stamp the sentiment in clear embossing ink.
I then apply the white embossing powder.
And heat set.
Now,
you can see that even though I used anti-static powder, white embossing
powder didn't stay in place and left with white specks. Boo.
I
could do it over again. I could even flip this piece over and try again
on the back because the image would still make sense. However, I decide
to add more specks to it instead.
I have this watercolor but there are different ways you can do this. I use a water bottle to activate the watercolor paint.
I use a fan brush to apply with tapping motion.
And presto, I've just turned the flaw into a touch of whimsy in the moment.
All
of my homemade cards get a stamp on the back. I have several, most have
my website address. I make these on the Silhouette Mint -- one of my
favorite tools!
I hope he enjoys his card!
~Paula
If you like, please follow my Facebook page:
https://www.facebook.com/paulasstudiomi
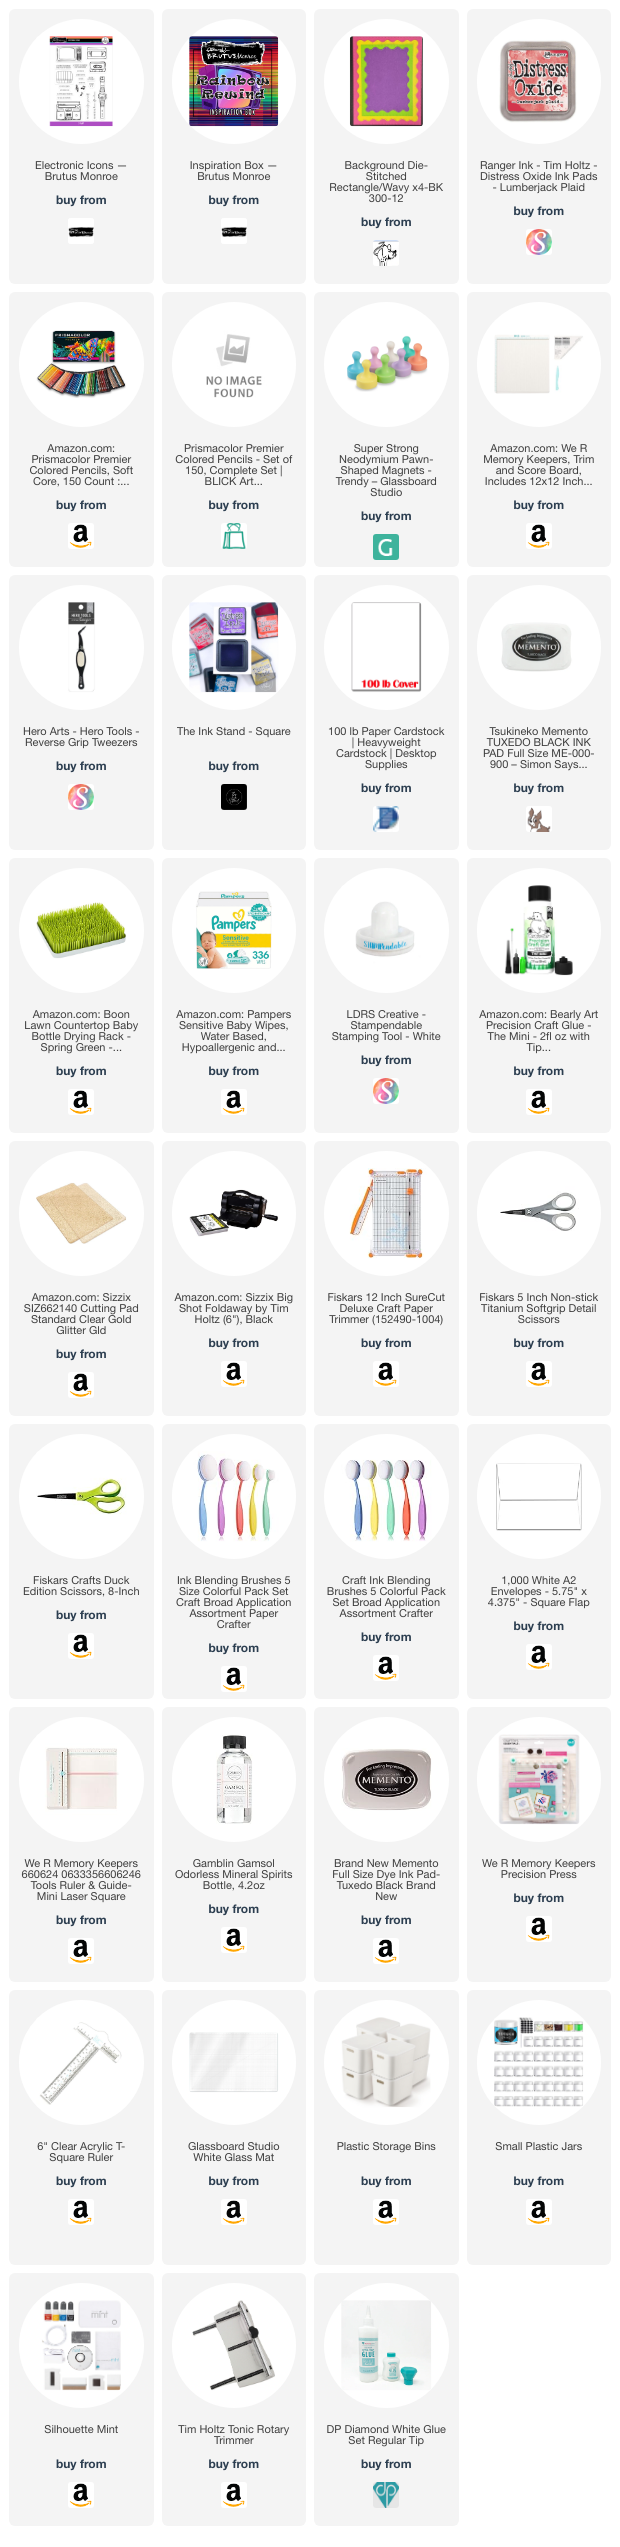
Please Note: This post contains product links so you can easily find any
supplies and/or tools you may be interested in. As an Amazon Associate, I may
be compensated for a purchase made using my link. However, no additional cost
is extended to you. The other links are just to help guide you in the right
direction. I am not affiliated with those companies but I encourage you to shop
small businesses as much as possible.
Papers are just from my collection. I always grab from my scraps first and I
don’t keep track of where they came from.