Hi there friends!
Today I am sharing with you a set of tooth fairy bags I made using a design set by White Spruce Studio.
You can add a name on the reverse side which I would do later when I know who is getting them.

I am on a mission this year to use what I have in my studio as much as I can. It is getting cluttered in here and I would love to get supplies used. Vinyls are a big part of that. I don't use adhesive or heat transfer vinyl that much anymore as I lean more on papercrafting. Vinyls do expire and can crack or not adhere well over time, so now is the time to use them up!
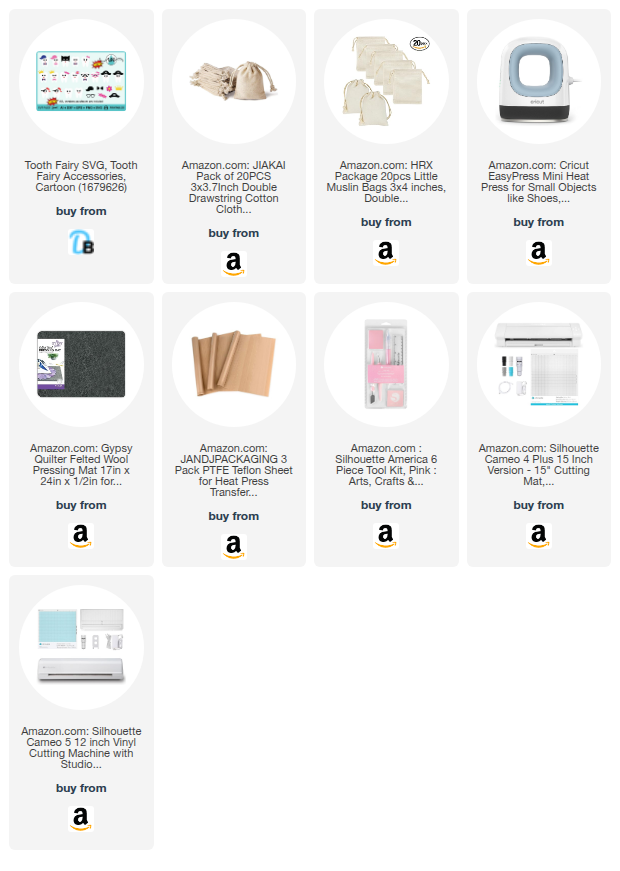
My supply list is posted below. Please note two things: 1. I have not listed any heat transfer vinyl on it as I am using my collection of them and I hope that you do too in the colors and styles that you choose. If you need to buy some, my favorite brand is Siser. 2. The bags I am using for these came from a business that no longer exists. Mine are 3x3 inches. I couldn't find any in that size but I added 2 very close that I found on Amazon that would be what I would buy when I need to replenish what I have now.
The design file is by White Spruce Studio and the link to it is also on my supply list.
Instructions:
- In your software for the cutting machine, draw a rectangle that is the size of the area that you will apply the design -- meaning don't include the top part where the string is located. I am using Silhouette Studio.
- Bring in the design(s) that you what to use.
- Resize the designs to fit in that rectangle from step 1.

- Separate the parts of your designs.
- Mirror the design and it gets cut backwards.
- Cut them in the vinyls of your choice on your cutting machine. I am using a Silhouette Cameo.
- Weed the unneeded vinyl from carrier sheet.

- Starting with the tooth, press each piece separately (the two eyes = 1 piece) making sure to use a teflon sheets in between the heat source and the project and a protective wool mat or other heat resistant surface underneath. I am using a Cricut Mini Press. They are perfect for small projects.

- Once all the layers are applies, cover the project with the teflon sheet and press the whole thing again. They will reduce or eliminate any lines made by the carrier sheets and give a solid final press.


The fun thing about this design file that you can mix and match the accessories as you please. I made three that were exactly how they were designed and the fourth one is a mix-up of accessories.
Check out the supply list below for all that I used to make this project. I would love to see your version!
~Paula
If you’d like, please follow me:
Please follow this blog, you can find the Follow button in the right column ===>
Facebook: Paula's Studio
Instagram: PaulasStudioMI
Please Note: This post contains product links so you can easily find any supplies and/or tools you may be interested in. As an affiliate, I may be compensated for a purchase made using my links. However, no additional cost is extended to you. The other links are just to help guide you in the right direction. I am not affiliated with all companies but I encourage you to shop small businesses as much as possible. I only share product information of products I am familiar with and use in my own studio.
Papers are just from my collection. I always grab from my scraps first and I don’t keep track of where they came from. Use what you have!