Showing posts with label birthday. Show all posts

Wednesday, May 13, 2026

CRAFT Challenge Blog #780


Hi there friends!


Good Morning All and a Very Happy 17h Birthday to us all here at CRAFT Challenge!!


This year we are 17 years old and still going strong. Only one team member has been present from the start, Jo. She seen a lot of team members come and go over these 17 years, but all have been fabulous and very talented. Even though Jo’s time is limited these days, she still loves being part of this team.

We all feel honoured to be working with such talented and lovely people.


We have a DT call at the moment, so if you feel you would like to join our fabulous team, then simply get in touch with us and let us know.


And now it’s time for our birthday celebrations.

Our challenge for the next two weeks is


Birthday!


(what else could it be?)


Anything that fits in with this subject, qualifies for entering this challenge.


There is a maximum of 1 entry per person for this challenge and as always it needs to be recent (new) work (so created and posted after this challenge has started). Although we love to see your work, it would put those contestants that put more than 1 entry in at an unfair advantage. The same limitation exists for the prizes to be won on the blogs of our DT members.


Please also turn word verification off as this makes leaving a comment on your lovely creations much easier. We will not leave a comment if you have word verification switched on.


Here is an alphabetical list of the fabulous sponsors for our Blog Hop, all loyal supporters of our challenge blog:


Here is an alphabetical list of the fabulous sponsors for our Blog Hop, all loyal supporters of our challenge blog:


All Dressed Up


Dr Digi’s House of Stamps


Marchhare Cards


Polkadoodles


Sheepski Designs


Star Stampz


Trimgym's Digistamps and Images


The rules this year are very simple:


1. Make a project for this challenge and we will put your entry in the random draw for the prize from Sheepski Designs

2. Visit the blogs of our DT and enter your projects into their Linky or add your link in their comments if no Linky is in place to be put in the random draw for the prize on their blog.


As always, we will choose the Top 3 as we do every week and the first placed Top 3 will be invited to be a GDT for a future challenge


You should have come here from Monika’s Blog

and your next stop is


Sheryl’s Blog


The prize on this blog is 2 images from


All Dressed Up


Here is my card


Using ‘ Birthday Girl Unicorn Cake


Please enter your card in the linky below to be in with a chance to win this prize or leave a link in the comment box below.


You are invited to the Inlinkz link party! Click here to enter

Wednesday, February 18, 2026

December Birthday Card with Spellbinders Block Print Zodiacs Collection

Hi there friends!

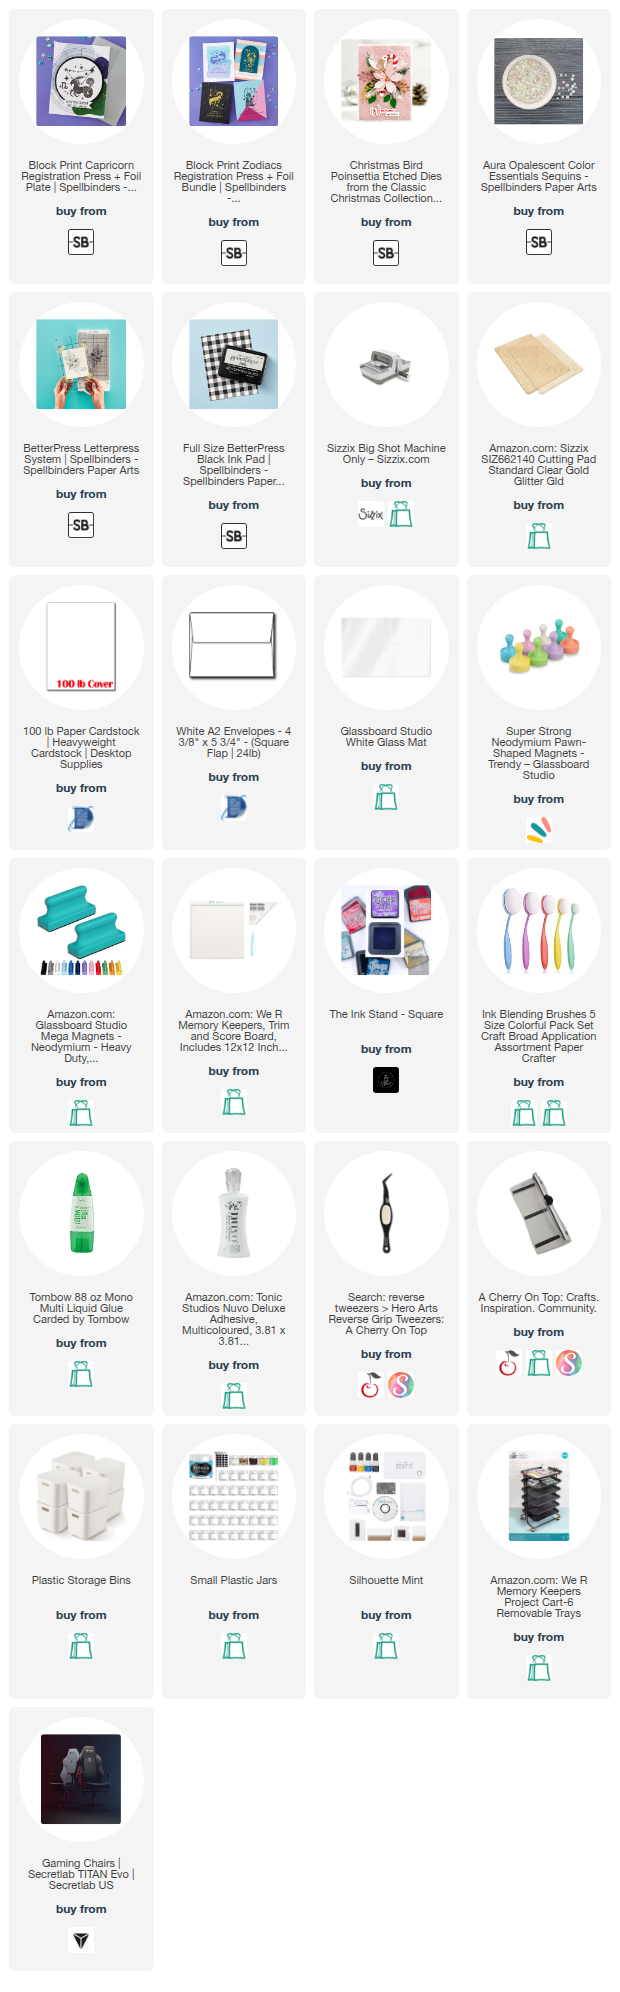
Today I am sharing a birthday card for December using the Capricorn set in the Block Print Zodiacs Collection that was released this month from Spellbinders. This set is beautiful and can be using in both the Betterpress System and the Glimmer Foiling System. I like to bring out all the birthday symbols when I can such as flowers, stones, etc. The flowers for December is Narcissus and Holly and Poinsettia is an alternative. I opted to use Poinsettia with some holly leaves included. 


 I used the Betterpress with the plates to press the Capricorn in the upper left corner and die cut the floral pieces. I really love how it can out. It's not my typical kind of layout but I like to get outside of my own box.


Check out the supply list below for all that I used to make this card. 

~Paula

If you’d like, please follow me:

Please follow this blog, you can find the Follow button in the right column ===> 

Facebook: Paula's Studio

Instagram: PaulasStudioMI


Please Note: This post contains product links so you can easily find any supplies and/or tools you may be interested in. As an affiliate, I may be compensated for a purchase made using my links. However, no additional cost is extended to you. The other links are just to help guide you in the right direction. I am not affiliated with all companies but I encourage you to shop small businesses as much as possible. I only share product information of products I am familiar with and use in my own studio.

Papers are just from my collection. I always grab from my scraps first and I don’t keep track of where they came from. Use what you have!

Friday, February 13, 2026

Gemini BetterPress Birthday Card with Spellbinders

 Hi friends!

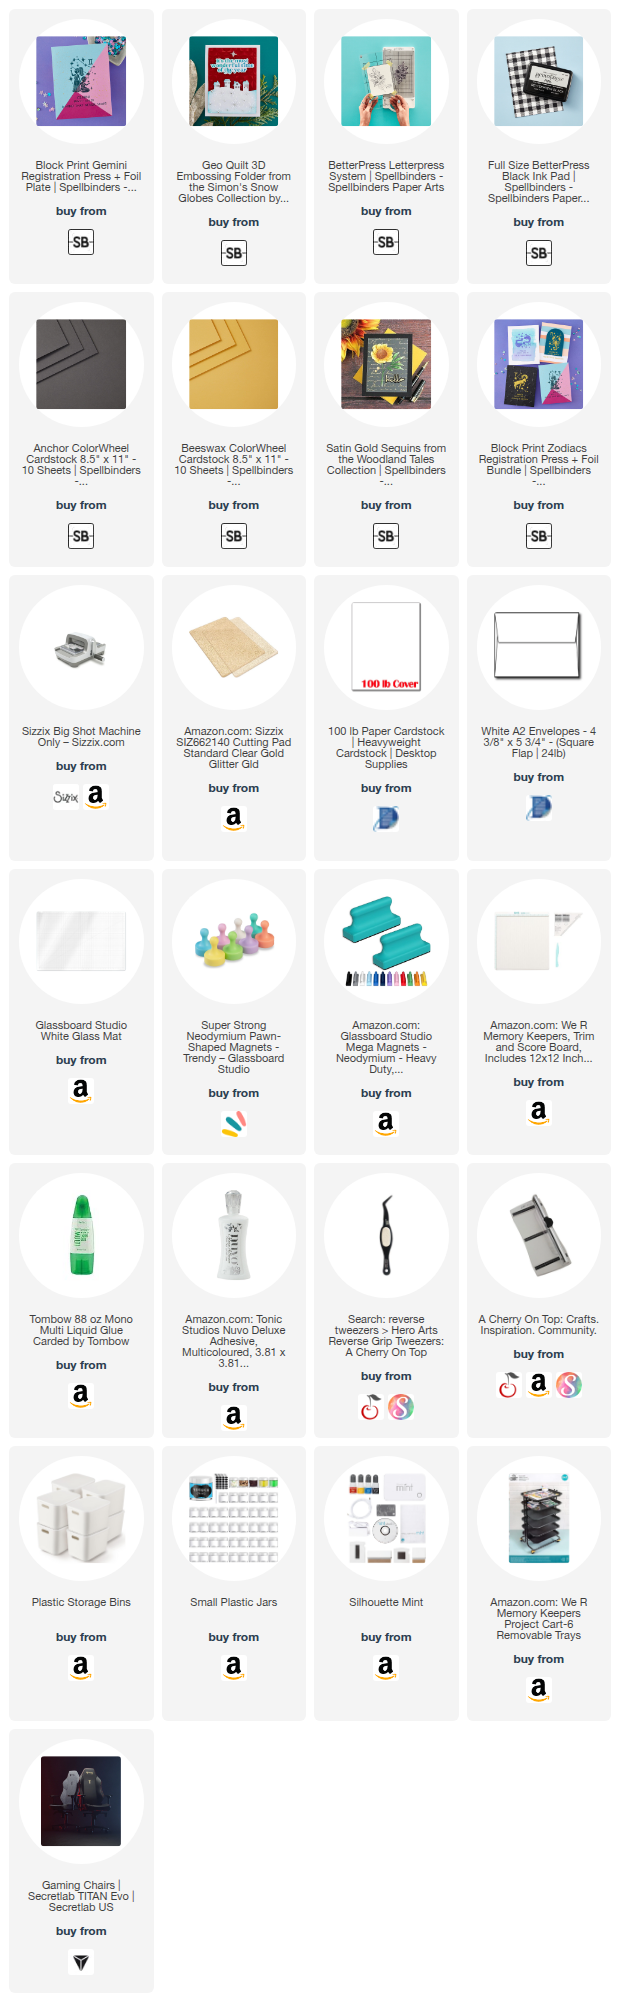
I am having a lot of fun with the Block Print Zodiacs Collection by Spellbinders. Today I am sharing one card I made using the Gemini set. 

I used the Geo Quilt embossing folder for the background and I love the effect it gives.

Check out the supply list below for all that I used to make this card. 

~Paula

If you’d like, please follow me:

Please follow this blog, you can find the Follow button in the right column ===> 

Facebook: Paula's Studio

Instagram: PaulasStudioMI


Please Note: This post contains product links so you can easily find any supplies and/or tools you may be interested in. As an affiliate, I may be compensated for a purchase made using my links. However, no additional cost is extended to you. The other links are just to help guide you in the right direction. I am not affiliated with all companies but I encourage you to shop small businesses as much as possible. I only share product information of products I am familiar with and use in my own studio.

Papers are just from my collection. I always grab from my scraps first and I don’t keep track of where they came from. Use what you have!


Wednesday, February 11, 2026

Celebrating the Virgo with Spellbinders

 Hi there friends!

Today I am showing off the first card I made with Spellbinders new Block Print Zodiacs Collection. 

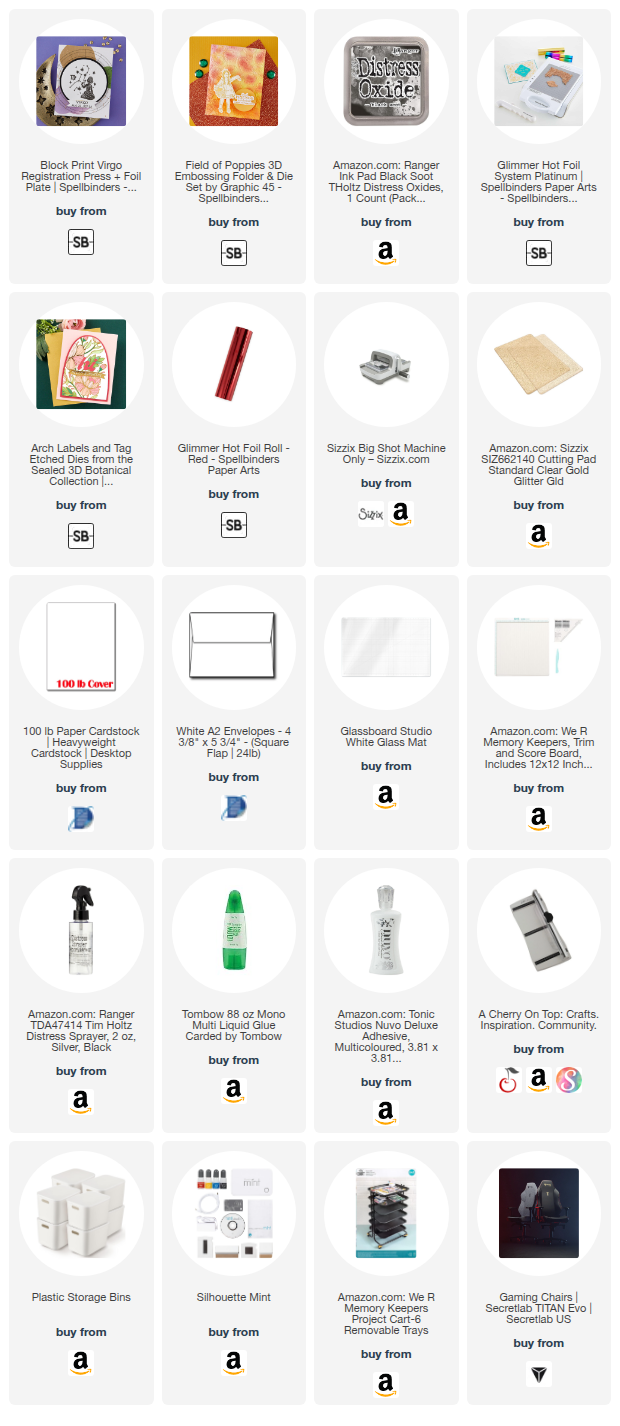
I chose to use an embossing folder with poppies which are considered an August flower. I used red paper and black ink. I applied ink to the smooth side of the inside of the embossing folder before I ran it through the machine.

I used red foil and the Glimmer system to apply hot foil to the black paper. The text pieces were just cut by hand after foiling them. 

The great thing about Betterpress plates is that they also work in the Glimmer Foil System and can easily add shimmer and sparkle to your projects. 

Check out the supply list below for all that I used to make this card. 

~Paula

If you’d like, please follow me:

Please follow this blog, you can find the Follow button in the right column ===> 

Facebook: Paula's Studio

Instagram: PaulasStudioMI


Please Note: This post contains product links so you can easily find any supplies and/or tools you may be interested in. As an affiliate, I may be compensated for a purchase made using my links. However, no additional cost is extended to you. The other links are just to help guide you in the right direction. I am not affiliated with all companies but I encourage you to shop small businesses as much as possible. I only share product information of products I am familiar with and use in my own studio.

Papers are just from my collection. I always grab from my scraps first and I don’t keep track of where they came from. Use what you have!

Monday, January 19, 2026

A Blooming Birthday with Spellbinders

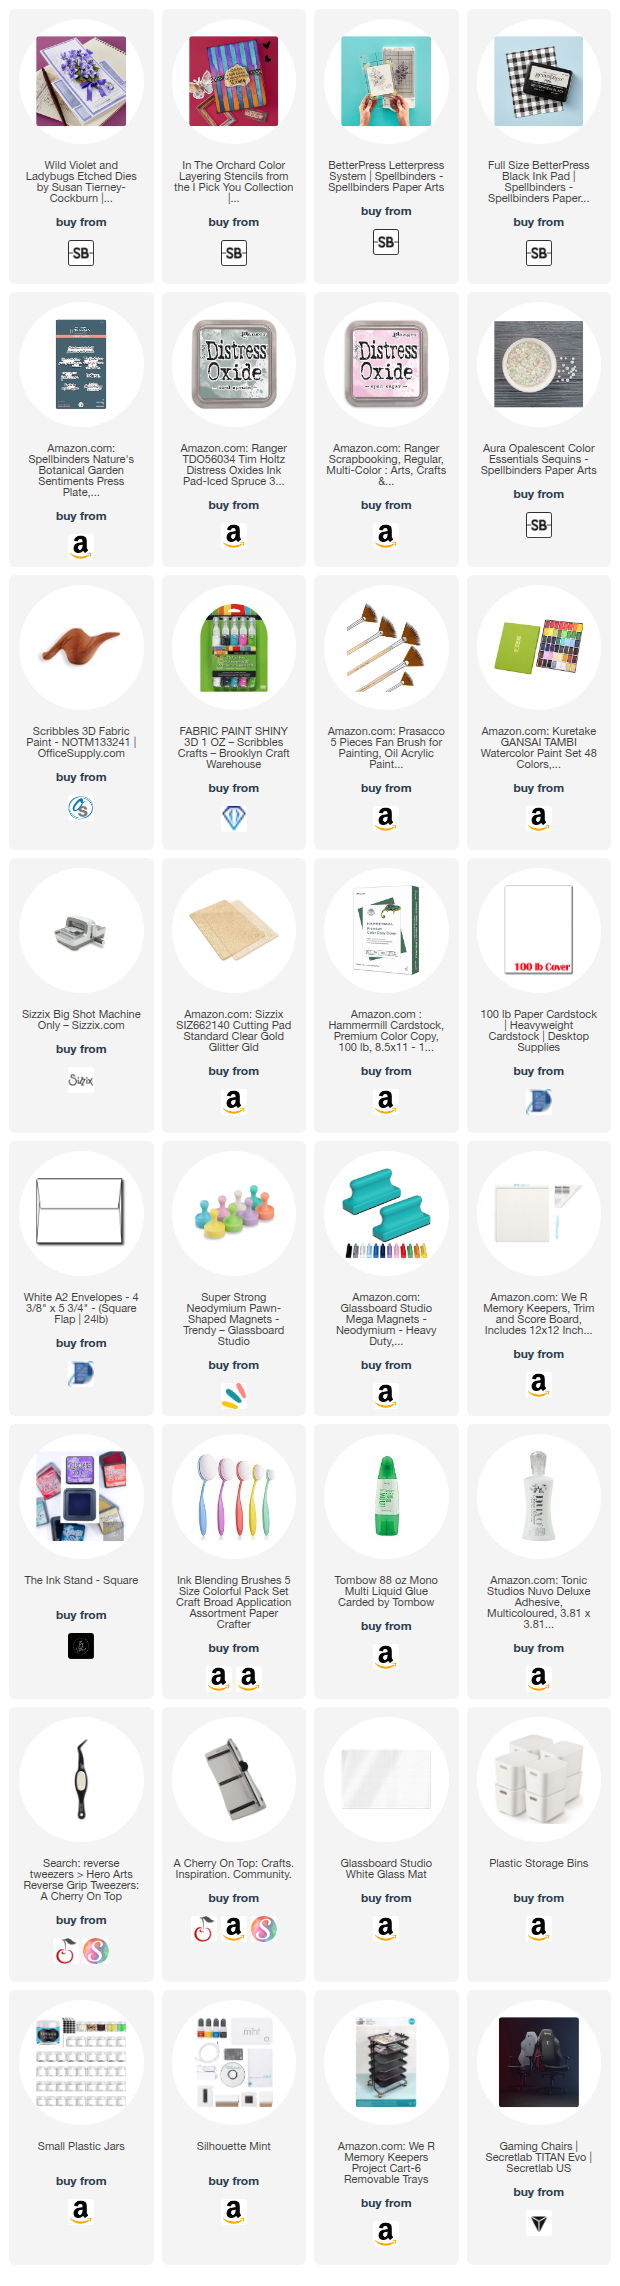
 Hi there frieneds! Today I am sharing another card I made from Spellbinders January release. This time it is one from the The Poet's Garden Collection by Susan Tierney-Cockburn. I am working with the Wild Violet and Ladybugs Etched Dies. 


 I cut out all the floral pieces in white cardstock and applied watercolor to them. 


 I set those aside to dry while I stenciled the background. I used pink watercolor to add a splatter to it. The sentiment was created with a Betterpress.

Once floral pieces were dry I used a mat and a ball tool to add shape to them. Picture below is from another project but same process for this one: 

I start at edge of petal or leaf and drag the ball towards the center.

Assemble and adhere all flowers and then adhere to the background card panel.

I used a 3D paint to add centers to the flower.


Check out the supply list below for all that I used to make this card. 

~Paula

If you’d like, please follow me:

Please follow this blog, you can find the Follow button in the right column ===> 

Facebook: Paula's Studio

Instagram: PaulasStudioMI


Please Note: This post contains product links so you can easily find any supplies and/or tools you may be interested in. As an affiliate, I may be compensated for a purchase made using my links. However, no additional cost is extended to you. The other links are just to help guide you in the right direction. I am not affiliated with all companies but I encourage you to shop small businesses as much as possible. I only share product information of products I am familiar with and use in my own studio.

Papers are just from my collection. I always grab from my scraps first and I don’t keep track of where they came from. Use what you have!