Showing posts with label hippie. Show all posts

Wednesday, May 29, 2024

Hippie Van Shaped Card using Sparkleberry Ink paper

 Hi friends!

Today I have made this very fun hippie van shaped card. The card itself is from the Silhouette Design Store and is Design #447401. All links and supply lists are at the end of the blog entry. 


I brought the design into Silhouette Studio.

Now, you can see this design comes with a rainbow and flowers design. I think it's really cute but I want to use and highlight the pattern by Sparkleberry Ink instead. 

I separate all the pieces on screen.


I delete those flowers and rainbows pieces. 


Not shown, but I actually cut out additional peace signs. I cut two at the size they are and then a third one that I made bigger.

I want the red piece to be cut in the Sparkleberry Ink paper and I opted to cut the white pieces out in silver glitter paper. I use 100lb paper for the card base but the others are fine with 80lb. I just want the card base to be a little heftier.

Before assembly, I decide to color the bumpers and wheel wells with gray ink. I didn't want them to be blaring white. 

I also paint the sky through the window and a tiny bit above the van with light blue. Blaring white doesn't make sense there either. 

I used purple sticky note to be a mask so I don't get ink where I don't want it. 

I used a stencil and the same blue ink to add some cloud texture to the sky for some interest. 

Now assemble and glue. The two tiny peace signs went on the hub caps and the bigger one on the sign of the van. 


~Paula

If you like, please follow my Facebook page: https://www.facebook.com/paulasstudiomi

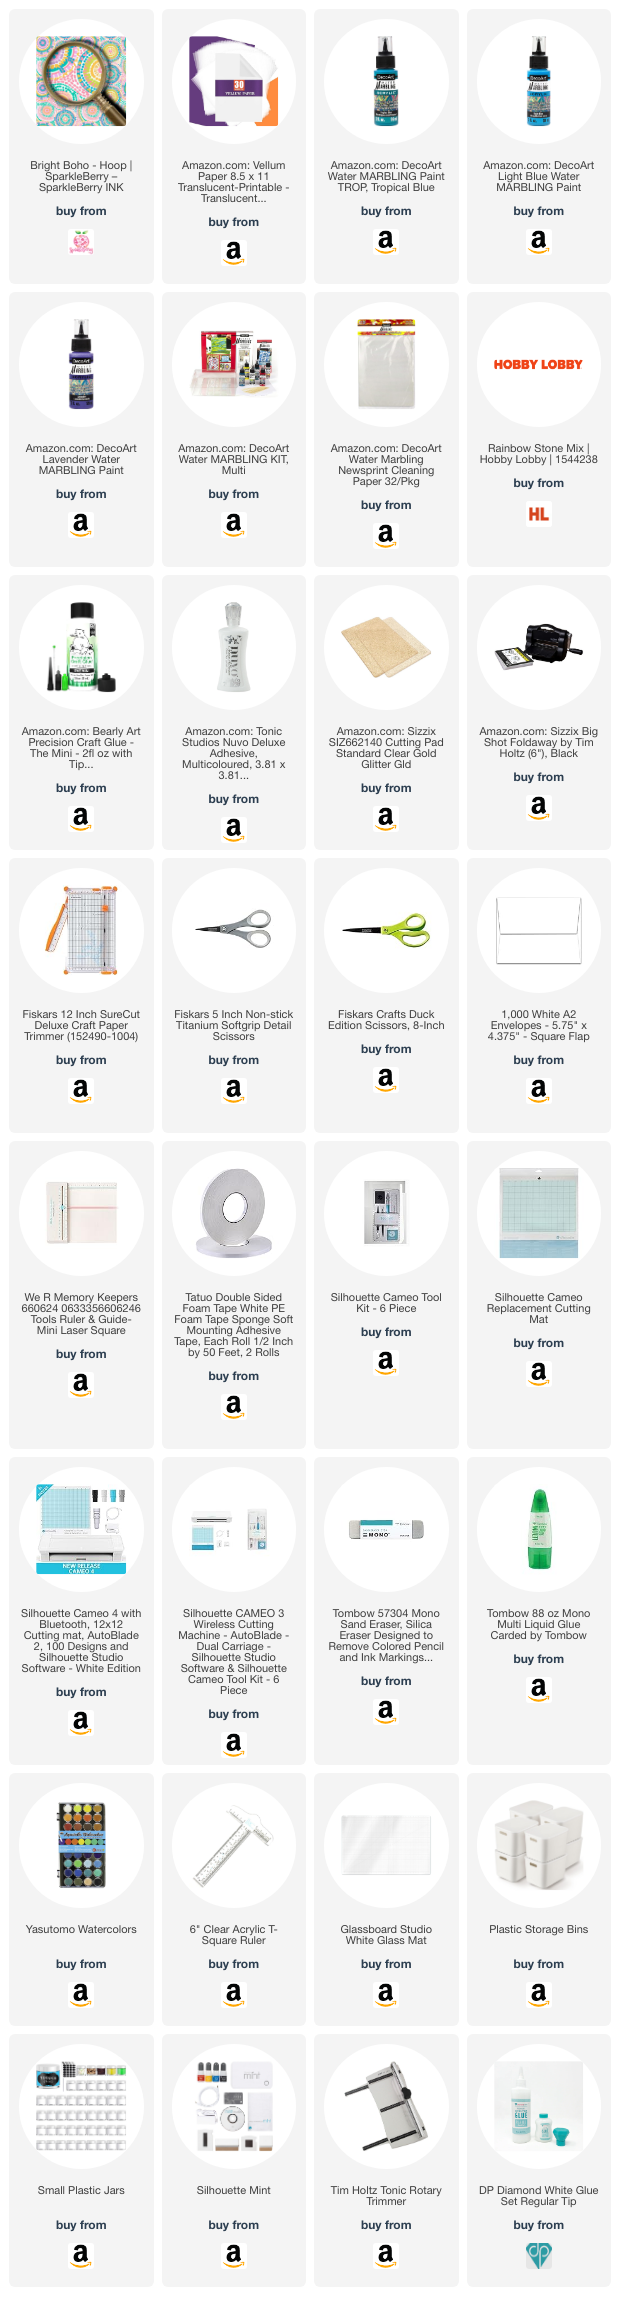
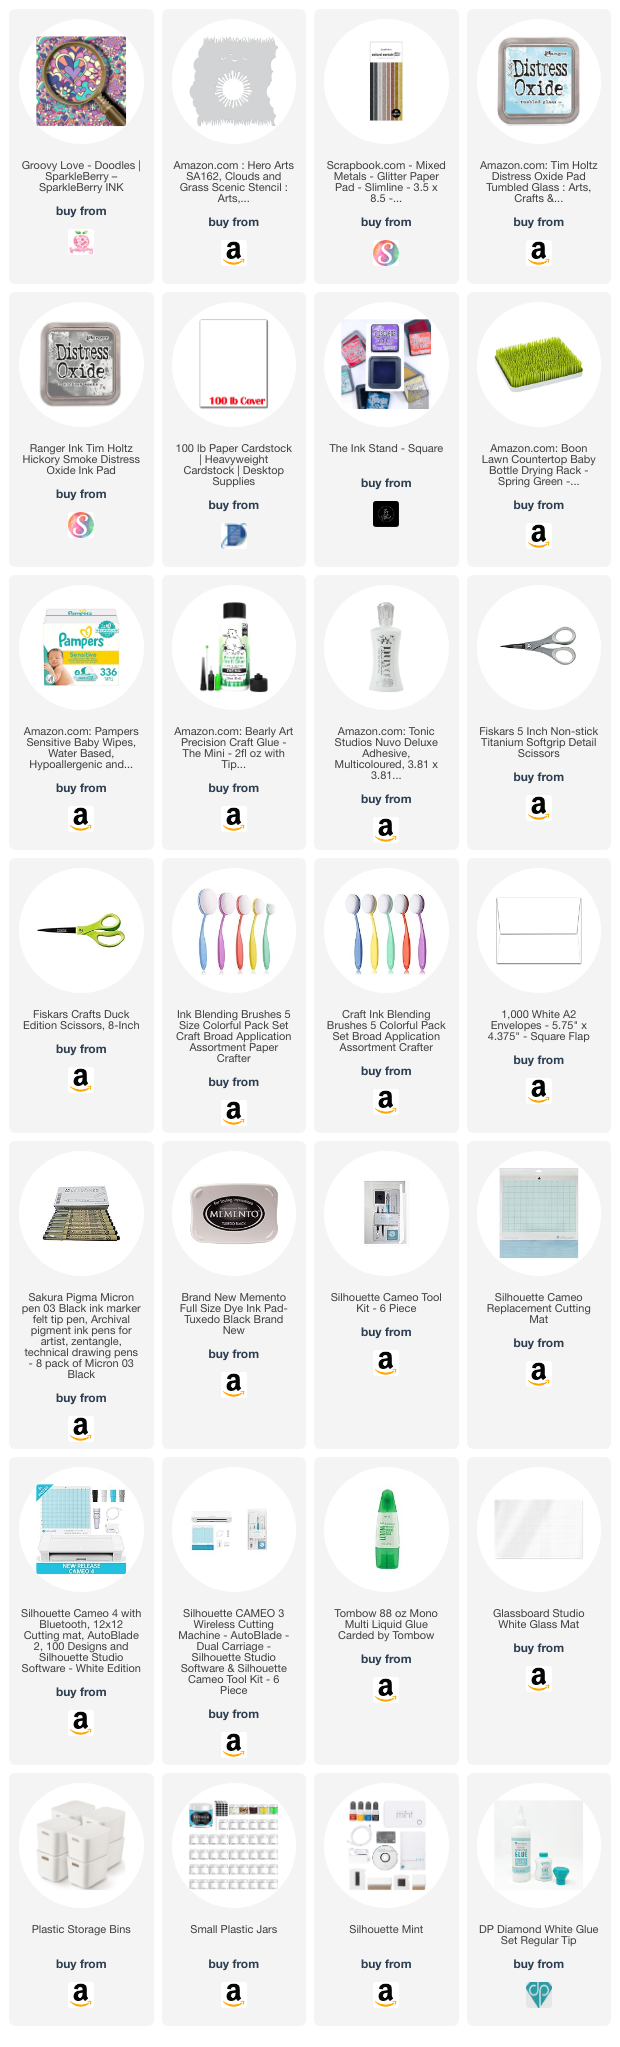
Please Note: This post contains product links so you can easily find any supplies and/or tools you may be interested in. As an Amazon Associate, I may be compensated for a purchase made using my link. However, no additional cost is extended to you. The other links are just to help guide you in the right direction. I am not affiliated with those companies but I encourage you to shop small businesses as much as possible.

Papers are just from my collection. I always grab from my scraps first and I don’t keep track of where they came from.

The Sparkleberry Ink paper I used is currently available in a slightly different palette than what I used. You can find that link below.


Friday, May 3, 2024

Boho Happy Birthday

 Hi friends!

This week's card using Sparkleberry Ink's is ready! The pattern I chose is Bright Boho - Hoop


I cut the patterned paper out with a scalloped die by Diamond Press. 

I chose the sentiment from the Silhouette Design Store. It is Design #447915. I brought it into Silhouette Studio. Before I cut it out, I want to create a shadow piece to go behind the sentiment. I plan to cut this out of vellum so that it create a barrier between the busy background and the sentiment but it won't steal the show.


First, I select all the letters, right click and choose "group" so the letter stay put. Then I choose the offset tool and choose a distance that I think looks just how I want it to be. Click Apply. I move the text out of the way and I am left with some inner bits.

Choose "Release Compound Path" and those can now be deleted. 

Position them together just to make sure you like it. 

I cut out the words twice. Once in a sheet of marbled paper that I made and the other time in just white. I wanted to glue them together because the marbled paper isn't perfectly flat because marbling in a wet process and the paper can be wavy. I do like the extra thickness it provides.


Time to glue them on the vellum! It is best to lay them out the way they should go then start applying the glue.

I like the negative space in the marble paper so I cut that out and glued onto a white background to use on a future card. 


I added 3mm thick foam adhesive to the back of the vellum. I did it in a manner as to hide it as much as possible behind the letters so that the patterned paper can still be seen through the vellum. 


Apply to the center, add a few gems and it's all done!

Let me know in the comments if you like it!

~Paula

Please Note: This post contains product links so you can easily find any supplies and/or tools you may be interested in. As an Amazon Associate, I may be compensated for a purchase made using my link. However, no additional cost is extended to you. The other links are just to help guide you in the right direction. I am not affiliated with those companies but I encourage you to shop small businesses as much as possible.