Wednesday, August 27, 2025

Bearly Awake with White Spruce Studio

 Hi friends!

Today I am here with a very quick and easy project using the Bearly Awake design by White Spruce Studio.

Heat transfer vinyl is definitely not as popular as it was many years ago but there's still a good place for it. Here I am adding this design to a night gown. I am not a fan of the plastic feel that some heat transfer vinyls can be so I chose to use the soft and fuzzy flocked vinyl. 


Use a ruler to eyeball what size you would like the design. 


 I chose 8" wide. 

I chose the colors based on what I had in flocked heat transfer vinyl. I made a rectangle and colors it similar to my garment and the design similar to the vinyl to see if I liked how it looked on the screen before I cut it out. 

Mirror the whole design horizontally and remove the rectangle. 


Send the design to the cutter  to be cut. I am using a Silhouette Cameo.

Fold the garment in half to find the center. Use an iron or heat press to mark the center by pressing the fold. Also run the heat source over garment to reduce moisture in the fabric that comes from humidity. This will give you a better press. If you are using a hand held press or iron, be sure to protect the work surface. I suggest a wool mat.


 Center the design on the garment and press. 


 Look how nice this flocked material looks.


 All done. It's that easy and quick for a cute night gown!


~Paula

If you’d like, please follow me:

Please follow this blog, you can find the Follow button in the right column ===> 

Facebook: Paula's Studio

Instagram: PaulasStudioMI


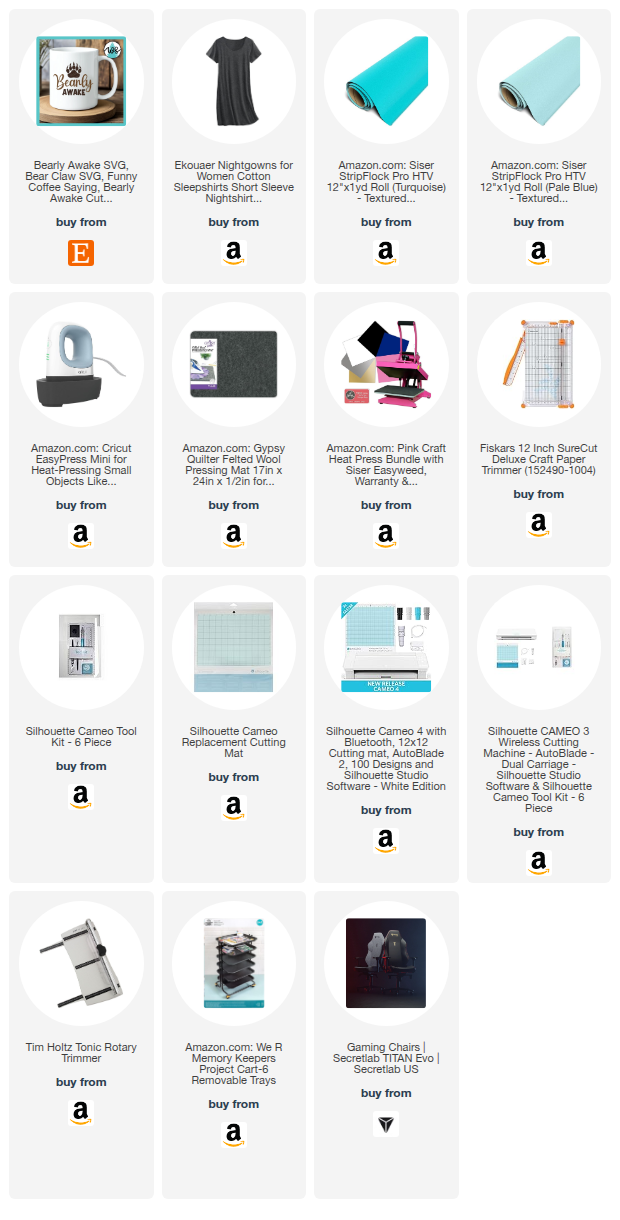
Please Note: This post contains product links so you can easily find any supplies and/or tools you may be interested in. As an affiliate, I may be compensated for a purchase made using my links. However, no additional cost is extended to you. The other links are just to help guide you in the right direction. I am not affiliated with all companies but I encourage you to shop small businesses as much as possible. I only share product information of products I am familiar with and use in my own studio.

Papers are just from my collection. I always grab from my scraps first and I don’t keep track of where they came from. Use what you have!
 

Wednesday, August 20, 2025

CRAFT Challenge Blog #762

 Hi friends! 

This week at CRAFT Challenge Blog the theme is Christmas. This week's sponsor is All Dressed Up and the design I am using is My Little Elf.


I simply colored it with alcohol markers.


~Paula

If you’d like, please follow me:

Please follow this blog, you can find the Follow button in the right column ===> 

Facebook: Paula's Studio

Instagram: PaulasStudioMI


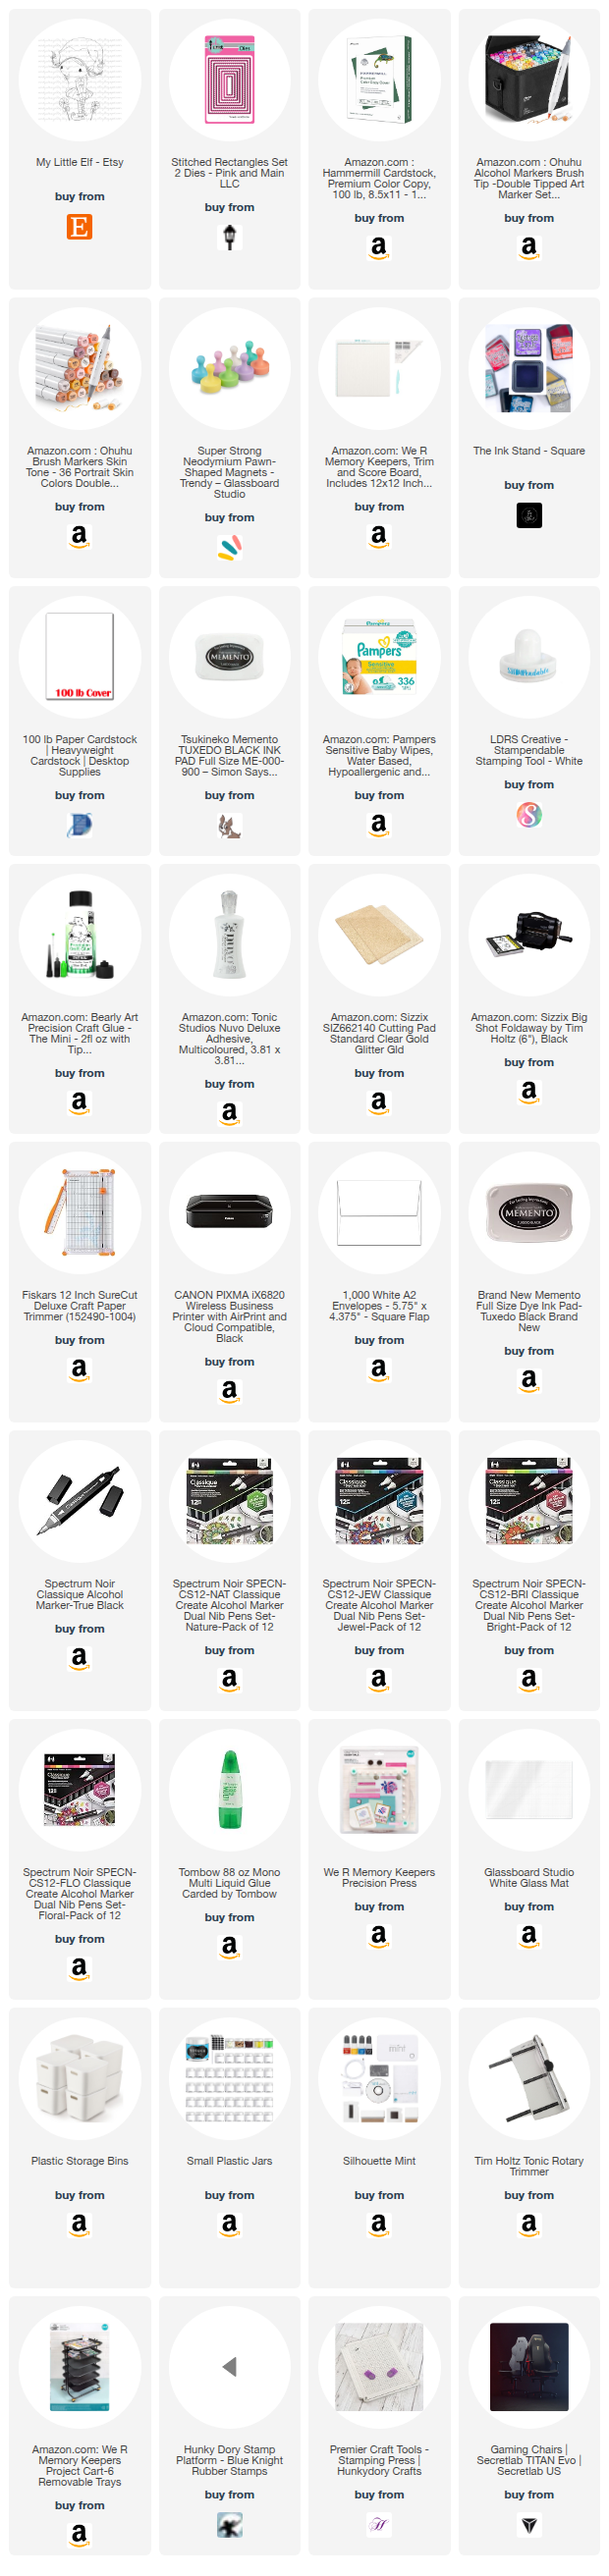
Please Note: This post contains product links so you can easily find any supplies and/or tools you may be interested in. As an affiliate, I may be compensated for a purchase made using my links. However, no additional cost is extended to you. The other links are just to help guide you in the right direction. I am not affiliated with all companies but I encourage you to shop small businesses as much as possible. I only share product information of products I am familiar with and use in my own studio.

Papers are just from my collection. I always grab from my scraps first and I don’t keep track of where they came from. Use what you have!
 

Wednesday, August 13, 2025

Spider card with White Spruce Studio August freebie

 Hi friends! Today I am sharing how I used White Spruce Studio's August freebie which you can get here: White Spruce Studio Facebook Group in the Featured section.


This is originally created as a square project. In the US mailing cards that are square requires more postage so you have 2 choices to get around that. 1. Put a square card in a rectangle envelope with a piece of cardstock to fill the envelope. 2. Change the design of the card to a rectangle and that is what I am showing here. 

Supplies needed:

SVG from the link provided above
cardstock in various colors
Lisa Horton Interference Ink, I am using Very Berry but you can use any of the colors.
ink or paint for splatter 
1 Action Wobbler
adhesive
white gel pen
Halloween sentiment of your choice 
 

Open Topper version folder in the download.
Load the SVG file into your cutting software. 
Separate the layers of the design.
Select the orange web layer only.
Release the compound path.
Select only the orange rectangle without moving another other element that was released.
Change the size of the orange rectangle to 4.25x5.5 inches.
Select all of the pieces that are part of the compound path release and then “Make compound path” again. This is done so that the design of the web is not stretched or changed in any way and just the background size is altered.
Resize the yellow piece to 4.0 x 5.25”
Using the knife tool, cut the black web string attached to the stop of the spider. I am doing this because I am going to attach an Action Wobbler to the back. If you aren’t than don’t do this ste
Cut out all of the pieces in your choice of cardstock.  I used a silver glitter cardstock for the one that is yellow in the digital so that the web is glittery.

Use the Interference Ink on the piece with the web. 


The Interference Ink adds shimmer and color change to the background. Each ink pad in this product line reacts differently to the color of paper that it is applied to and you can see you don't see much of the red tones. They are there but do not stand out too much.


 Use an ink or paint to add splatter to the web panel.


 Add some detail to the spider using a white gel pen and attach the Action Wobbler. They are adhesive but I always add glue to both sides as I have found the adhesive doesn't last long. 


 Add a Halloween sentiment of your choice. I just used the word "Beware!"


 I love making cute and creepy Halloween cards and I am sure you'll see a few more before the big holiday arrives!


~Paula

If you’d like, please follow me:

Please follow this blog, you can find the Follow button in the right column ===> 

Facebook: Paula's Studio

Instagram: PaulasStudioMI


Please Note: This post contains product links so you can easily find any supplies and/or tools you may be interested in. As an affiliate, I may be compensated for a purchase made using my links. However, no additional cost is extended to you. The other links are just to help guide you in the right direction. I am not affiliated with all companies but I encourage you to shop small businesses as much as possible. I only share product information of products I am familiar with and use in my own studio.

Papers are just from my collection. I always grab from my scraps first and I don’t keep track of where they came from. Use what you have!
