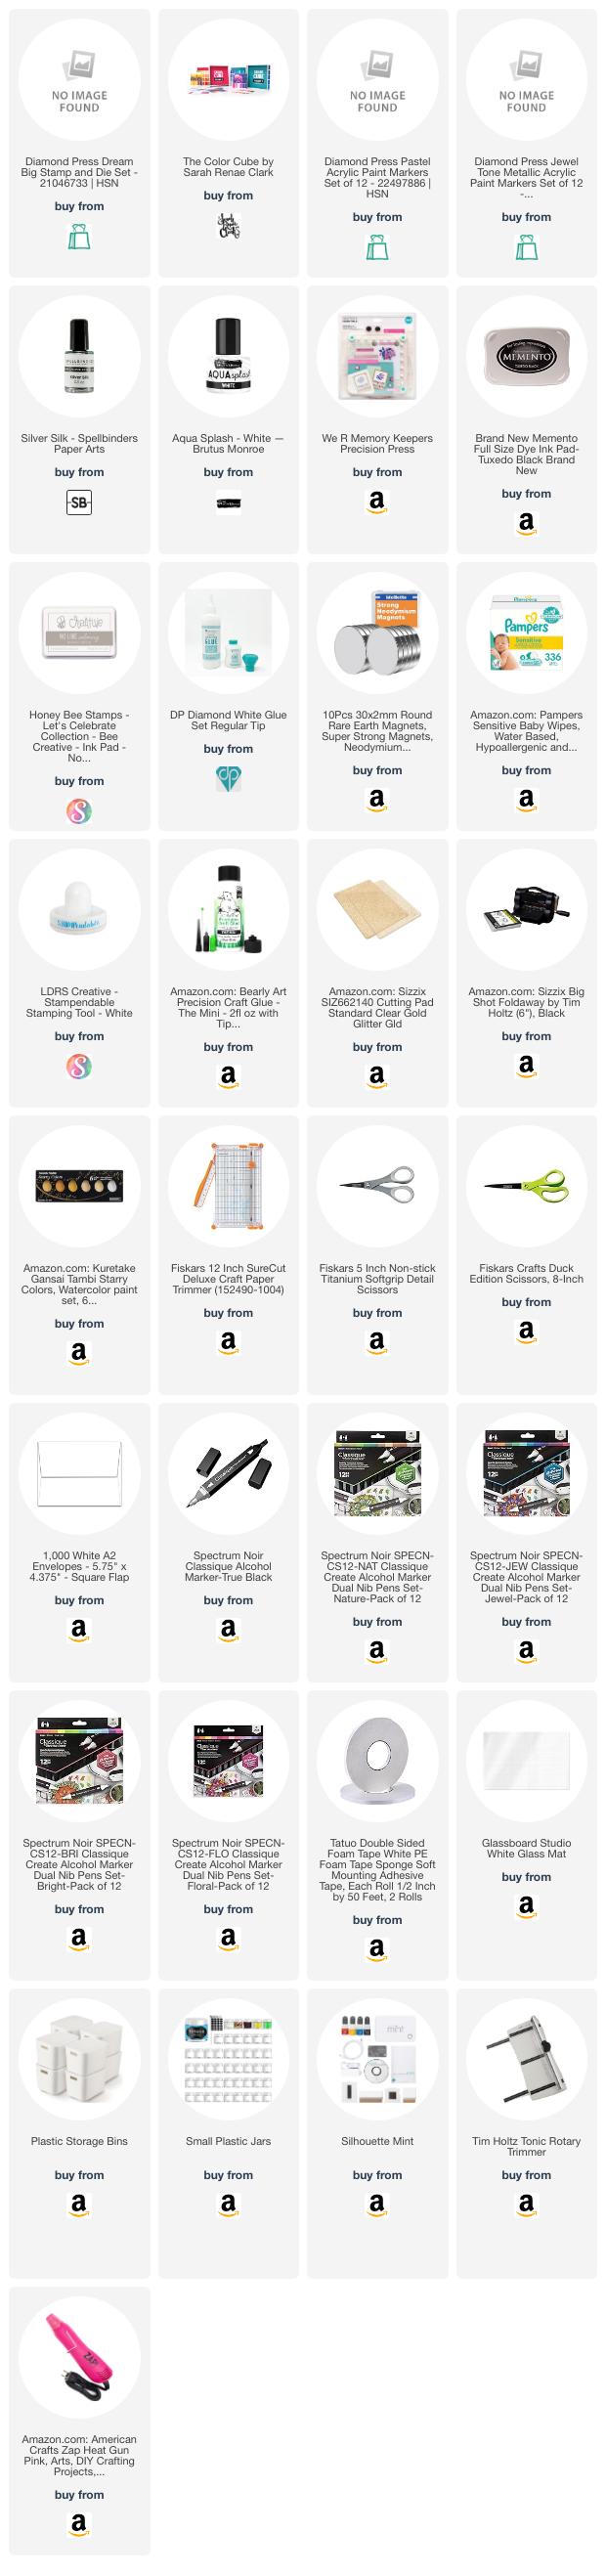
Hi friends! Today I made a card using Diamond Press's set called Dream Big. I have by eyeing this set for some time and I finally purchased it. I love everything space related and I don't know why I bothered to hesitate.

I am using color inspiration from The Color Cube. It is a set of cards in a box, each with a set of colors to help crafters and artists use color. I love the product. I feel like when I use it pushes me to use combinations I might not have come up with and keeps me from using the same palette on all my projects.

I decided to start off with a painted background. I painted 4 card panels. I like to make several panels at a time and I add the extras to a pile for me use at a later time. It's just really nice to have those waiting for me.
I started by painting some orange and yellow, let
dry. Then I added light blue, let dry. There are no rules here, just put
some paint down.


I cover the whole panel with a sheet of paper towel and press it down. This removes any brush marks and leaves pattern marks from the paper towel instead. I then continue to blot the panel with the paper towel to help bring out those colors I covered up.


I know they look like a mess! No worries, once a scene is created with them they will look marvelous.
This is a good spot to show you why I love my glass mat from Glassboard Studio.

While these were set aside to dry, I started working on the rocket ship.


I stamped the rocket twice. Once with black ink and the other with this No Line stamp ink. I haven't used that one yet. It is really great for water coloring. I decided to stamp it here to see if I would like to use it but I chose the black ink to finish the card.
I chose colors
for the rocket that went along with The Color Cube. I think 2 of the
blues are found in the sky so I will add a third and the two browns to
the rocket knowing the rocket will not contrast with the sky. It's quite
okay. I used some Spectrum Noir alcohol markers and some Diamond Press
acrylic markers for it as those are the colors I felt worked well for
the Color Cube.

I assembled the card with a dark blue panel to frame the scene and attached both to an A2 card panel. The blue cut to 4"x5.25" and the painted one to 3.75"x5 inch.

I added 3mm foam adhesive to the rocket and attached to the background. I took a white acrylic marker and added a lot of dots on the sides of the rocket. I did this to help it stand out a little from the sky and to show some movement as it soars.

I stamped and die cut a sentiment and banner that was part of the Dream Big set and applied a 1mm foam adhesive. I love to add dimension. I also used some stars from the set and cut the dies using glittery paper. I felt they go well with the sentiment. Here it is finished with the card from The Color Cube. I hope I did that palette well. Let me know in the comments if you like it!

~Paula
Please
Note: This post contains product links so you can easily find any
supplies and/or tools you may be interested in. As an Amazon Associate, I
may be compensated for a purchase made using my link. However, no
additional cost is extended to you. The other links are just to help
guide you in the right direction. I am not affiliated with those
companies but I encourage you to shop small businesses as much as
possible.