Hi there friends!
It is Digi Chooseday with Polkadoodles! My inspiration project for this challenge is this adorable snowman with a bluebird. I added some pizzazz to the digital papers for the background before I printed them out and add some texture and sparkle to the project.

Don’t forget to join the Digi Choosday Anything Goes challenge over at Polkadoodles - we’d love to see what you create! You can use my coupon code for 10% off: PAULAPORTELLI at: Polkadoodles
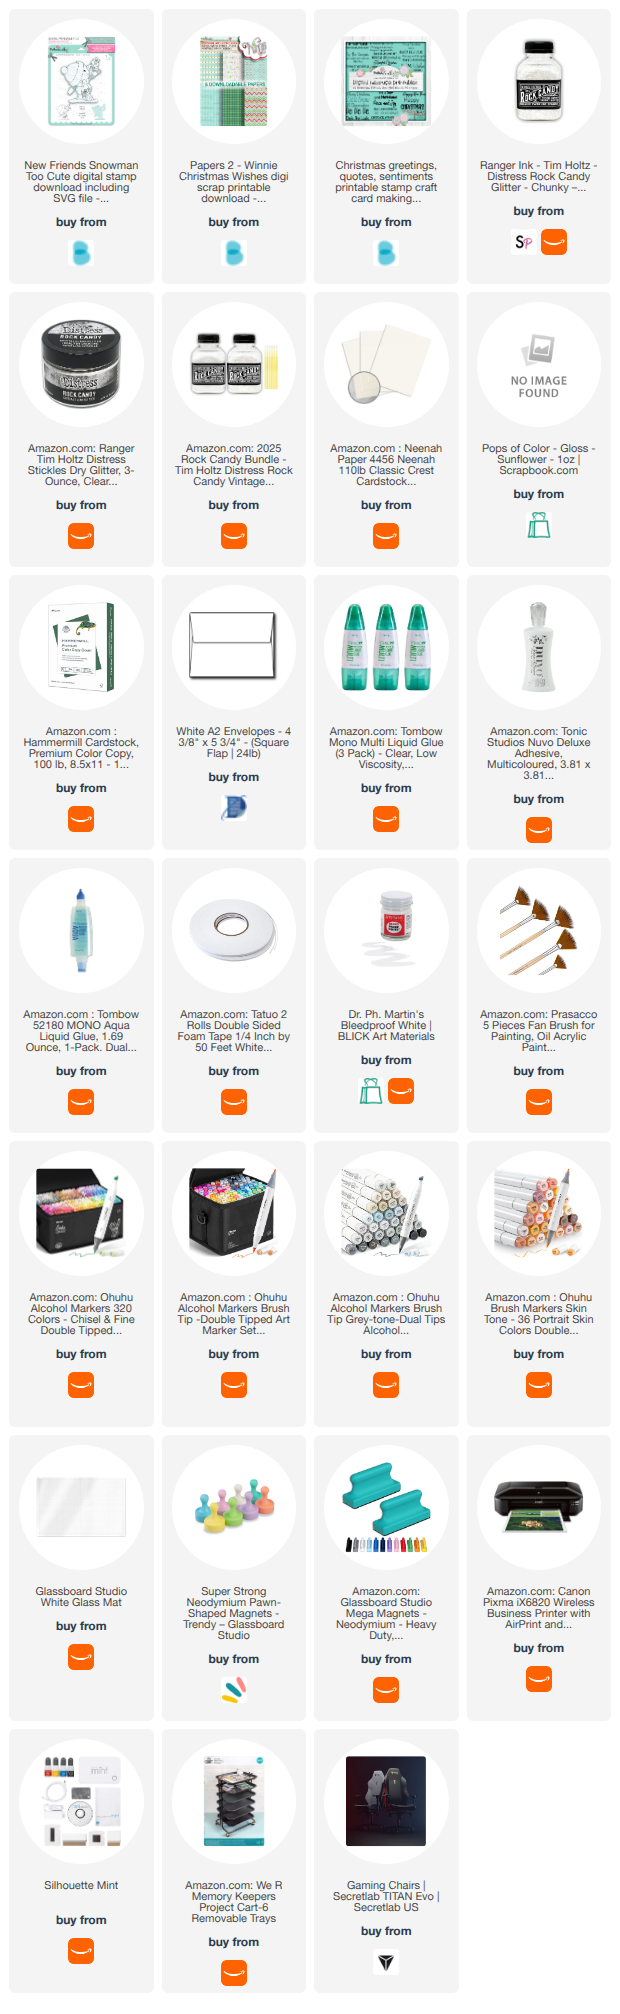
General Supplies, links to specific products are below:
- Digital files
- printer
- electronic cutting machine
- alcohol markers
- chunky clear glitter
- dimensional paint such as Pops of Color
- liquid adhesive
- foam adhesive
- white acrylic paint
- fan brush
- water
Instruction
- Download and unzip files.
- Draw a rectangle that is your card size. I am using 5.5 x 4.25 inches (A2 size)
- Draw 2 rectangles that are 4.25 x 1 inch
- Drag the patterned paper labeled WD11 into the larger rectangle and into one of the small rectangles.
- Drag the patterned paper labeled WD04 into one of the smaller rectangle. Pan and scale this so in lines up just right.

- Click the larger rectangle, in the fill menu lighten in my setting the transparency level to 54.0%.

- Open the sentiments and drag the one that says, "Have a cute Christmas" into the small rectangle that just has the grid-like design. Center it in the rectangle. Place this rectangle at the bottom of the bigger rectangle.
- Place the other small rectangle with the stripes in it on the top of the large rectangle.
- Go to the Send panel and set all pieces to not cut. Go back to the design panel and group all the pieces and the sentiment together. Back on the Send panel, set only the outer edge of the large rectangle to cut.
- Drag in the design file for the snowman and size it to fit on top of the larger rectangle.
- Using the Print & Cut feature, print then cut both the rectangle and the snowman.

- Color the snowman with alcohol markers.

- Add some chunky clear glitter to the top of the snowman's head and the snow at his feet using liquid adhesive.

- Add adhesive foam only to the back of the bird. Add liquid adhesive to the rest of the snowman.

- Add adhesive paint in yellow to the flower center of the flower on the bird.

- Using white paint, thin it a little with water and sprinkle onto card panel with a fan brush. I try to stay away from the bird face. Make sure to get that background design too, the water in the paint will make the ink run a little and leaves a really nice effect.
- Glue this card panel to an A2 card base.
.jpg)
~Paula
If you’d like, please follow me:
Please follow this blog, you can find the Follow button in the right column ===>
Facebook: Paula's Studio
Instagram: PaulasStudioMI
Please Note: I am a big advocate of using supplies you already own but I understand that readers might be interested in specific products that they might not already own. This post contains product links so you can easily find any supplies and/or tools you may be interested in. As an affiliate, I may be compensated for a purchase made using my links. However, no additional cost is extended to you. The other links are just to help guide you in the right direction. I am not affiliated with all companies but I encourage you to shop small businesses as much as possible. I may even include eBay listings for products that are available there at the time this is posted. I only share product information of products I am familiar with and use in my own studio. Papers are just from my collection. I always grab from my scraps first and I don’t keep track of where they came from. Use what you have!


.jpg)

No comments:
Post a Comment