Hi Friends!
I have another Halloween card to show you. I really don't get sick of making Halloween cards! Today's card is totally inspired by the stamp I used that is the trick or treaters. The moment I saw this stamp I knew I wanted to use it. I found it at a vendor booth at Mega Meet this last spring in Michigan. I took a few artsy kind of classes as I am always trying to be more creative. One instructor that I took a few classes from also was a vendor and the stamp came from their shop: Peddler's Den

The tree stamp in the background also came from their shop. (links provided at bottom)

I don't very often create square cards because in the US they require higher postage to mail them because the postal machines for some strange reason cannot handle square cards and have to be hand cancelled. We can put people in space and make ridiculous fake photos with AI but square cards at the post office are a problem. The workaround is to put a square card in a rectangular envelope or pay more for the non-machinable postage stamp.
I wanted this card to be a fun so I added an additional fold to hide the inside but allow the inside to become part of the whole scene.

I cut a base in black. I folded it in half. and folded on of the halves in half. I then cut white bases for each folded section.


I taped the pieces on the black base and tested out what I had hoped to achieve to far and it looks just the way I wanted.

So here's the bummer part. I forgot to take progress pictures for the bottom. I was having so much fun bringing it together that I just didn't stop. But here is what I did: I stamped the trick or treaters on a piece of scrap paper and used heat embossing to give them some texture. I cut them out -- some people call it "fussy cutting" I don't. It's just cutting, let's not get ridiculous and add extra words. The kids are colored with colored pencils. I used colored pencils for the ground path they are walking on. The purple and gray background are inks applied with brushes. The sentiment is the same ink with heat embossing to add texture and shine.

Once the card is opened fully, the whole scene comes into view with a beautiful haunted house that the kids are contemplating if they should ring that doorbell.

And then bats start to fly -- okay they really don't. I added them last. :)
I hope you enjoyed the whimsy of this one.
~Paula
If you like, please follow my Facebook page: https://www.facebook.com/paulasstudiomi
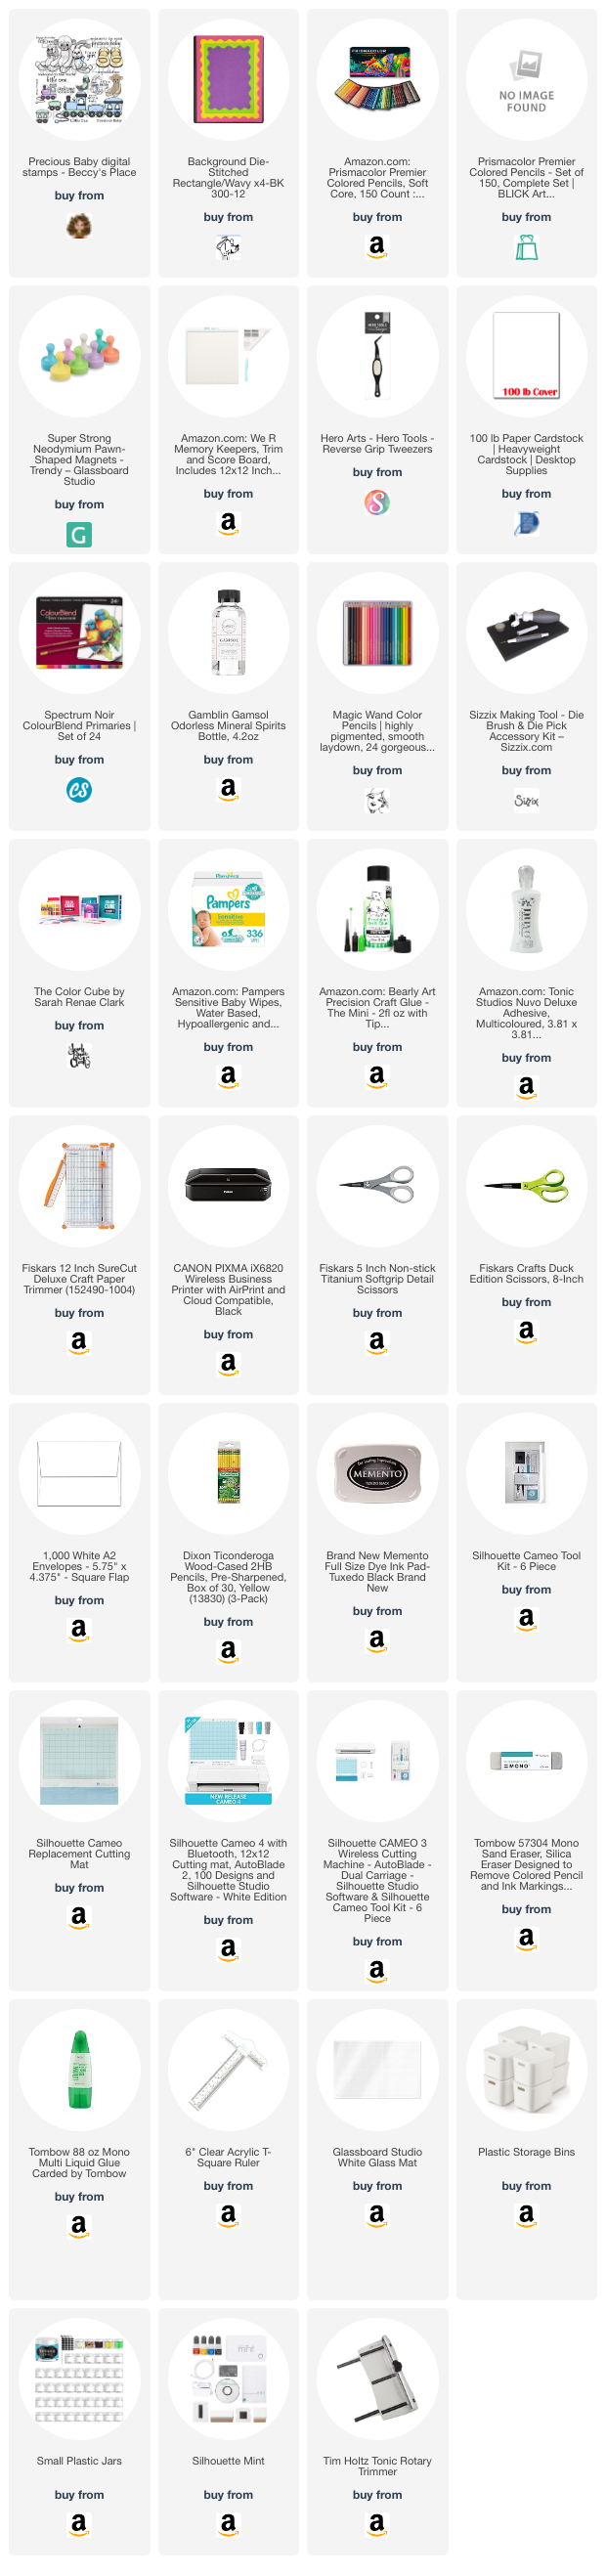
Please Note: This post contains product links so you can easily find any supplies and/or tools you may be interested in. As an Amazon Associate, I may be compensated for a purchase made using my link. However, no additional cost is extended to you. The other links are just to help guide you in the right direction. I am not affiliated with those companies but I encourage you to shop small businesses as much as possible.
Papers are just from my collection. I always grab from my scraps first and I don’t keep track of where they came from.