Hi friends!
Today I am making this lovely mermaid card using Sparkleberry Ink adhesive vinyl. Sparkleberry Ink is a small USA business based in Georgia. They recently changed owners and the new owner is not at all new to Sparkleberry Ink. To celebrate the return of them I am making one card a week using products that highlight their patterns.

Throughout Sparkleberry history this pattern used in the background has been often used in mermaid themed projects and I decided to do that too.
The elements of mermaid, turtle, and vegetation are from Creative Fabrica (link found in supply list) and I laid them out on the screen within Silhouette Studio.

The red lines represent my card panel and the oval that I intend to cut the vinyl with. I do this so that I can adjust the size of all the elements and decide if I want to add or delete any.

I used green glitter paper for the sea vegetation but the mermaid and turtle are silhouettes in black. This way that Sparklberry Ink pattern will be highlighted more.

I actually cut the mermaid out 4 times. I only cut the turtle once but it is a slightly more gray shade of black. This slight coloring change adds a sense of depth which works well for an underwater scene. The mermaid pieces get glued as a stack to make them thicker. This gives it more depth and all the dainty parts are more stable.

I cut the card panel with a deckled edge die.


I use Mermaid Lagoon (of course!) Distress Oxide to color the edges of the paper. I don't need to do the center as it will be covered. This will help those tile colors to pop.

I colored a small piece of white cardstock that I will cut and stamp for the sentiment. I am doing this with the same color but using the ink that is already on my brush and pulling any off my Glassboard Mat too. I don't want this to be a blaring white or take away from that background either.

I used a small oval die from the same set as the bigger one I use on the background.

Cleaning up the remaining ink off the Glassboard Mat is as quick and easy as a baby wipe. I always have some nearby to keep my surfaces clean.


I knew when I picked this die that the sentiment would reach the stitched edges. I'm okay with that as it is better than choosing a bigger oval. I adhered the oval to my stamp positioner base with magnets. I use the same ink for this.

Now it's time to start assembly. First I remove the backing off the vinyl piece and attach it to the card panel.

I want to add these sequins for more sparkle and faux bubbles. I always dump sequins in these little jars and attach the label to the jar.

It is just easier to work with when I can pick sequins out of the jar with tweezers.

All the elements are glued to the card panel. I used foam adhesive for the sentiment oval to pop it up too.

~Paula
If you like, please follow my Facebook page: https://www.facebook.com/paulasstudiomi
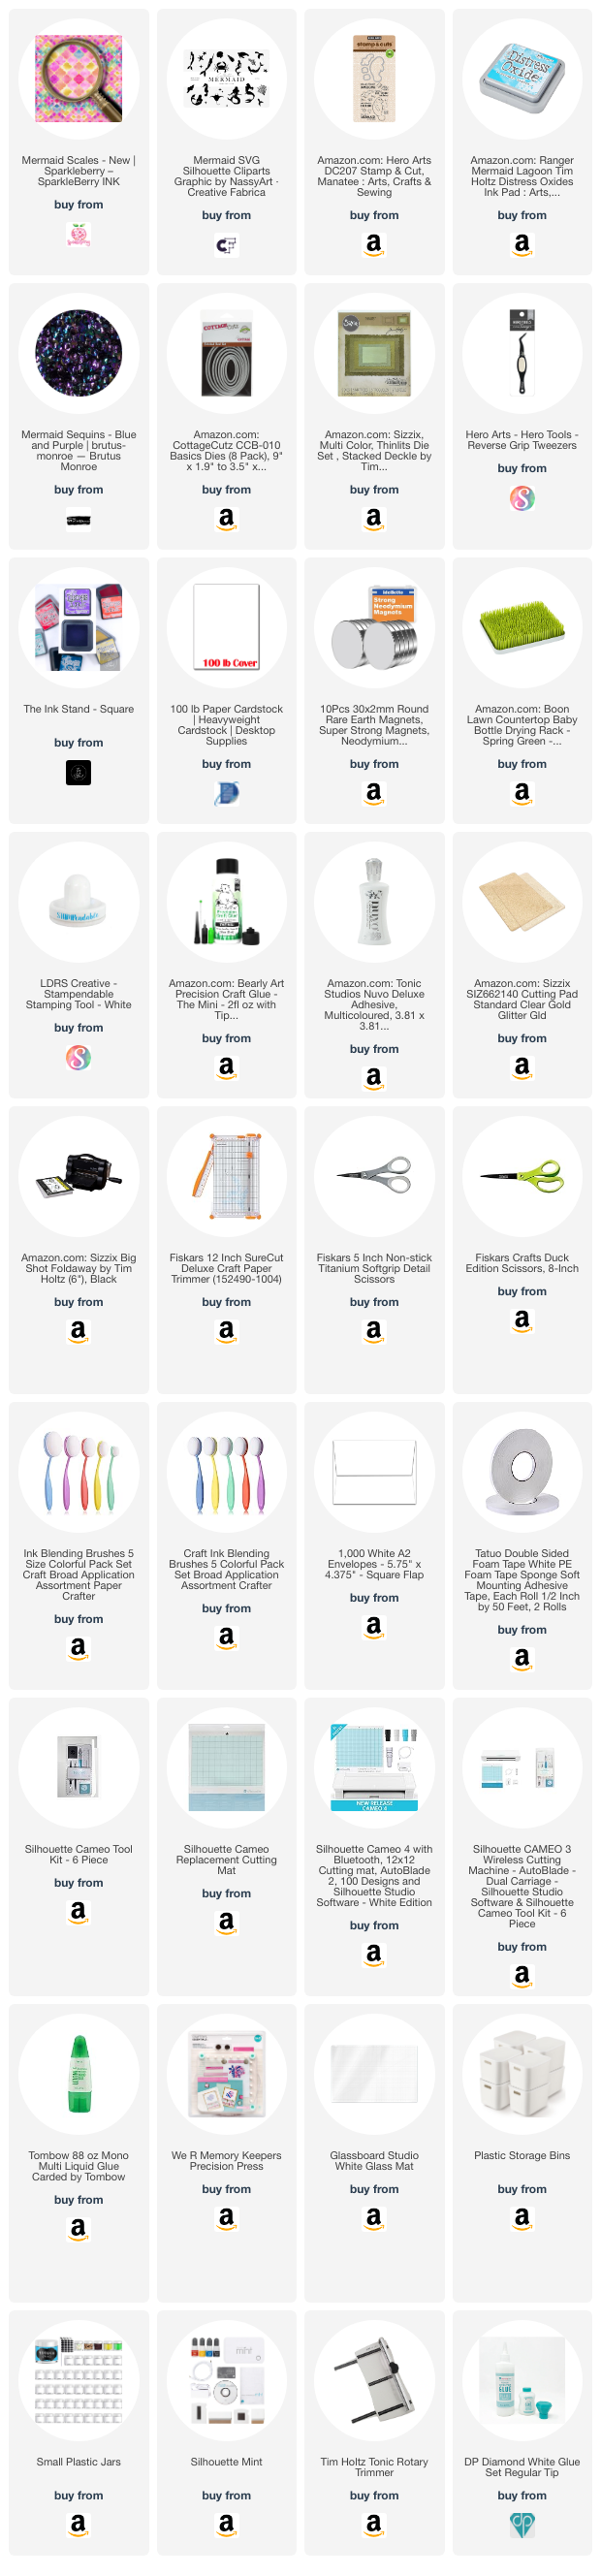
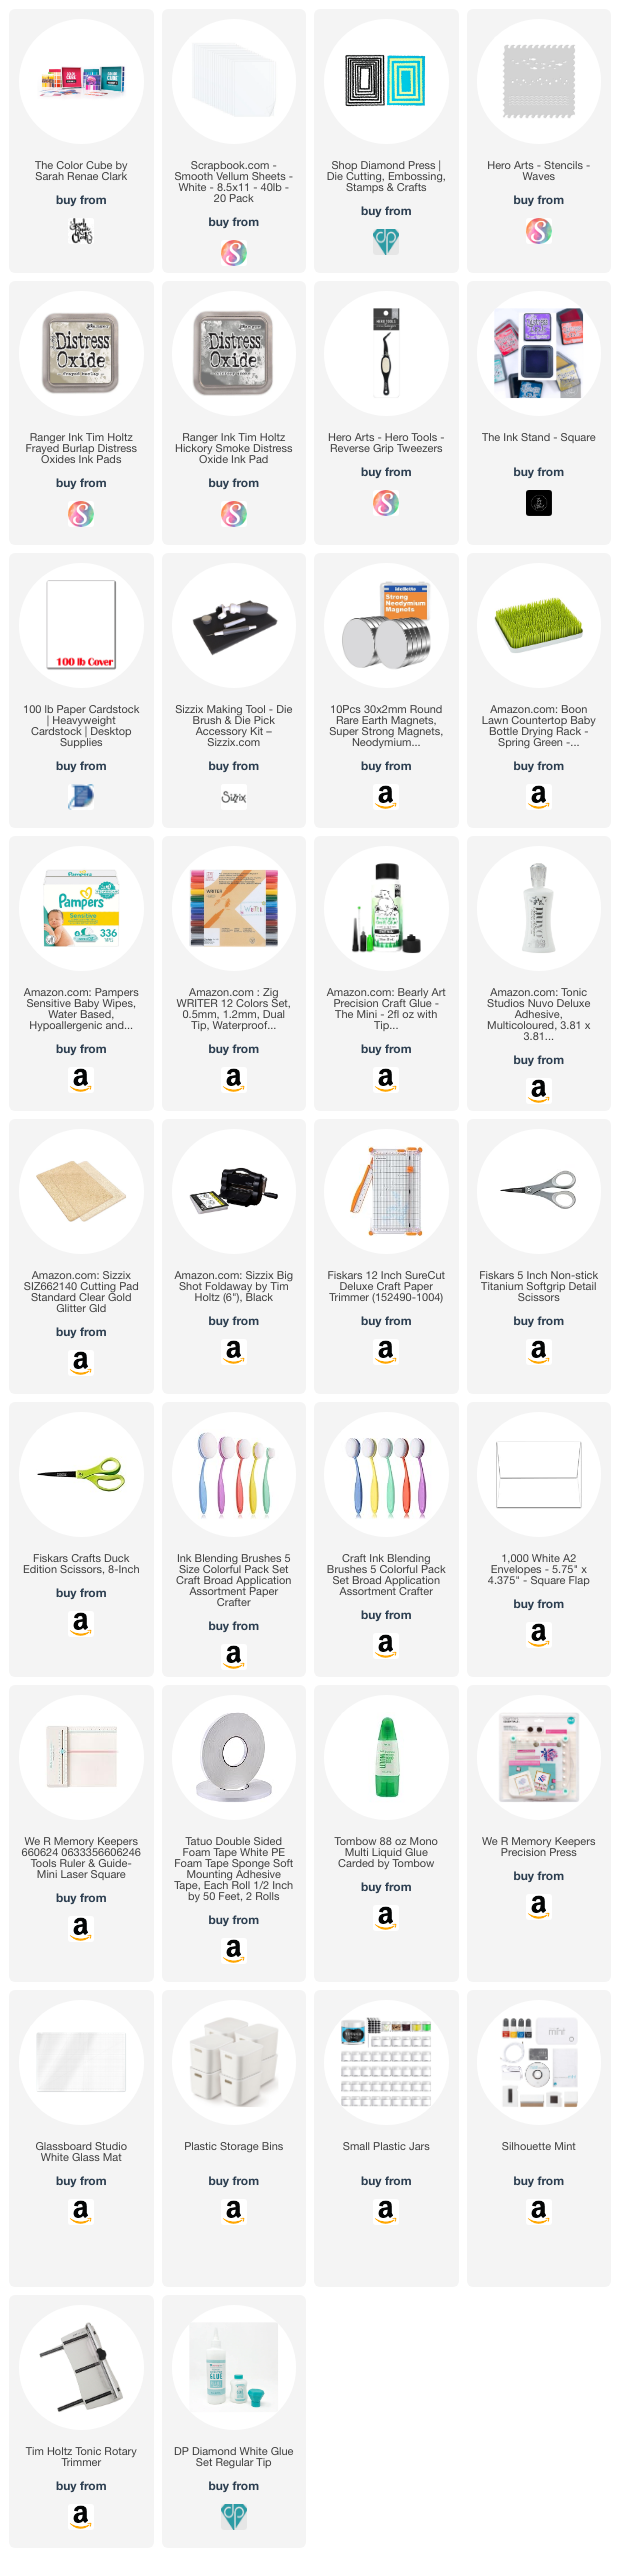
Please Note: This post contains product links so you can easily find any supplies and/or tools you may be interested in. I am affiliates with Amazon and Creative Fabrica. I may be compensated for a purchase made using my link. However, no additional cost is extended to you. The other links are just to help guide you in the right direction. I am not affiliated with those companies but I encourage you to shop small businesses as much as possible.
Papers are just from my collection. I always grab from my scraps first and I don’t keep track of where they came from.