Hi friends!
Today I show you how to make this Christmas card.

I call this a mini slimline sized card. Mini slimline cards should be 3.5 x 6 inches. I don't make them that size because I have a giant pile of papers that are 6x6 in and also 12x12 inch papers that can be cut to make 4. That makes my mini slimlines a little bit smaller than the norm. I think that's perfectly fine and makes more sense.

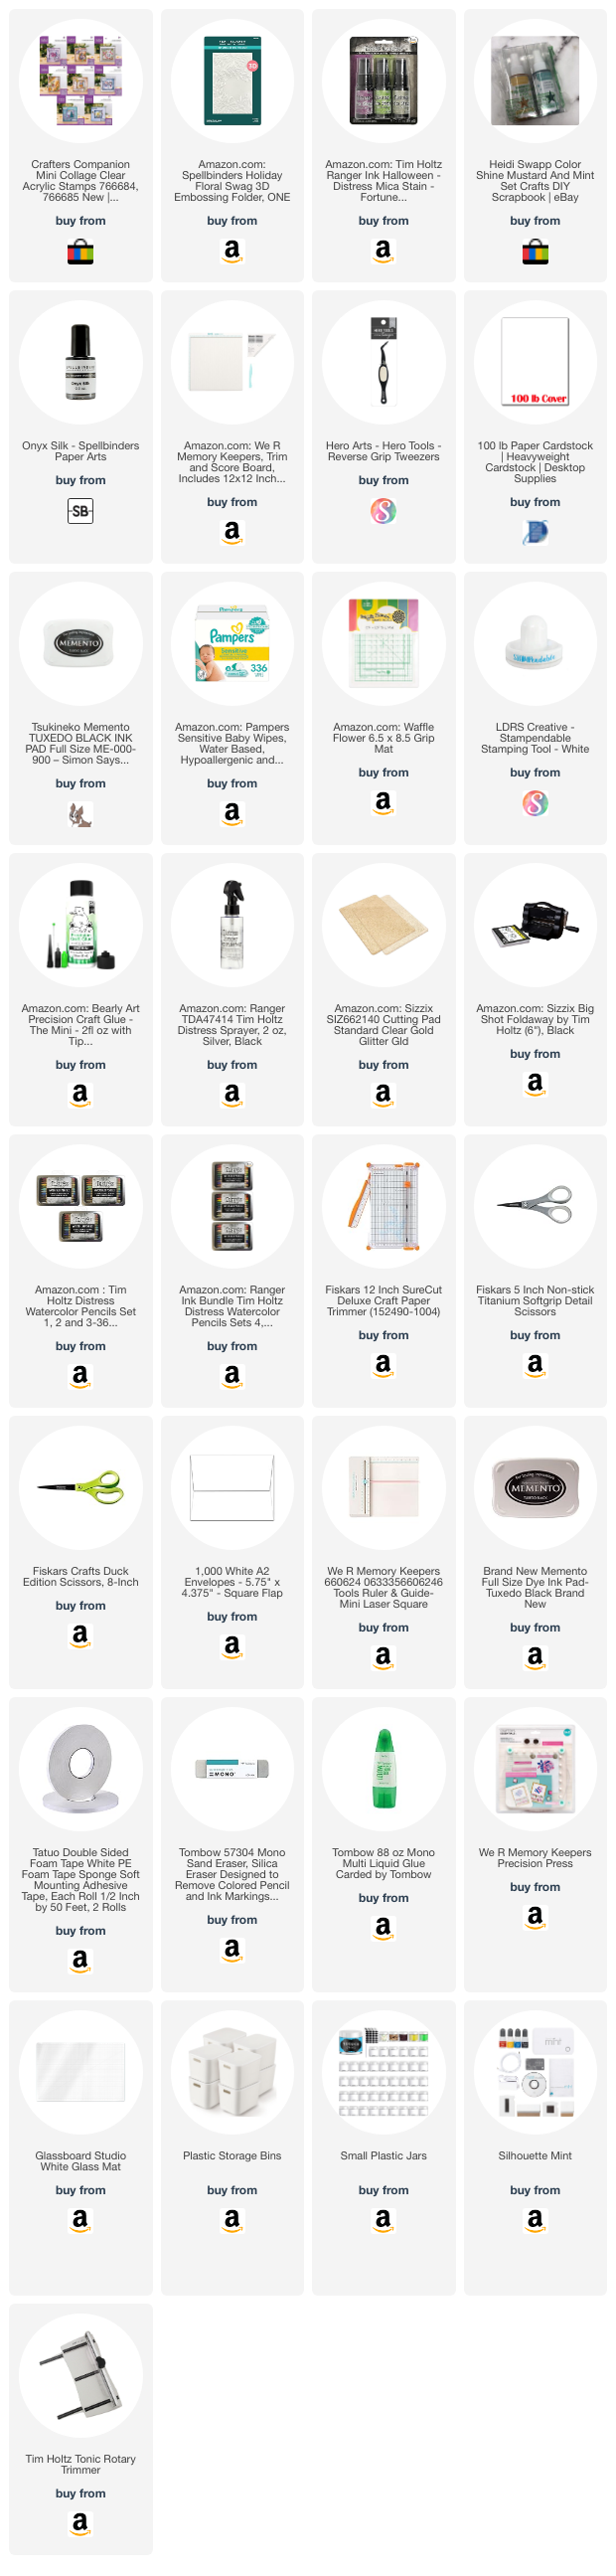
I use this set by Crafter's Companion to make the poinsettia and also the sentiment.This set is discontinued but there are listings for it on eBay and I have linked one of them below.

I start with the background panels so that I give them time to dry before assembly. I used a holiday floral embossing folder (link below) to add interest and texture.

I use these two sprays to color two separate panels. The green for the embossed one and the yellow for a plain one.

Some people have a dedicated splatter box to do the spraying in so paint doesn't go everywhere. I just use my garbage can. I don't toss food or other gross things in there so it works fine. Either before spraying or after they have dried these need to be cut down. The yellow goes in the back and if you see I have some splotches from painting. No big deal. The perimeter is what will show the most and even if a splotch shows, it is really okay.
Yellow piece gets cut down to: 2.75x5.5"
Green piece gets cut down to: 2.5x5.25"

I stamp the poinsettia flower two times on white cardstock. If the impression is not perfect, it is probably okay.

I use watercolors to paint one red with a yellow center and the other green. They do not need to be perfect. I don't want the paint to be perfectly even. I didn't paint the green one in its entirety. This flower is to be cut down and used as leaves so I picked some that I felt made sense for that.
Glue the yellow and green panels to the card base.

I glue the green leaves to the back of the red flower and mostly on one side. As you can see in the above photo I place it so it is hanging off the edge of the card and I don't want to waste the ones I painted.

I used foam adhesive tape to attach the flower to the card. Flip the card over and use scissors to trim off the parts that are hanging over the edge.

I used a circle die to cut out a circle that fits the sentiment and I glue that to the card. I position the sentiment and the flower in a way to let the embossed panel show some too. I then used a black spatter paint to finish the card.

~Paula
If you like, please follow my Facebook page: https://www.facebook.com/paulasstudiomi
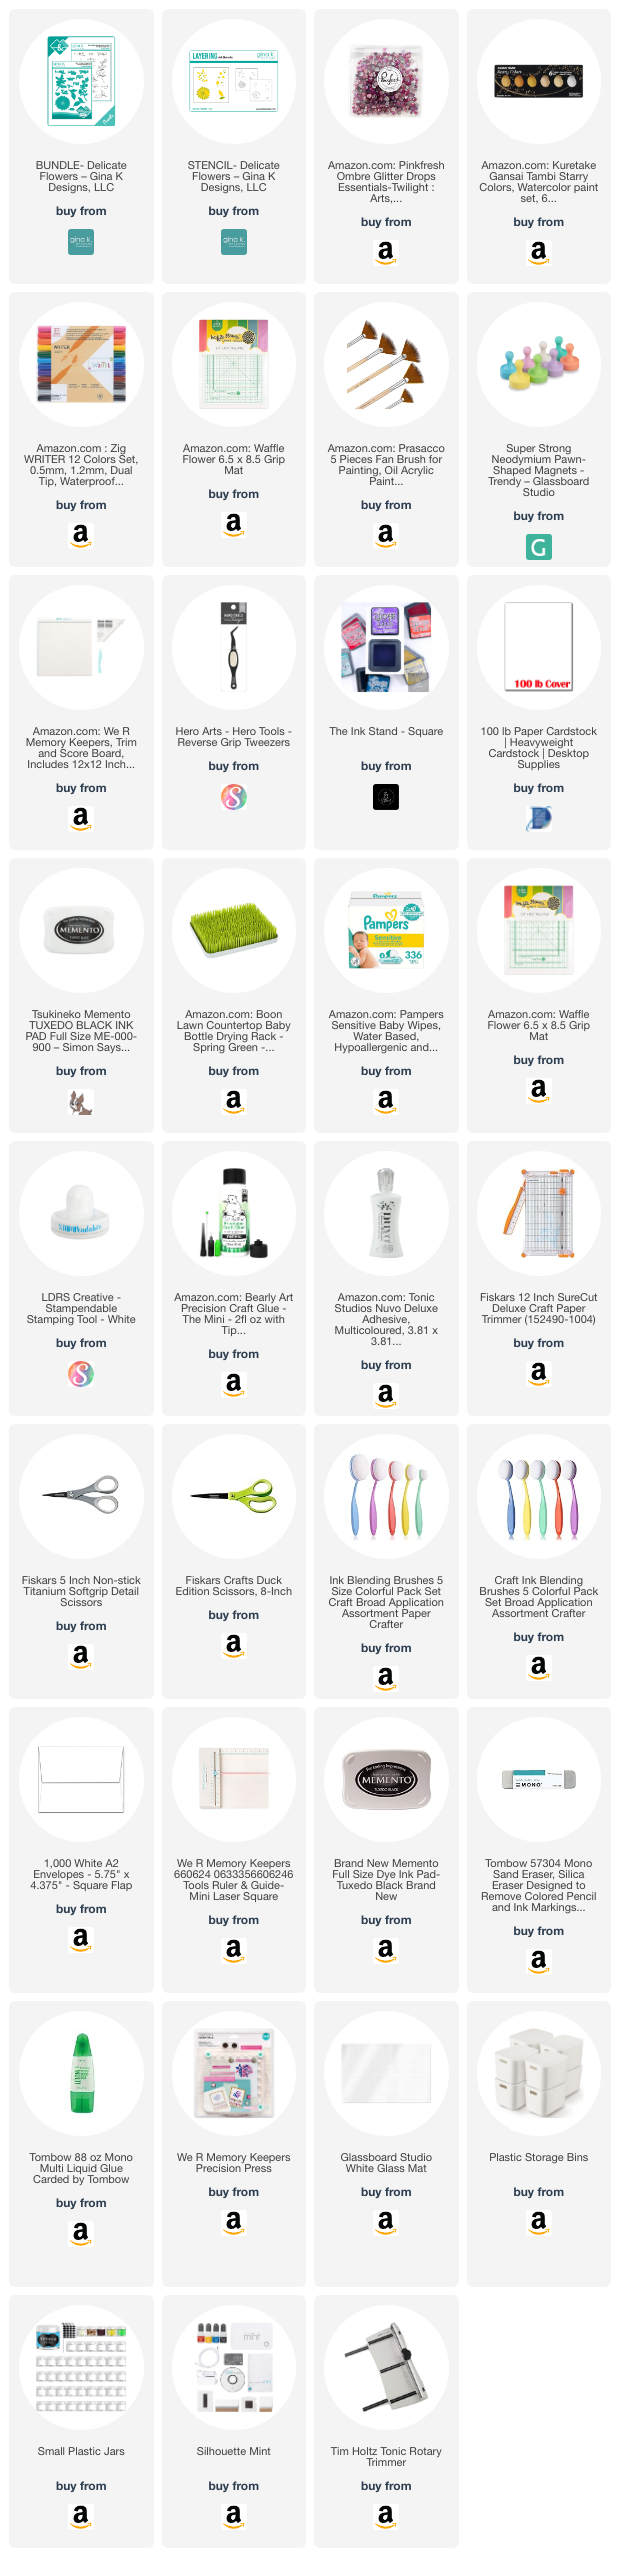
Please Note: This post contains product links so you can easily find any supplies and/or tools you may be interested in. As an Amazon Associate, I may be compensated for a purchase made using my link. However, no additional cost is extended to you. The other links are just to help guide you in the right direction. I am not affiliated with those companies but I encourage you to shop small businesses as much as possible.
Papers are just from my collection. I always grab from my scraps first and I don’t keep track of where they came from.