Monday, June 10, 2024

Seahorses with Sparkleberry Ink vinyl

 Hi friends!

Today I made a card using Sparkleberry Ink pattern called "Laura's Abalone" as part of my weekly Sparkleberry Ink project to celebrate their return. 

This pattern is one of their most popular and was part of their monthly vinyl box for May. 


This is vinyl, not paper. I cut it to 4x5.25" and applied the adhesive vinyl to white cardstock. 

It's best to do this by revealing part of the adhesive at a time. 


Once you apply to the paper it will be difficult to move. I try to get all the wrinkles out as I attach it and peel the paper backing off. You can also pull all the backing off and add liquid glue to it. This allows you to stick the vinyl to the paper but because the glue is wet you will be able to adjust it for a few minutes. I did not do this as I am not sure how much you will see an impression of the glue once attached.

I wanted some sort of sea life for my scene and I wanted it to be a card to send to a friend. I decided on seahorses. I found a really cute one by Miss Kate Cuttables in the Silhouette Design Store. It has 4 layers. I used one seahorse but twice. I mirrored one of them so they are facing each other. One is 4 shades of pink and other of purple as those 2 colors are in the background pattern. 

I attached them using 2mm adhesive foam so they are raised up off the background.

I only have one die that is the word "friend" and I got it from a subscription sampler a few years ago. Any word die would work as well as using your electronic cutter to cut it. I cut one shadow in pink and then another in green glitter as that color is also in the background. The words "hello friend" were cut 4 times and glued together to make it thick. 

I glued the finished piece to the card panel and slanted slightly to go along with the lines of the background.


I attached round embellishments to give the appearance of bubbles in the water. 


And done!


~Paula

If you like, please follow my Facebook page: https://www.facebook.com/paulasstudiomi

Please Note: This post contains product links so you can easily find any supplies and/or tools you may be interested in. As an Amazon Associate, I may be compensated for a purchase made using my link. However, no additional cost is extended to you. The other links are just to help guide you in the right direction. I am not affiliated with those companies but I encourage you to shop small businesses as much as possible.

Papers are just from my collection. I always grab from my scraps first and I don’t keep track of where they came from.

Friday, June 7, 2024

A froggy hello with Not Just Frames

 Hi friends!

Today I am sharing my first project with you as an affiliate for . I chose this adorable frog which goes perfectly with my summer. I have so many frogs and toads in my garden and I love it when I find them. For summer, I love bright, bold, and sometimes neon colors. 


The kits are pretty easy to put together and personalize how you would like. I love these laser cut pieces because the end result always looks clean and crisp. This particular one has many pieces as each other shown is a different piece. It's fun to piece it altogether. 


I pull out all the pieces and start to choose colors. I know there will be pink. I pick out a handful of colors that I enjoy for summer. 


I know I won't use them all but it's a starting point. Originally I thought I would do the flowers in different colors but I ended up using this dark purple-ish color that I really like. 

I knew it would go really nice with a green frog. 

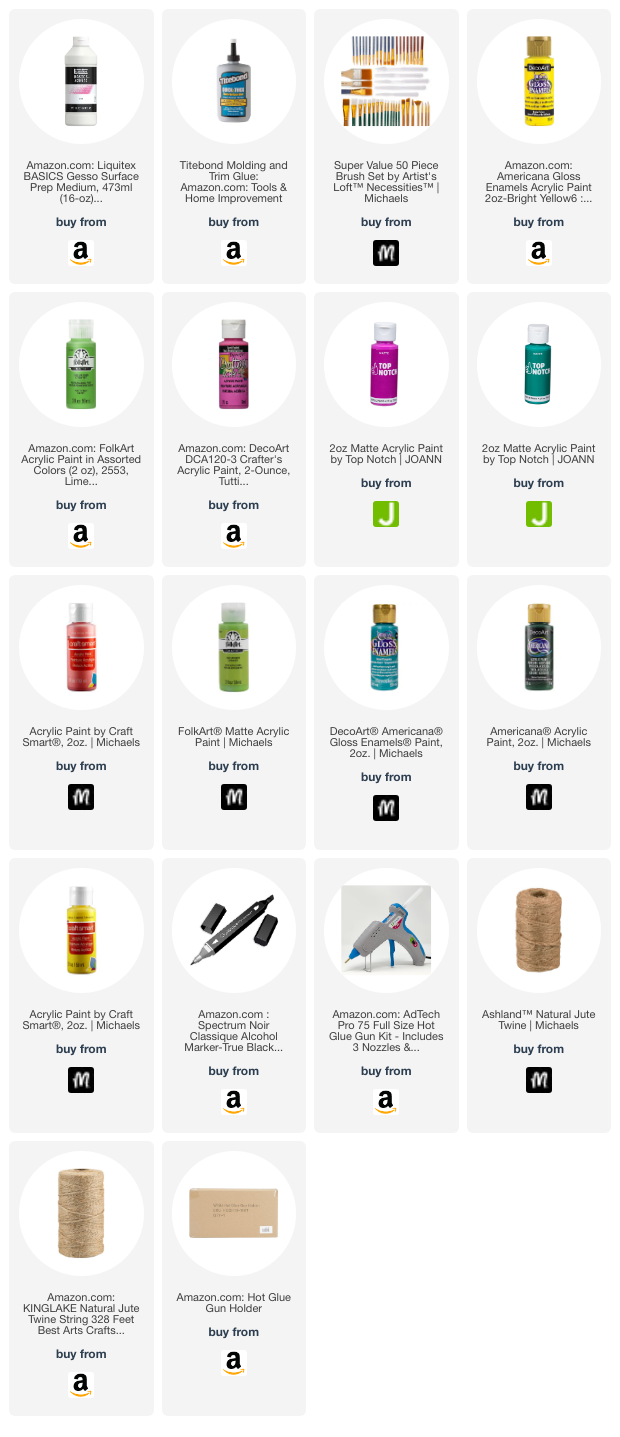
These are the colors I chose. The black for the eyes was colored with an alcohol marker. I did paint each piece with white gesso (you can use white paint) before I added color. I don't always do that but when I am using light colors or I really want the colors to stand out the best they can, I find that a primer is best on the wood.


  As you can see, I just use what I have. I have a mix of finishes and brands. I am big on using things I have and making them work. Really you cannot tell there are different finishes. The "Top Notch" brand is a Joann's brand. I do love the colors they carry but I feel like I have to use about 3 coats to get a good finish with them and that does annoy me.

After I painted all the pieces, it was time to glue. 

I prefer Titebond for all my wood gluing, it never has failed me. 

I don't have any wood clamps in my studio and I'm too lazy to go down the garage to grab some so I use my paperweight to hold the pieces while the glue sets. I collect fun paperweights and use them all the time in my studio. 


Once they are all glue in, I let it dry overnight. I attach a string loop to hang with some hot glue. For this piece, I didn't want to add any additional ribbon or greenery which is popular. I love this design so much that I didn't want to add anything to it. 


~Paula

If you like, please follow my Facebook page: https://www.facebook.com/paulasstudiomi

Please Note: This post contains product links so you can easily find any supplies and/or tools you may be interested in. As an Amazon Associate and a Not Just Frames affiliate, I may be compensated for a purchase made using my link. However, no additional cost is extended to you. The other links are just to help guide you in the right direction. I am not affiliated with those companies but I encourage you to shop small businesses as much as possible. 

(afil) Link to Frog Kit

(afil) Link to Not Just Frames