Thursday, July 2, 2026

Christmas in July Day 2

 Hi friends! Today is Day 2 in the 31 days of Christmas in July. I decided I am not going to stress designs. I am going to pre-plan what techniques or products I am going to use. I am just going to work with the things I already have and mix it up. The techniques will depend on the day and the time. Let's get real -- I have real life outside the studio too. 😀 

Here is Day 2: 


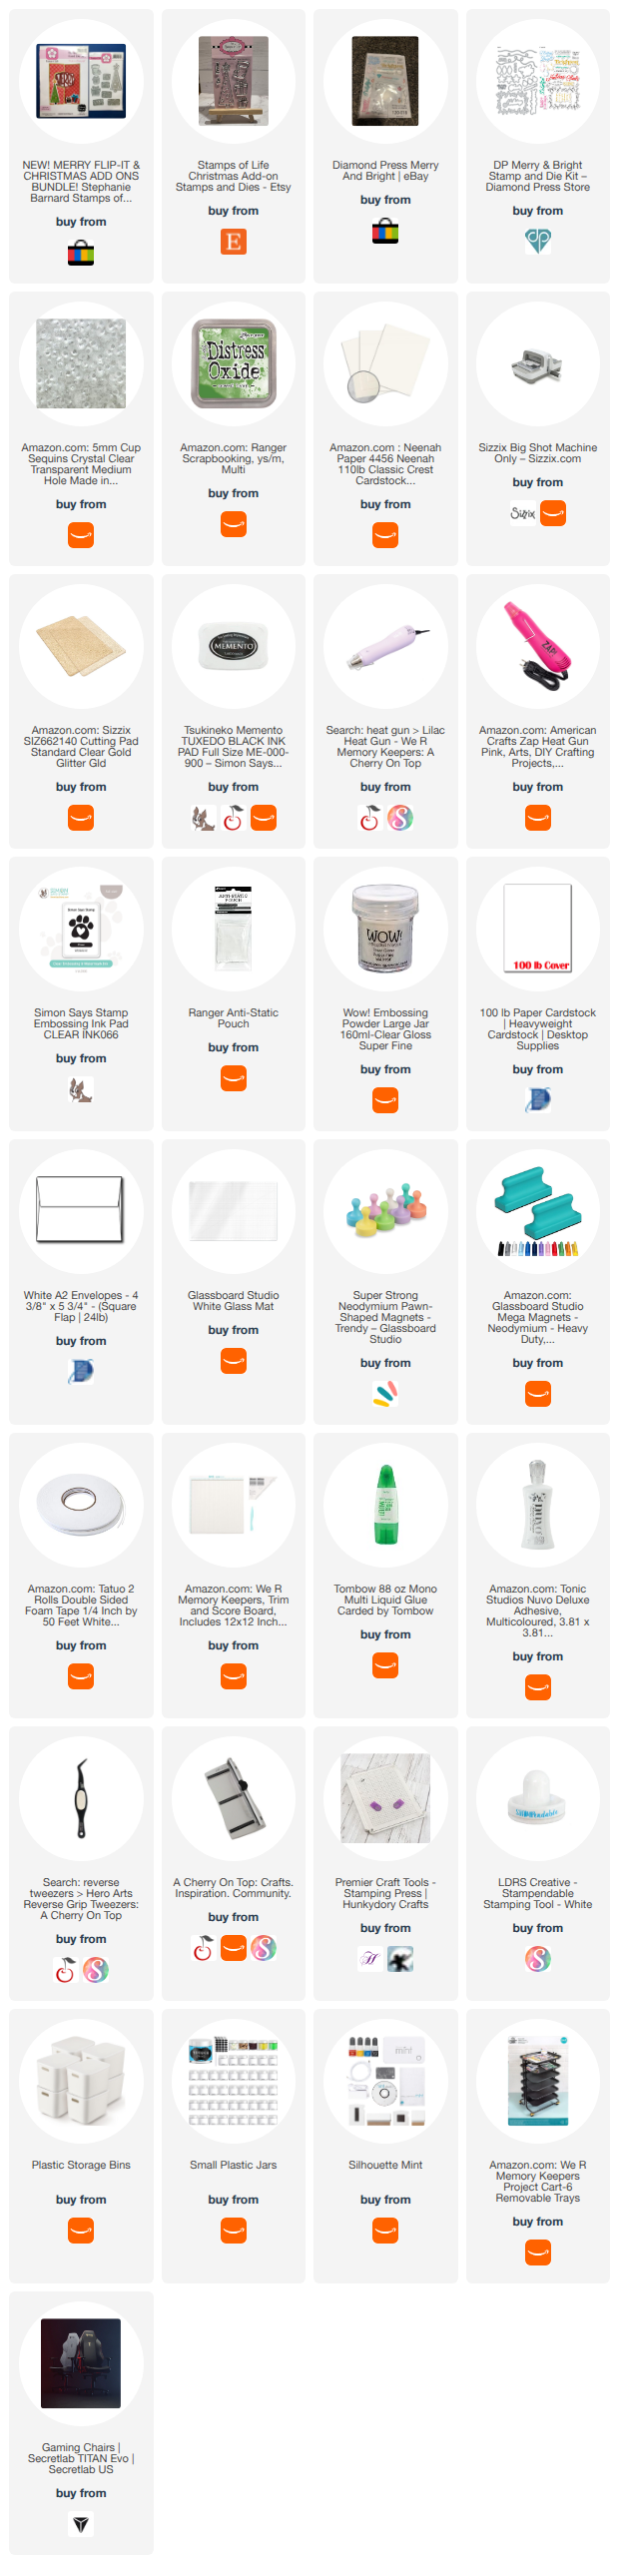
 Supply list is listed below. I am making an A2 card with an A2 card base and a 4 x 5.25 inches card panel to work on. 

Stamps and Dies are by Stamps of Life Christmas Add-on to the Flip-It Merry set. It is available on their site but I found some eBay and etsy listings and are listed below. 

Instruction:

  1. Cut the layered Christmas tree out in a gold layer and green layer. Adhere them together. Also cut the solid tree out in any paper to be used as a mask.


  2. Using the matching stamp, stamp a few trees in green. I used the mask made in step 1 to layer them. 

  3. Stamp a sentiment in black. Use clear embossing ink and powder to add that embossed shine to the sentiment.

  4. Use adhesive foam to adhere the colored tree to the panel. 

  5. Adhere the card panel to a card base. 


 ~Paula
If you’d like, please follow me:
Please follow this blog, you can find the Follow button in the right column ===> 
Facebook: Paula's Studio
Instagram: PaulasStudioMI 

Please Note: I am a big advocate of using supplies you already own but I understand that readers might be interested in specific products that they might not already own. This post contains product links so you can easily find any supplies and/or tools you may be interested in. As an affiliate, I may be compensated for a purchase made using my links. However, no additional cost is extended to you. The other links are just to help guide you in the right direction. I am not affiliated with all companies but I encourage you to shop small businesses as much as possible. I may even include eBay listings for products that are available there at the time this is posted. I only share product information of products I am familiar with and use in my own studio. Papers are just from my collection. I always grab from my scraps first and I don’t keep track of where they came from. Use what you have!
Wednesday, July 1, 2026

Christmas in July Day 1 with White Spruce Studio


Hi Friends!

Today I am starting 31 Days of Christmas in July! I am setting a goal to post a holiday card every day this month. I did this in October for Halloween and I loved the challenge and the results. It dosen't really make too much sense to do this in December so here I am in July! Now, I will be honest -- this one will be extra challenging as I have some big personal things going on that might need my attention so don't be mad or even surprised if I fail at this but I am going to give it my best!


Today I am starting with this adorable elf design by White Spruce Studio.


Please note: I use Silhouette Studio with a Silhouette Cameo. My instruction is exactly how I made my card. You can change design elements as you please and this will work on other brands of electronic cutters. My specific supply list is at the bottom including the links to the design files used.

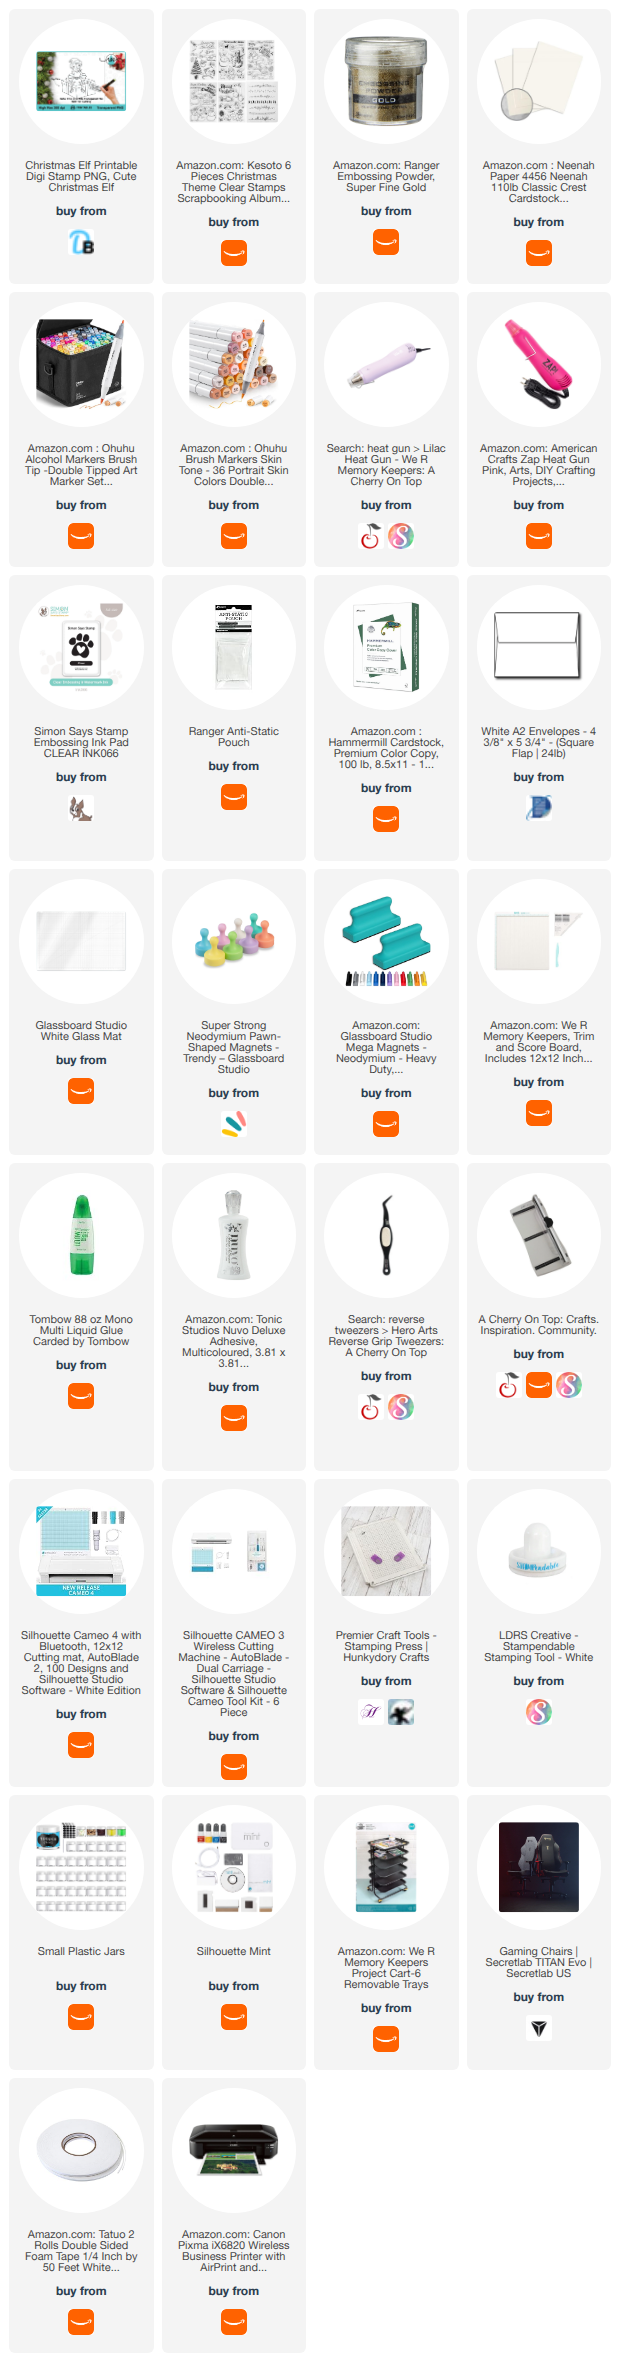
List basic supplies Elf design file, link below
sentiment stamp
A2 card base in white
A2 colored cardstock for background
printer
white cardstock for printing
electronic cutting machine and software
embossing powder in gold
embossing ink
heat gun
embellishments

Instruction

1. Download and unzip the digital files.
2. Draw a rectangle 5.5 x 4.25 inches.
3. Load the digital design and size it to fit the rectangle.
4. Position the elf to fit in the rectangle but towards the bottom.
5. Using the print and cut feature, print the design and have your cutting machine cut it out.
6. Color the design with alcohol markers.
7. Adhere a colored piece of cardstock to your card base.


8. Adhere the colored elf next. Trim the bottom of the elf design to be the bottom of the front of the card.
9. Stamp the sentiment above with clear embossing ink. Apply gold, or other color, of embossing powder and heat set with heat gun.
10. Adhere gems or sequins.


~Paula

If you’d like, please follow me:

Please follow this blog, you can find the Follow button in the right column ===>

Facebook: Paula's Studio

Instagram: PaulasStudioMI


Please Note: I am a big advocate of using supplies you already own but I understand that readers might be interested in specific products that they might not already own. This post contains product links so you can easily find any supplies and/or tools you may be interested in. As an affiliate, I may be compensated for a purchase made using my links. However, no additional cost is extended to you. The other links are just to help guide you in the right direction. I am not affiliated with all companies but I encourage you to shop small businesses as much as possible. I may even include eBay listings for products that are available there at the time this is posted. I only share product information of products I am familiar with and use in my own studio. Papers are just from my collection. I always grab from my scraps first and I don’t keep track of where they came from. Use what you have!


Supplies and tools used: