Wednesday, March 18, 2026

CRAFT Challenge Blog #776

 Hi there friends!

This week at CRAFT Challenge Blog the theme is: Children's Christmas. The sponsor is SheepSki Designs. The design I am working with is called: Christmas Eve. 


 Supply list found below.

Instruction:

  1. Bring the design into the software for your cutting machine. I am using Silhouette Studio. 
  2. Adjust the sizing for your preference. I will be using an A2 size card base. 
  3. Using the Print & Cut feature, print the design and cut the outside line of it. 
  4. Using scissors separate the moon from the boy's head. 

  5. Using ink and a blending brush, ink the moon. 
  6. On a white card panel 4x5.25" use ink and blending brushes to create a night sky. Use the same color you used for the moon to color a halo for it on the background. Use dark blue and black to add darkness for the rest of the panel.

  7. Use a white splatter paint and splatter on the night sky -- this can be stars but I was going for snow. 
  8. Use alcohol markers to color the boy and the dog. 

  9. Using a window die set or a window SVG in your cutting software to cut a window. I used a die by Picket Fence Stamps but I couldn't find it for sale at this time. 

  10. Using the window that you just cut, cut the outline shape of it out of patterned paper that will become the wallpaper of the room. 

  11. Cut a bench for them to sit on. This can simply be a rectangle with two rectangle legs. I used patterned paper that has wood grain.  

  12. Adhere all finished pieces in this order -- 
    1. Night sky panel 
    2. Wallpaper panel

    3. Moon - position this so it will line up perfectly with boy's head

    4. Window 
    5. Boy and dog -- line the boy's head up to moon and slightly over the edge that you previously cut with scissors to hide that separation. I used adhesive foam to pop it up and left space at the bottom for the bench.

    6.  Bench
  13. I did not add a sentiment to the front of the card. I felt that it is a beautiful scene that didn't need that distraction. Next time I might add a little holiday decor to the room. 

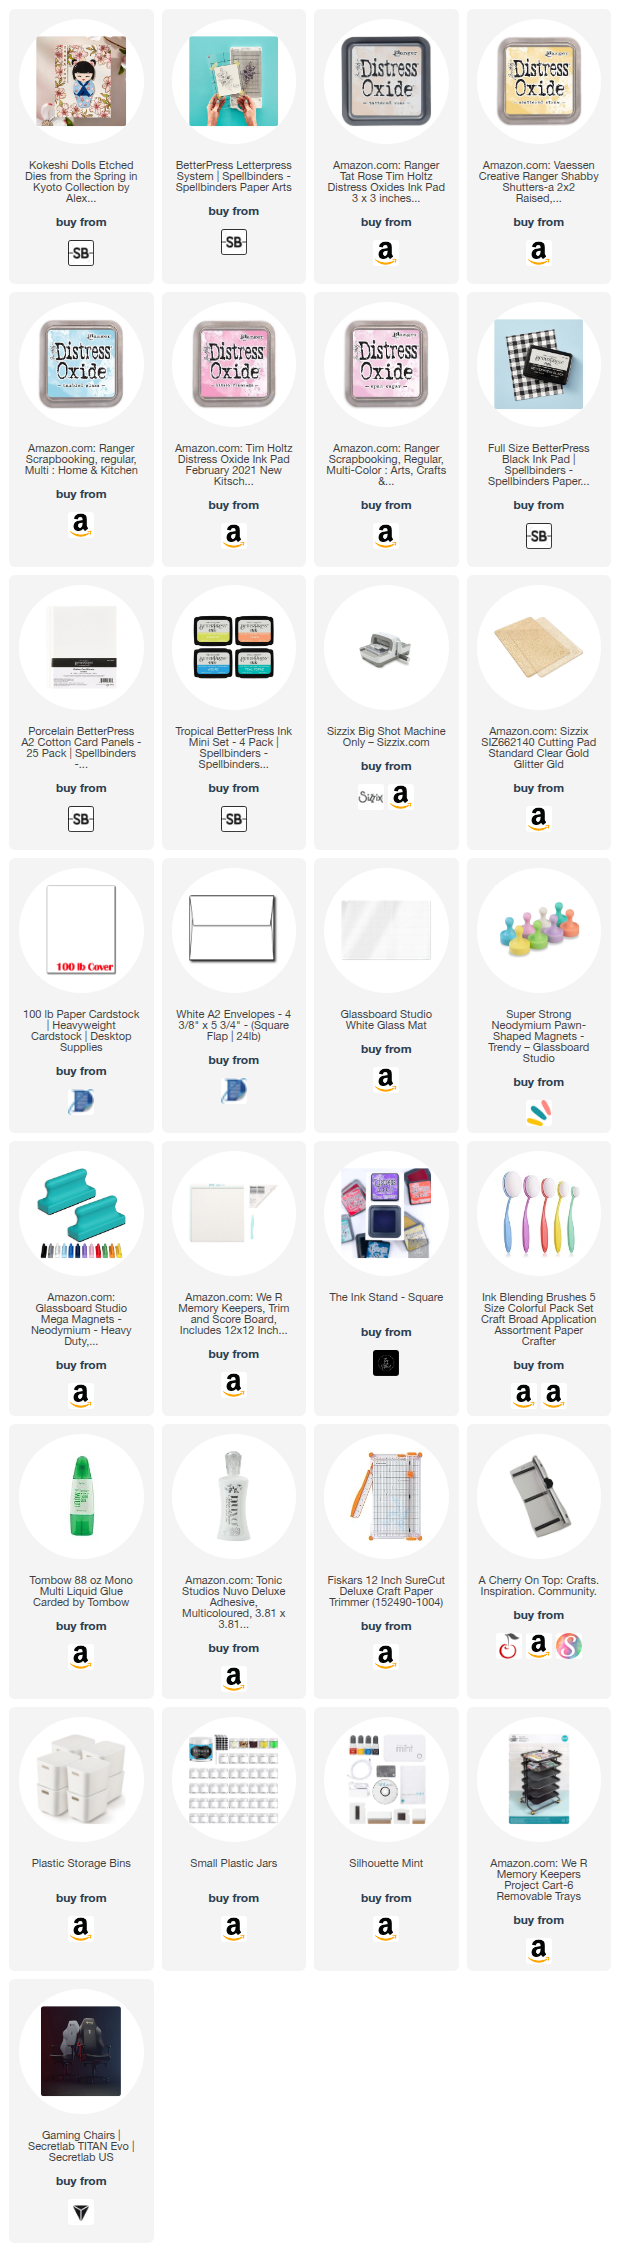
 Check out the supply list below for all that I used to make this card. 

~Paula

If you’d like, please follow me:
Please follow this blog, you can find the Follow button in the right column ===> 
Facebook: Paula's Studio 
Instagram: PaulasStudioMI


Please Note: This post contains product links so you can easily find any supplies and/or tools you may be interested in. As an affiliate, I may be compensated for a purchase made using my links. However, no additional cost is extended to you. The other links are just to help guide you in the right direction. I am not affiliated with all companies but I encourage you to shop small businesses as much as possible. I only share product information of products I am familiar with and use in my own studio.

Papers are just from my collection. I always grab from my scraps first and I don’t keep track of where they came from. Use what you have!
 

Monday, March 9, 2026

Spring Blessing with Spellbinders

 Hi there friends!

Today I am sharing a card I made that started with the background and worked its way forward.


 You see the background is made using a Betterpress Plate from the Betterpress Society. A Betterpress Plate is a metal plate used with the Spellbinders Betterpress System. It is a letterpress plate and the design is debossed or indented into the paper. The Betterpress Society is a "secret" or not so secret subscription program that is only available through select small business shops that sell Spellbinder products. I get through Stamplistic. When I found out about it all those appealed to me. I support small biz as much as I can and the Betterpress Society is just something extra special about Spellbinders that I love so much. 

This is February 2026 set and as soon as I saw it revealed, I knew I wanted the Kokeshi dolls set to go with it. This February set also came with stencils that made colors the flowers a dream. 


Instruction (supply list at bottom):

  1. 1. Tape an A2 card panel to the clear plate of the Betterpress system in the rectangle outlined on it. For best impression use Spellbinders Cotton Card Panels. You can use any paper but the thicker papers will leave a better impression. You can use any ink as well. 

  2.  Put the plate on the magnetic grid. Add ink in your choice of color. I used Teal Topaz. Cover with the clear plate and run through your die cutting machine. Set aside.

  3. Clean the plate and any ink that got on the Betterpress system plates.
  4.  Make prints of the sentiments to fill a panel. I like to make extras in different colors and most get saved for a future project. 

  5. Die cut out all those sentiments. 

  6.  Tape or secure the background down and use the stencils to color the flowers. I did 3 shades of pink.

  7. Color the flower centers with yellow.

  8. Color the fan part of the background, stencil #4, with a pale blue. 

  9. Cutout all the pieces of the Kokeshi out in the colors of your choice and assemble. 

  10. Cut the panel down to 3.75 x 5".
  11. Cut a panel in the color of your choice to 5.25 x 4". The gives a border.
  12. Glue the two panels together and glue the doll on the top panel towards the left.
  13. Attach a sentiment with adhesive foam.
  14. Add some bling with sequins or gems.

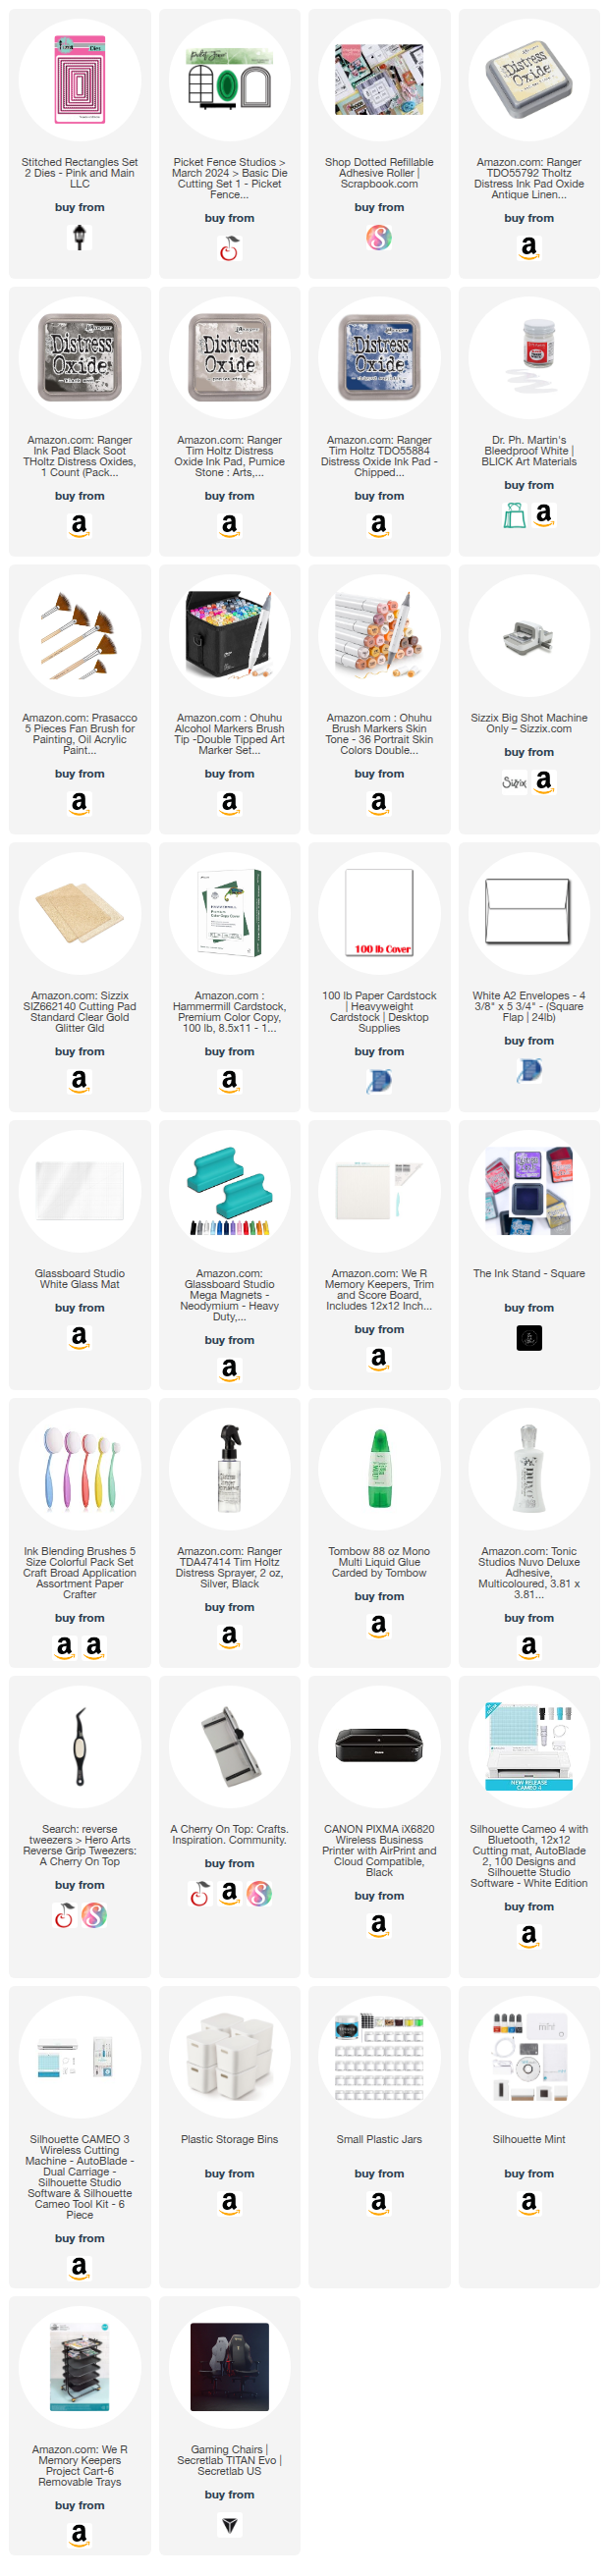
 Check out the supply list below for all that I used to make this card. 

~Paula

If you’d like, please follow me:
Please follow this blog, you can find the Follow button in the right column ===> 
Facebook: Paula's Studio 
Instagram: PaulasStudioMI


Please Note: This post contains product links so you can easily find any supplies and/or tools you may be interested in. As an affiliate, I may be compensated for a purchase made using my links. However, no additional cost is extended to you. The other links are just to help guide you in the right direction. I am not affiliated with all companies but I encourage you to shop small businesses as much as possible. I only share product information of products I am familiar with and use in my own studio.

Papers are just from my collection. I always grab from my scraps first and I don’t keep track of where they came from. Use what you have!