Saturday, August 3, 2024

Summer theme for tiered tray with Not Just Frames

 Hi friends!

I got this set of wood embellishments that I decided to put them on my tiered tray. I always love the idea of things I can change with the seasons for special holidays. I will admit I'm not completely faithful to changing them. Every year, I find that my summer decor is lacking. I get so excited to decorate for fall, Halloween, Thanksgiving, Christmas, Winter and then it starts to taper off. I sometimes give up before Easter arrives and rarely does Summer decor happen beyond a wreath on my front door. Really, I'm the only one that notices or cares. This year I tried with a little bit of effort.


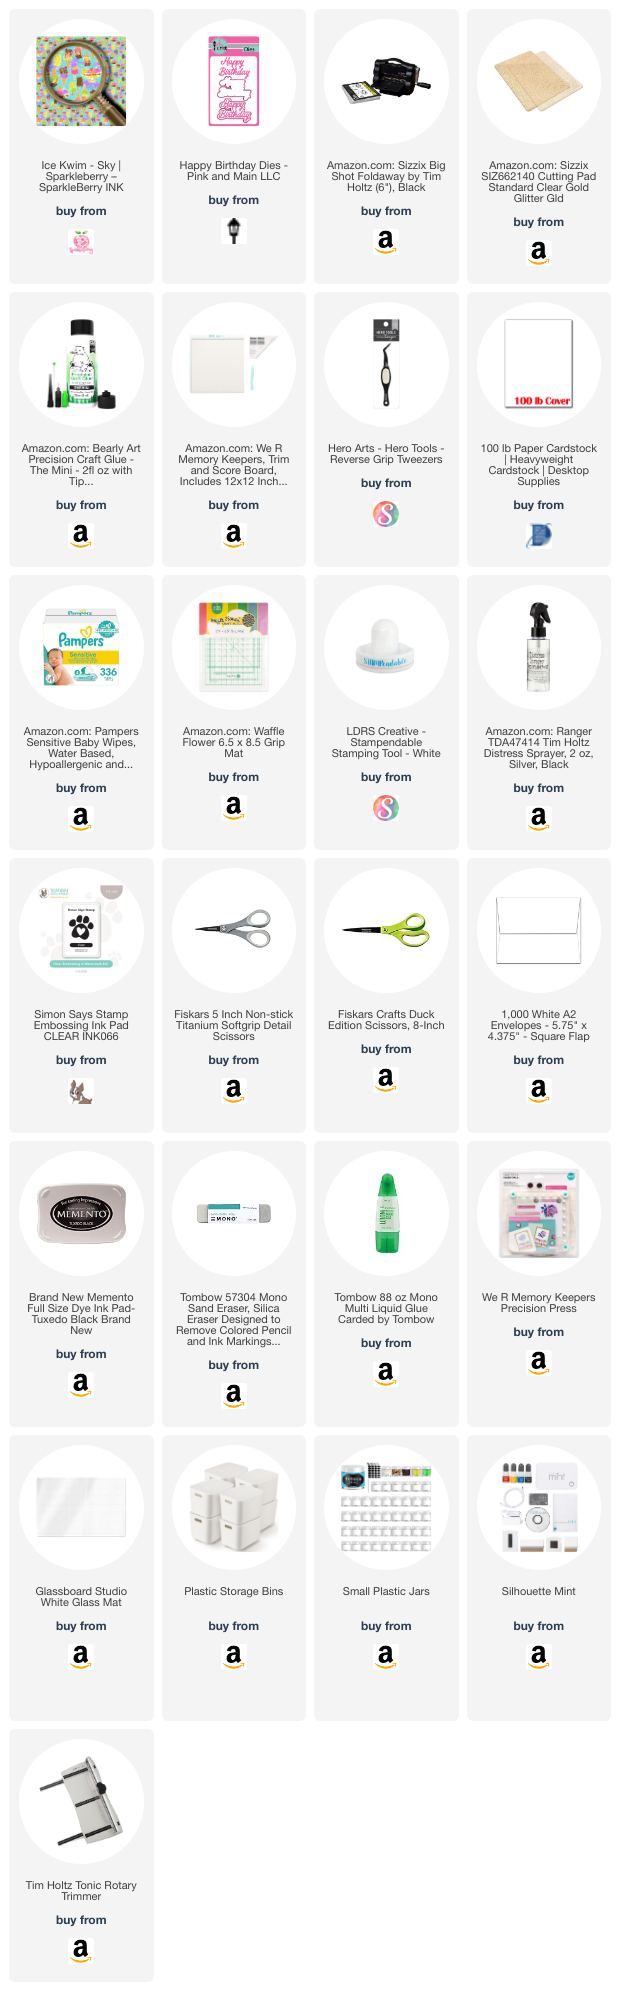
I used pieces from this set by Not Just Frames: Summer Embellishment Pack  (afil)


 Please note: the Adirondack chair is missing from this photo but is included in the set.

All the pieces have paint on them. 


 I used acrylic paint markers. I like to use them on small items rather than a paint and brush.

The flip flops are decoupage. 

I traced the soles of the flip flops on the back side of the paper I chose to use.


I like to cut it slightly larger than the object where it will be adhered.


I coat the wood in Mod Podge. I'm not picky on the specific formula used as it is not going in the dishwasher or used as a sealer. It is just used as a glue here.

Once adhered, I use a brayer (roller) to roll each one to get out any bubbles or wrinkles. I used a thicker paper so there isn't much of this anyway but thin papers will show more of those.

I use a pen blade (Exacto knife would work too) to trim the edges to match the wood.

 I sanded the beach sign with a sanding block to give it a faux weathered look. 


I put double-sided tape to a few pieces to attach them directly to my tiered tray. 


I added some things from around the house to help fill the tray such as a lei, starfish, and sand dollar. I think it's a good start!

Affiliate Message June 2024


~Paula

If you like, please follow my Facebook page: https://www.facebook.com/paulasstudiomi

Please Note: This post contains product links so you can easily find any supplies and/or tools you may be interested in. As an Amazon Associate and a Not Just Frames affiliate, I may be compensated for a purchase made using my link. However, no additional cost is extended to you. The other links are just to help guide you in the right direction. I am not affiliated with those companies but I encourage you to shop small businesses as much as possible.

Papers are just from my collection. I always grab from my scraps first and I don’t keep track of where they came from.
 

Friday, August 2, 2024

Birthday Card using eclipse method and Sparkleberry Ink paper

 Hi friends!

Today I have this perfect-for-summer birthday card using the eclipse method. 


As you can tell it is a little difficult to see or read "Happy Birthday" against the background. This is intentional and what gives it the name of eclipse. There are two methods for it really. Both methods require that the text or shape is cut from the exact background paper so that the design lines up perfectly. They differ because you can do it the way I did here, where I have place a piece of purple paper in between. The other method is to not use a solid paper in between but rather just pop up the sentiment or shape with adhesive foam or layered paper. I like both ways. 


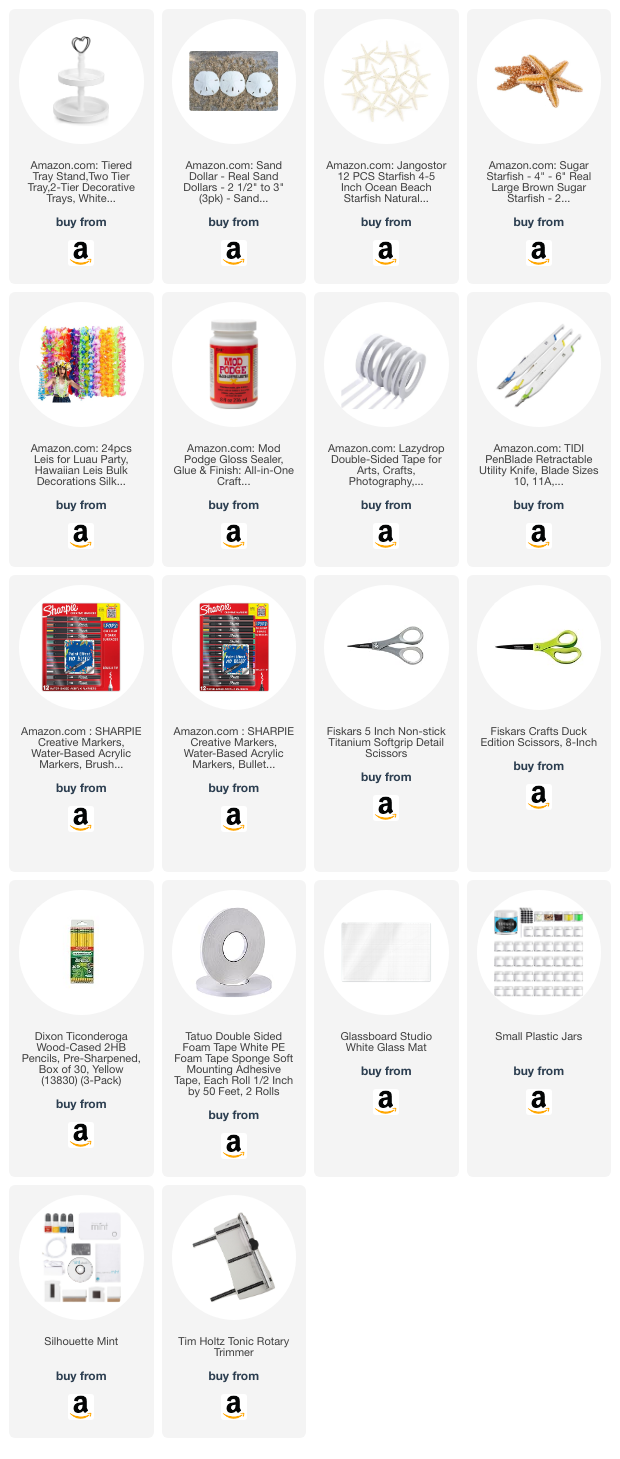
To start this project I picked a sentiment birthday die that has a shadow die with the text. I picked a patterned paper and the solid purple. The patterned paper is by Sparkleberry Ink. Link below.


 I cut the solid paper with just the shadow die. 


Here I am just making sure I like the solid color along with the pattern. The background patterned paper is cut down to 4x5.25 inches.


 This is the text die. I am positioning and figuring out how I want it placed. I want it tilted not perfectly level. 


I cut the text out of the patterned paper. Make sure to save ALL the bits and pieces as some will be used.


Place the purple piece cut out with the shadow die on top of the cut out text and adhere it.

Glue down the text that was cut from the background pattern paper. You should see that the paper lines up when placed correctly. Use this as a guide as you glue down the main letter pieces.

Another example of the pattern lining up. From the bits that were saved, it looks like I will need to find the dot to go over the lettter i. Glue to a card base and DONE.

Affiliate Message June 2024


~Paula

If you like, please follow my Facebook page: https://www.facebook.com/paulasstudiomi

Please Note: This post contains product links so you can easily find any supplies and/or tools you may be interested in. As an Amazon Associate, I may be compensated for a purchase made using my link. However, no additional cost is extended to you. The other links are just to help guide you in the right direction. I am not affiliated with those companies but I encourage you to shop small businesses as much as possible.

Papers are just from my collection. I always grab from my scraps first and I don’t keep track of where they came from.